English
48
Changing the viewing angle
Adjusting the volume
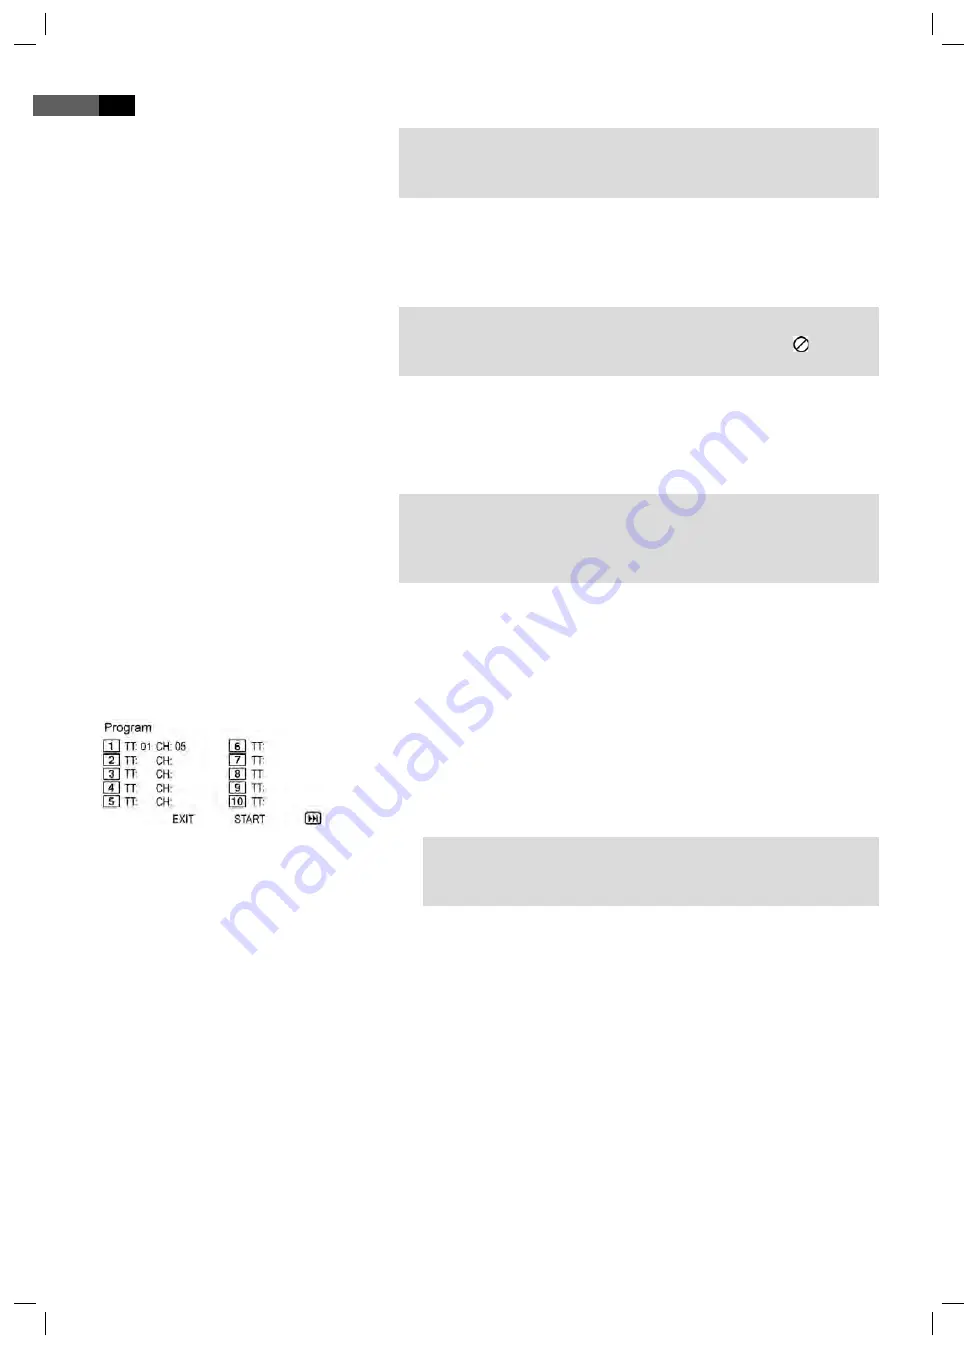
Creating a playlist (DVD)
Deleting a playlist (DVD)
NOTE:
With the cursor buttons (Fig. 3/25) you can move through the zoomed
image.
Some DVDs off er the possibility to select the viewing angle.
Press the ANGLE button (Fig. 3/23) to change the viewing angle.
NOTE:
If changing the Viewing Angle is not possible, the message „ “ will be
displayed.
Repeat pressing the the button to choose a diff erent viewing angle, or to
return to the original viewing angle.
Press the VOL + button (Fig. 3/2) to increase the volume.
Press the VOL - button (Fig. 3/2) to reduce the volume.
NOTE:
Please remember, that this will only change the output volume of the
DVD-Player. In order to adjust the volume to your requirements you may
also have to change the volume of the playback device.
When you press the R/L button (Fig 1/7) on the front panel, for the frist
time, it turns to L-Mono. Press for the second, it turns to R-Mono. Press
the button again, it return to stereo.
It is possible that you may not wish to play the titles in the same order
that they are to be found on the DVD. The function „Create Playlist“ you
can create your own playing order.
To do this, proceed as follows:
1. Press the PROG button (Fig. 3/21). A table is displayed. Here you can
enter the desired order of the chapters/titles.
NOTE:
However, your playlist will be lost when switching off the DVD-Play-
ers or when inserting a new DVD.
2. Use the Cursor Buttons (Fig. 3/25) to navigate in the table.
3. Enter the desired title and chapter at the relevant position in the
table. Use the Numerical Buttons (Fig. 3/31) for this purpose.
4. Use the Cursor Buttons (Fig. 3/25) to select the command “Start” at
the bottom of the screen to save the input.
5. Press the ENTER button (Fig. 3/10) on the remote control to confi rm
this command.
1. Press the PROG button. You will now see a table.
2. Use the Cursor Buttons (Fig. 3/25) to manoeuvre to the command
“Stop” at the bottom of the table.
3. Press the ENTER button (Fig. 3/10) on the remote control to confi rm
this command.
4. Press the PROG button to terminate this procedure.
05-DVD 4532 USB-CR_GB.indd 48
05-DVD 4532 USB-CR_GB.indd 48
21.02.2008 11:15:55 Uhr
21.02.2008 11:15:55 Uhr


