English
29
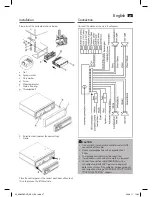
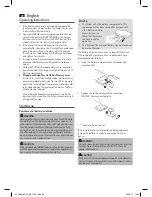
NOTE:
The signals from the remote control are transmitted to
the device by infrared light. You should therefore ensure
that the device is not in direct sunlight. This might make
transmission of the signals from the remote control to the
device impossible.
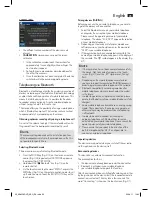
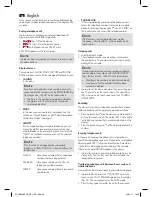
Effective range of the remote control
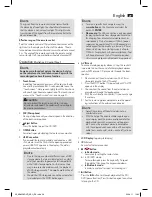
Point the remote control at the remote control sensor on the
right next to the display on the front of the device. The dis-
tance between remote control and sensor should not exceed
5 m. The angle of the remote control to the remote control
sensor to right, left, top and bottom should not exceed 30°.
Operation
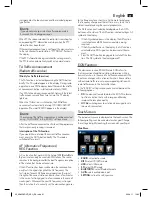
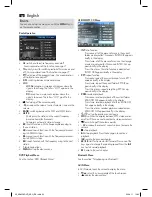
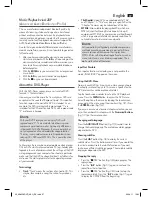
(Illustration 2: Control Panel)
NOTE:
Some keys are found not only on the device, but also
on the remote control and touch-screen. Keys with the
same designation have the same function.
1
Touch Screen
In addition to operation by means of the keys on the de-
vice and the remote control, it is also possible to use the
“touch-screen”. Here you can lightly touch the key shown
with your finger. Read an explanation of the touch-screen
menus in the “Touch-screen” section on page 31.
CAUTION:
Do not obstruct the touch-screen while it is being
retracted or extended. This could result in damage to
the monitor mechanism.
2
MIC (Microphone)
During a telephone call you should speak in the direction
of the built-in microphone.
3
Eject Button
Press this button to eject the CD/DVD.
4
OPEN Button
For retracting and extending the touch-screen monitor.
5
USB Connection
If you would like to play back data contained on a USB
stick, please insert the stick into the opening provided.
e word USB PLAY appears in the display. The data is
played back automatically.
NOTE:
• Due to the large number of different types of USB
storage media that are available today it is unfortu-
nately not possible to guarantee full compatibility
with all USB storage media. For this reason there
may in rare cases be problems with the playback
of USB storage media . This is
not
a malfunction of
the device.
• Should the USB storage device not be automatical-
ly selected press the MOD button again.
NOTE:
• To select a specific track navigate using the
cursor buttons
in the File menu and select the
track with
ENTER
.
•
Please note:
The USB connection is only designed
for playing back data from storage devices and not
for charging from other external devices (such as
smartphones). Only a low power (100 mA) power
supply can be guaranteed. This USB connection is
not designed for the use of e.g. external 2.5“ hard
drives, which may have starting currents of up to
1100 mA. For playback with your smartphone, iPod
or iPhone please use the AV IN socket provided.
Unless music playback via Bluetooth is supported.
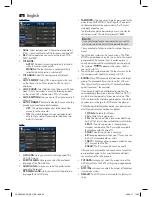
6
AV IN Jack
To connect analogue replay devices. Using this socket it
is possible to hear the sound of other playback devices
such as MP3 players, CD players etc. through the loud-
speaker.
1. Please connect the external device with a 3.5 mm
stereo jack plug to the AV IN socket.
2. Press the MOD button (13) repeatedly until “AV IN”
appears in the display.
3. You now hear the sound from the external device
played back through the loudspeakers.
4. With the multifunction controller (11) you can change
the volume.
5. For the remaining procedure please see the operat-
ing instructions of the external sound source.
NOTE:
• Adjust the volume of the external device to a
comfortable level.
• With the help of the adapter cable supplied you
can also play back the picture and sound of other
playback devices such as cameras, video players
etc. Connect the playback device in accordance
with the coloured cinch connectors of the adapter
cable (red = audio right, white = audio left, yellow =
video).
7
LCD Display
(liquid crystal display)
8
IR
(Infrared)
Sensor for the remote control.
9
I
Button
a)
In Radio mode:
For manually setting the radio station.
b) In CD/DVD mode
:
To jump forwards, press the key briefly. To spool
through the titles, keep the key pressed down.
c)
In Bluetooth mode:
In order to end a call or reject an incoming call.
10
II Button
Press the
II
button to interrupt playback of the CD/
DVD (pause function). Press this button again to continue
listening to the CD.
05_AR4026DVD_AEG_SK.indd 29
03.08.11 12:32

