1.
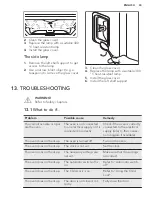
Pull the front of the shelf support
away from the side wall.
2.
Pull the rear end of the shelf support
away from the side wall and remove
it.
2
1
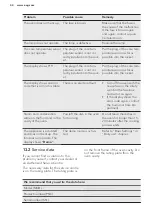
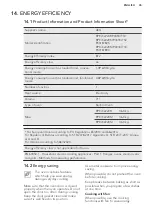
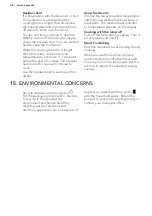
Install the removed accessories in the
opposite sequence.
12.3
Pyrolysis
CAUTION!
If there are other appliances
installed in the same
cabinet, do not use them at
the same time as the
function: Pyrolysis. It can
cause damage to the
appliance.
The cleaning cannot start:
• if the core temperature sensor is not
removed.
• if the oven door are not closed.
1.
Remove all accessories and
removable shelf supports.
2.
Clean the oven cavity with warm
water and mild detergent. Clean the
inner door glass with warm water and
soft cloth.
3.
Turn on the oven.
4.
Enter the Menu and select the
function: Pyrolysis. Press
.
5.
Set the duration of the cleaning:
Option
Description
Quick
For a light
cleaning: 1 h.
Normal
For a stand-
ard cleaning:
1 h 30 min.
Intense
For a thor-
ough clean-
ing: 3 h.
6.
Press
.
When the cleaning starts, the oven door
is locked and the lamp does not work.
To stop the cleaning before it is
completed, turn off the oven.
WARNING!
After the function is
completed, the oven is very
hot. There is a risk of burns.
The door stays locked and some of the
oven functions are not available after the
cleaning is completed until temperature
in the oven decreases.
12.4
Removing and installing
the door
You can remove the door and the
internal glass panels to clean it. The
number of glass panels is different for
different models.
WARNING!
The door is heavy.
1.
Open the door fully.
2.
Fully lift up the clamping levers (A) on
the two door hinges.
A
A
3.
Close the door until it is at an angle
of approximately 45°.
ENGLISH
41

