POS-761F User’s Manual
48
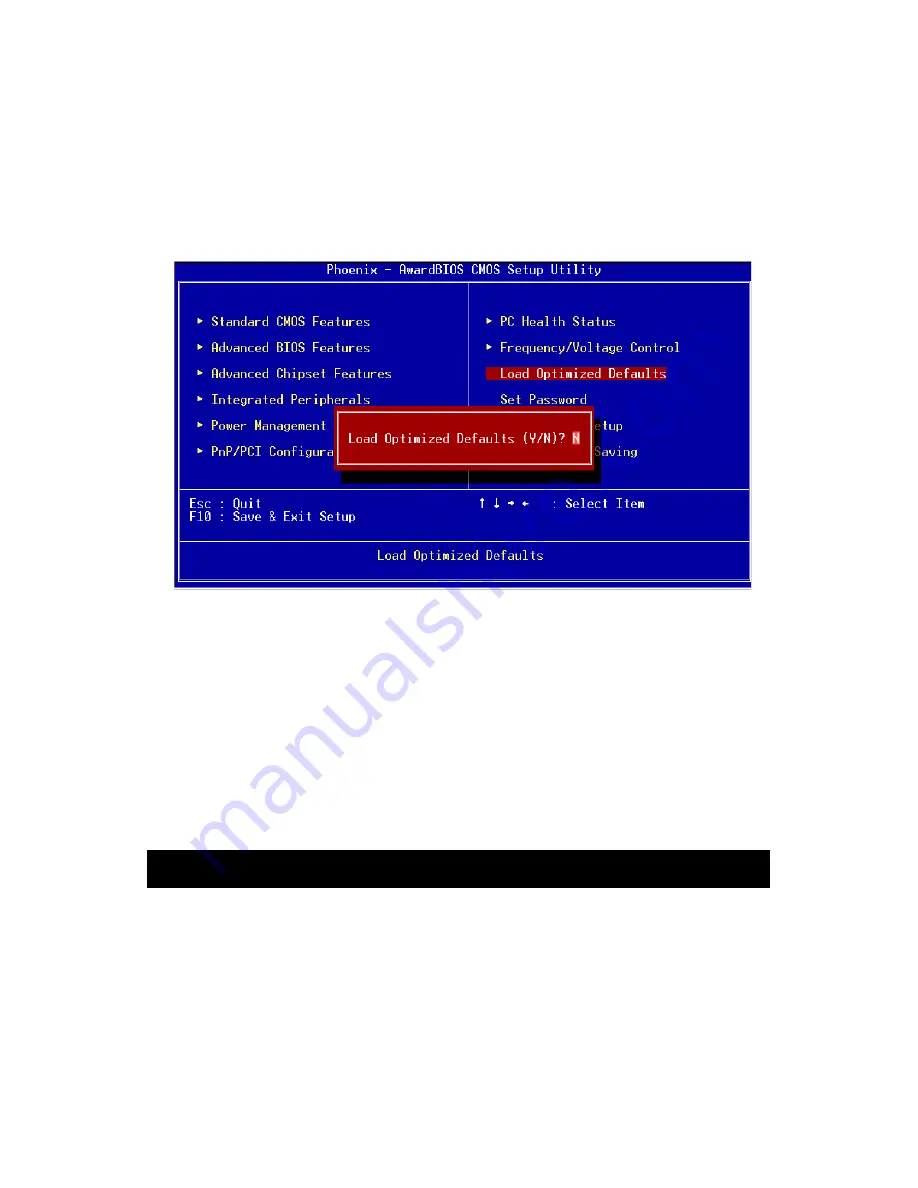
4.2.8 Load Optimized Defaults BIOS
L
OAD
O
PTIMIZED
D
EFAUL
TS loads the default optimized system values
directly from ROM. If the stored record created by the Setup program
becomes corrupted (and therefore unusable), these defaults will load
automatically when you turn the POS-761F on.
4.2.9 Set Password
To change the password, choose the S
ET
P
ASSWORD
option form the
Setup main menu and press <Enter>.
1.
If the CMOS is bad or this option has never been used, there is
default password which is stored in the ROM. The screen will dis-
play the following messages:
Press <Enter>.
2.
If the CMOS is good or this option has been used to change the
default password, the user is asked for the password stored in the
CMOS. The screen will display the following message:
Figure 4.8: Load Optimized Default BIOS screen
Enter Password
Summary of Contents for POS-761F
Page 1: ...POS 761F Socket 370 SBC for POS Kiosks and Gaming applications User s Manual...
Page 14: ...POS 761F User s Manual xiv...
Page 20: ...POS 761F User s Manual 6 1 4 Board Dimensions Figure 1 1 Board Dimensions Component Side...
Page 21: ...7 Chapter1 Figure 1 2 Board Dimensions Solder Side K...
Page 22: ...POS 761F User s Manual 8...
Page 27: ...13 Chapter2 2 3 Locating jumpers and connectors Figure 2 1 Locating Jumpers...
Page 43: ...29 Chapter2 Example Figure 2 3 POS 761F digital output solenoid wiring...
Page 44: ...POS 761F User s Manual 30...
Page 53: ...CHAPTER 4 Award BIOS Setup This chapter describes how to set BIOS configuration data...
Page 69: ...55 Chapter5 2 Choose the Adapter tab then press the Change button 3 Press the Have Disk button...
Page 73: ...59 Chapter5 2 Select Adapter then Change...
Page 74: ...POS 761F User s Manual 60 3 Press Next then Display a list 4 Press the Have disk button...
Page 78: ...POS 761F User s Manual 64 2 Choose the Settings tab and press the Display Type button...
Page 79: ...65 Chapter5 3 Press the Change button...
Page 83: ...69 Chapter5 2 Choose the Video Controller VGA Compatible button...
Page 84: ...POS 761F User s Manual 70 3 Choose the Drive button press Update Driver button...
Page 88: ...POS 761F User s Manual 74 2 Choose Hardware and Device Manager press OK button...
Page 89: ...75 Chapter5 3 Choose Video Controller VGA Compatible press OK button...
Page 94: ...POS 761F User s Manual 80...
Page 111: ...97 Chapter6 Step 8 Press Next button Step 9 Press Finish to reboot...
Page 112: ...POS 761F User s Manual 98...
Page 117: ...103 Chapter7 7 2 3 Installation for Windows 2000 Step 1 Open Device Manager...
Page 118: ...POS 761F User s Manual 104 Step 2...
Page 119: ...105 Chapter7 Step 3 Step 4...
Page 120: ...POS 761F User s Manual 106 Step 5 Step 6...
Page 121: ...107 Chapter7 Step 7 Step 8...
Page 122: ...POS 761F User s Manual 108 Step 9...
Page 126: ...POS 761F User s Manual 112...
Page 129: ...115 AppendixA 1070 RETURN 2000 REM Subroutine 2 your application task 2090 RETURN...
Page 130: ...POS 761 User s Manual 116...
Page 150: ...POS 761F User s Manual 136...
Page 154: ...POS 761F User s Manual 140...


