58
3.5. Network Setup
With this menu, you can setup the network for the NVR. Before starting this setup, the NVR must be
connected to the router by LAN cable. Also, please make sure that the internet is working properly.
Important: If you are not familiar with network configuration and find any difficulties during this
setup, please consult with your IT specialist.
You should complete your network setup to control and manage the NVR through the internet
or local network just like you are next to the NVR.
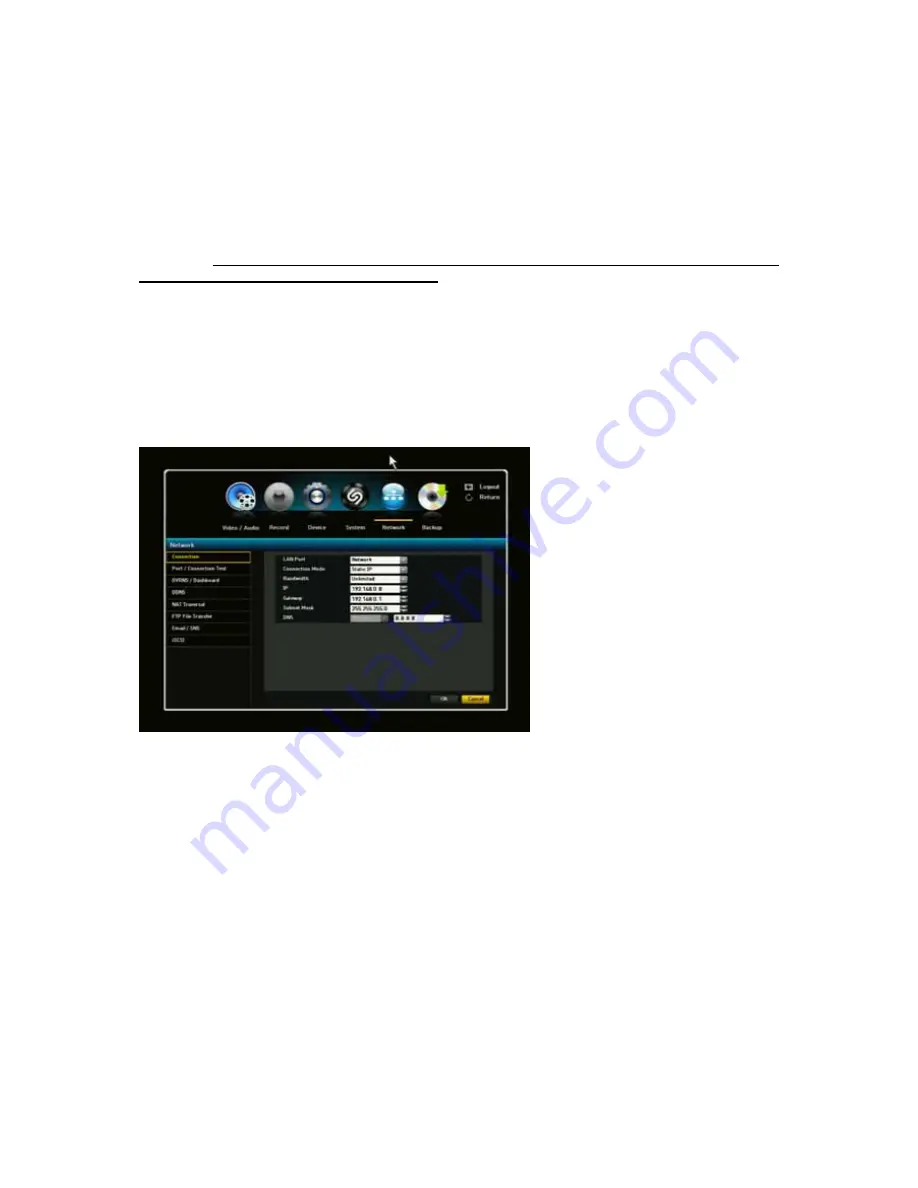
3.5.1. Connection
LAN Port: There are two selections in LAN port, Network and IP camera.
* You can set the network connection route and protocol.
1) Connection Mode: Sets the network connection mode.
2) Bandwidth: Sets the maximum data flow to be transferred (Upload speed). Options will vary
depending on the selected connection mode.
-
For Static IP, Dynamic IP: Select one from 50 kbps-2Mbps and unlimited.
3) IP, Gateway, Subnet Mask and DNS
-
For Static IP: You can directly input IP address, Gateway, Subnet Mask and DNS.
-
For Dynamic IP: IP Address, Gateway and Subnet Mask are set automatically.
-
For ADSL: Bandwidth, DNS, and User IP and PW should be set properly.
4) When the connection setup is complete, click <OK>.
** Hardware Network Port (on the rear panel of NVR) aligned with LAN Port Menu description:
Network (marked on the rear panel): is for NVR connection and controlling from external remote site.
Information of the “Information” Menu (mouse right-click menu on Live screen) is related to the
Network Port.
* Network Port: When No Router Is Used
There are three connection modes: Static IP, Dynamic IP and ADSL mode.
1) Static IP Mode:


