


Digital Video Recorder
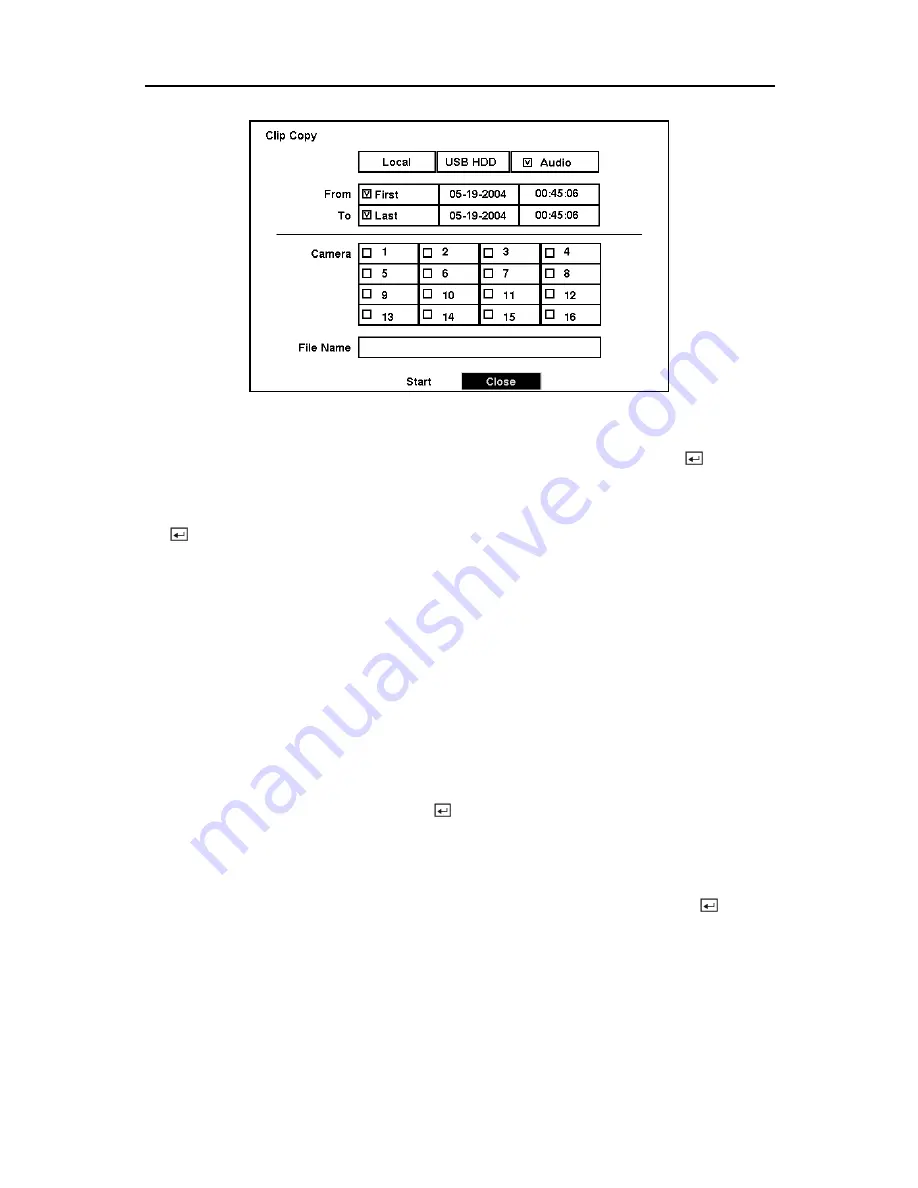
Figure 72 — Clip Copy screen.
To select the data source to back up, highlight the first box on the top and press the
button. A
drop-down list of available data source appears. You can select from
Local
or
Archive
.
To select the type of the drive to use for clip copy, highlight the second box on the top and press
the
button. A drop-down list of available drives appears. You can select from
IDE CD-RW
,
USB HDD
or
USB CD-RW
.
Placing a checkmark in the
Audio
box archives recorded audio with video.
NOTE: It is possible to use the USB CD-RW drive for clip copy when less than three
SCSI hard disk drives are connected to the DVR, and use the IDE CD-RW drive when less
than four SCSI hard disk drives are connected.
NOTE: A CD-R or CD-RW disk that was written to using a computer might not work in a
USB CD-RW drive connected to the DVR.
You can define how much video to back up by changing the start and end times and dates. You
can also select which camera you wish to back up.
Highlight the
File Name
box and press the
button. A virtual keyboard appears. Enter a file
name for the video you are backing up and select
Close
. The DVR will automatically add the
camera number (for example “01”) and “.exe” to the file name. If you want to save the file in a
specific folder, enter the folder name followed by a “/”. For example: “folder/filename”
Once you have given the video a file name, highlight the
Start
button and press the
button.
The DVR will display the drive capacity, the backup file size and ask if you want to continue.
NOTE: Do not back up files larger than 2GB.
63