


Digital Video Recorder
Audio Setup Screen
Highlight
Audio
in the Main menu and press the
button. The
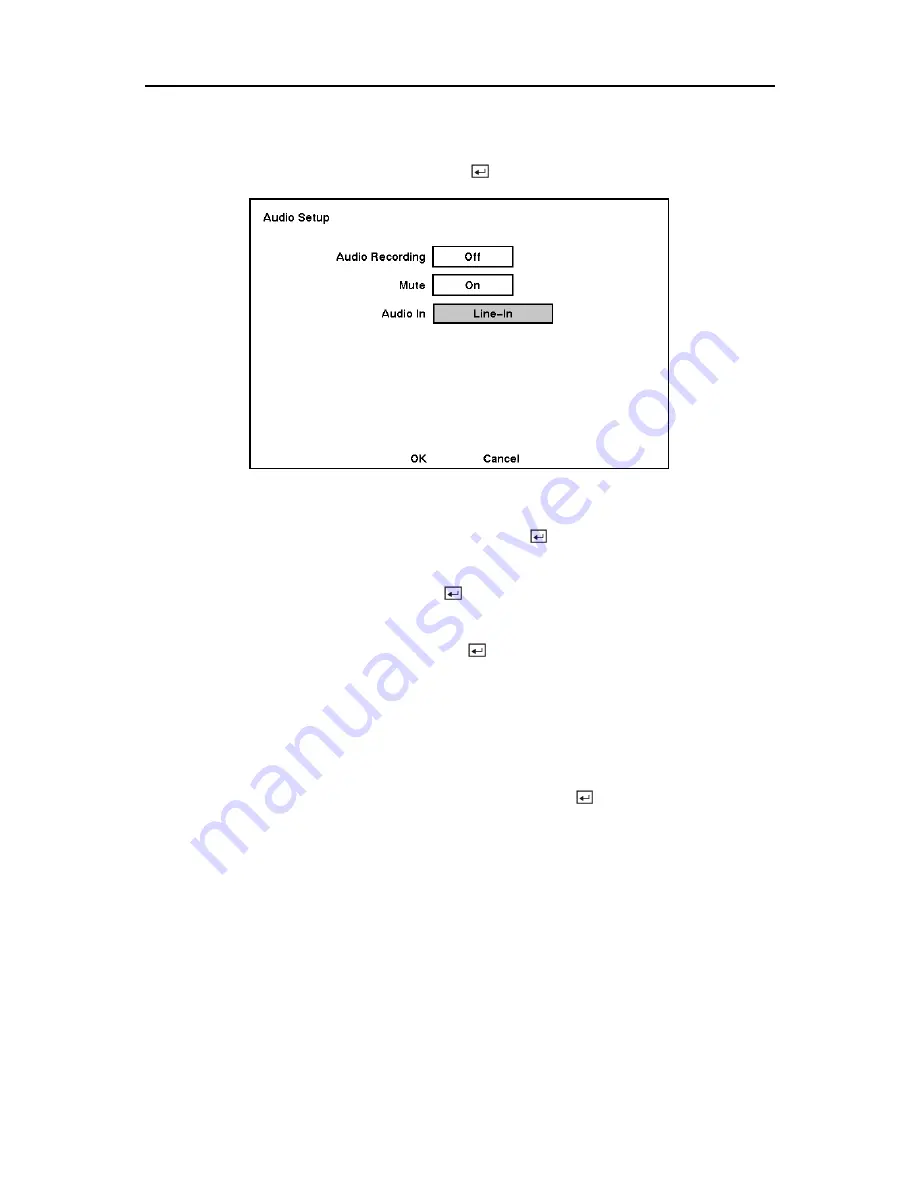
Audio Setup
screen appears.
Figure 45 — Audio Setup screen.
Highlight the box beside
Audio Recording
and press the
button. This toggles between
On
and
Off
. When it is
On
, the DVR also records audio when it is recording video.
Highlight the box beside
Mute
and press the
button. This toggles between
On
and
Off
.
When it is
On
, the DVR will NOT play live or recorded audio.
Highlight the box beside
Audio In
and press the
button. A drop down menu displays the
audio inputs. (
Mic In
,
Line In
, and
Observation)
.
NOTE: Mic In is for an unamplified source while Line In is for an amplified source.
NOTE: For two-way communication from the DVR to camera locations, select the
Observation
.
You can save your changes by highlighting
OK
and pressing the
button. Selecting
Cancel
exits the screen without saving the changes.
NOTE: If you set up the recording speed less than 1 ips, the DVR will NOT guarantee the
standard quality audio playback.
35