126
USING ADOBE AUDITION
Mixing multitrack sessions
Last updated 2/16/2012
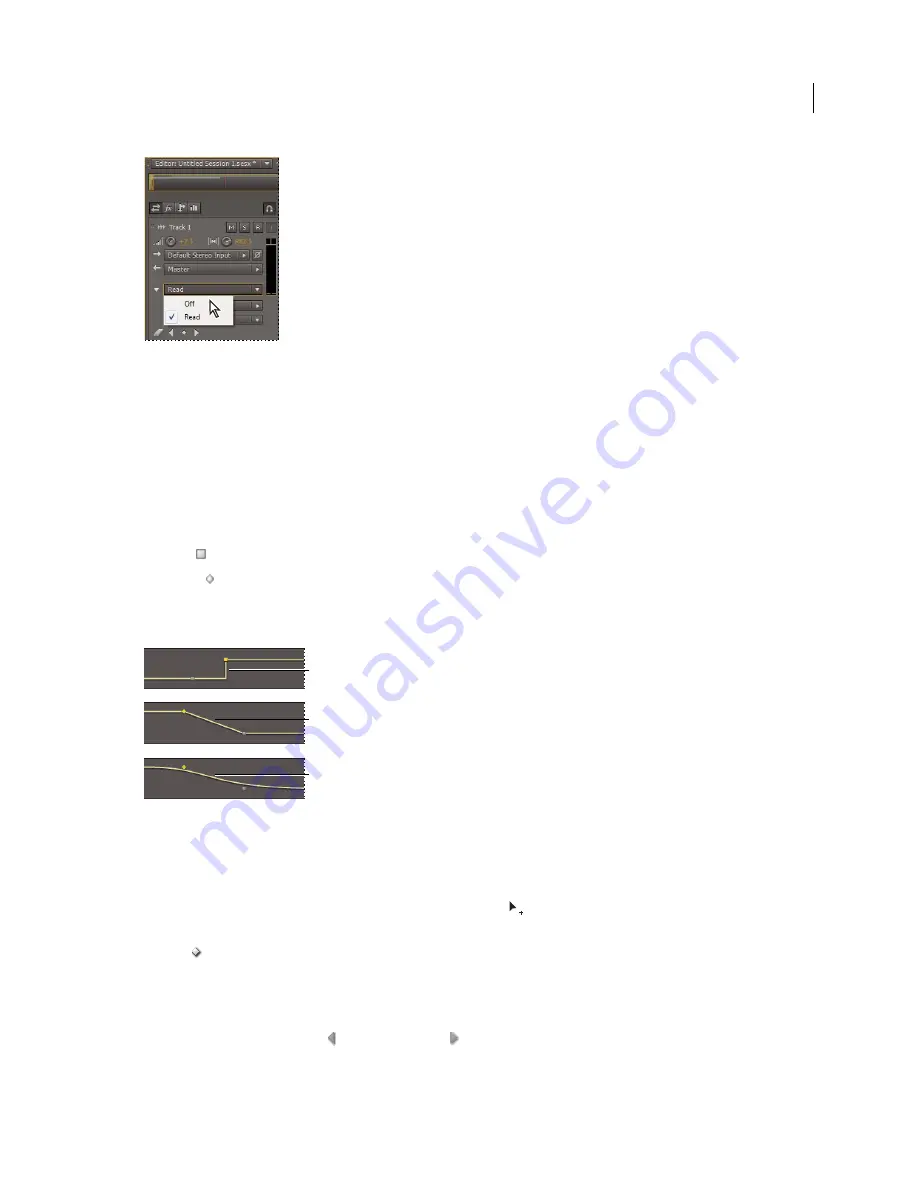
Track Automation Mode menu
Off
Ignores track envelopes during playback and mixdown, but continues to display envelopes so you can manually
add or adjust edit points.
Read
Applies track envelopes during playback and mixdown.
Adjust automation with keyframes
Keyframes on envelope lines change clip and track parameters over time. Adobe Audition automatically calculates, or
interpolates
, all the intermediate values between keyframes using one of two transition methods:
•
Hold
transitions create an abrupt change in value at each new keyframe.
•
Linear
transitions create a gradual, even change between keyframes.
You can also apply spline curves to an entire envelope, overriding the keyframe-specific setting above to create natural-
sounding transitions that change in speed near keyframes. (See “
About spline curves for graphs
” on page 61.)
Transitions between keyframes
A.
Hold
B.
Linear (the default)
C.
Spline curves
Add a keyframe
Do either of the following:
•
Position the pointer over an envelope line. When a plus sign
appears, click.
•
Position the current-time indicator where you’d like a track parameter to change. Then click the Add Keyframe
icon
in the track controls.
Navigate between track keyframes
1
In the Editor panel, choose a parameter from the Select menu near the bottom of the track controls.
2
Click the Previous Keyframe
or Next Keyframe
icon.
A
B
C
Summary of Contents for 22011292 - Audition - PC
Page 1: ...Using ADOBE AUDITION CS5 5...


