5
Table: Foil Heating Mat Product Selection
230V
Heated Area
Mat Dimensions
Watts
(140W/m
2
)
Amps
ohms
Catalog Number
m
2
sq. ft.
M*m
in.*ft.
HM140/1
1.0
10.8
0.5*2
20*6.6
140
0.61
377.9
HM140/1.5
1.5
16.1
0.5*3
20*9.9
210
0.91
251.9
HM140/2
2.0
21.5
0.5*4
20*13.1
280
1.22
188.9
HM140/2.5
2.5
26.9
0.5*5
20*16.4
350
1.52
151.1
HM140/3
3.0
32.3
0.5*6
20*19.7
420
1.83
126.0
HM140/3.5
3.5
37.7
0.5*7
20*23.0
490
2.13
108.0
HM140/4
4.0
43.1
0.5*8
20*26.3
560
2.43
94.5
HM140/4.5
4.5
48.4
0.5*9
20*29.5
630
2.74
84.0
HM140/5
5.0
53.8
0.5*10
20*32.8
700
3.04
75.6
HM140/6
6.0
64.6
0.5*12
20*39.4
840
3.65
63.0
HM140/7
7.0
75.3
0.5*14
20*45.9
980
4.26
54.0
HM140/8
8.0
86.1
0.5*16
20*52.5
1120
4.87
47.2
HM140/9
9.0
96.9
0.5*18
20*59.1
1260
5.48
42.0
HM140/10
10
107.6
0.5*20
20*66.6
1400
6.09
37.8
HM140/12
12
129.2
0.5*24
20*78.8
1680
7.30
31.5
4 Installation
Important:
Tools and materials required
You will require the following items to install and test the floor heating system:
·
Scissors
·
Utility knife
·
Wire strippers
·
Tape measure
·
Screwdriver
·
Multimeter
·
Aluminum tape
·
Aluminum foil glass fiber tape
You will also need the appropriate tools and
materials to install your particular floor.
Follow these steps to ensure a successful Foil
Heating Mat installation.
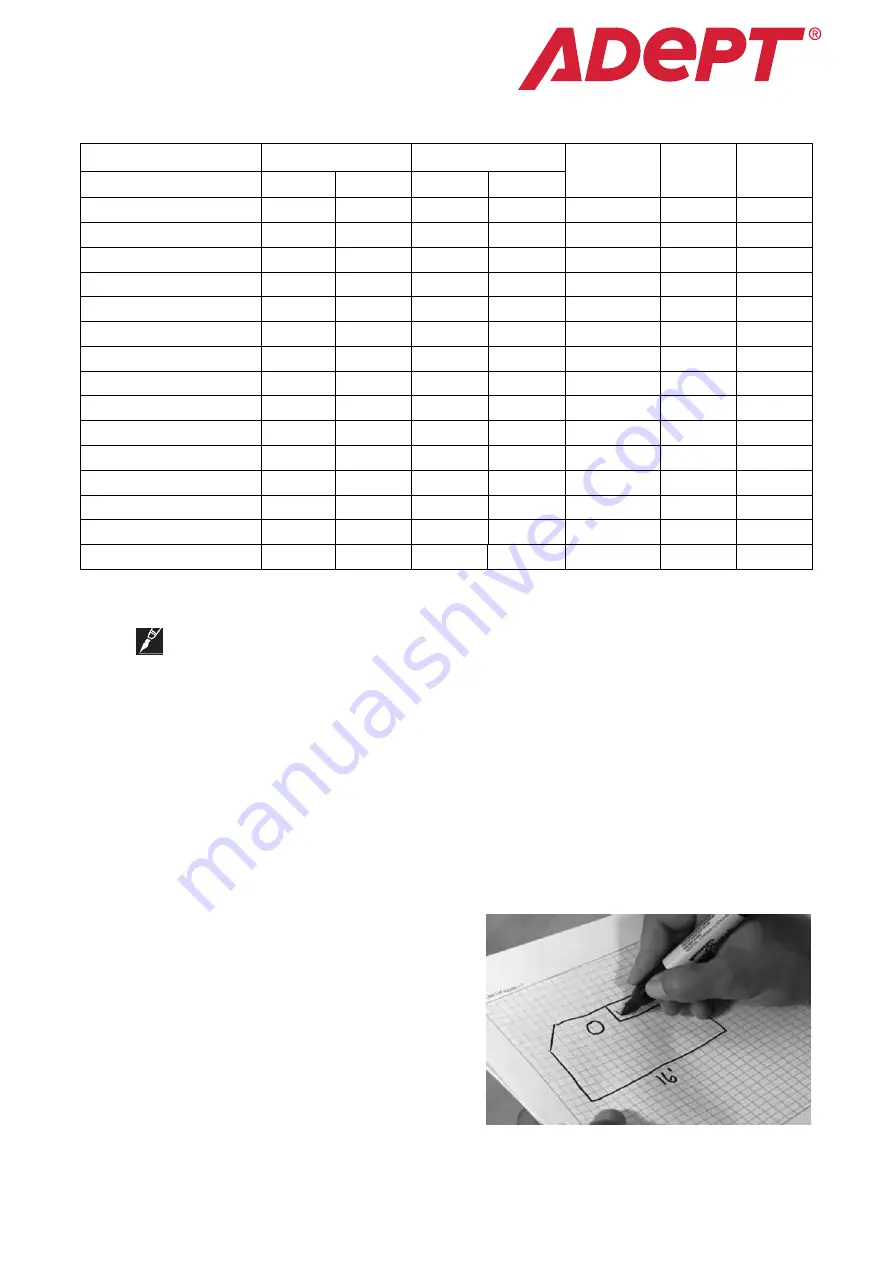
Step 1: PLAN LAYOUT
Make a sketch layout or a floor plan of the room;
include all permanent furnishings such as toilets,
bathtubs, appliances, cabinetry, etc. The first step is
to calculate the coverage of heating mat that you
require. Although 100% coverage is achievable we
would recommend allowing a border of between 2 and 4cm around the edge of the room.


