Single-Channel Digital Video Recorder
57
You can choose to archive video from the first to last recorded images, or you can set the start
and stop times and dates.
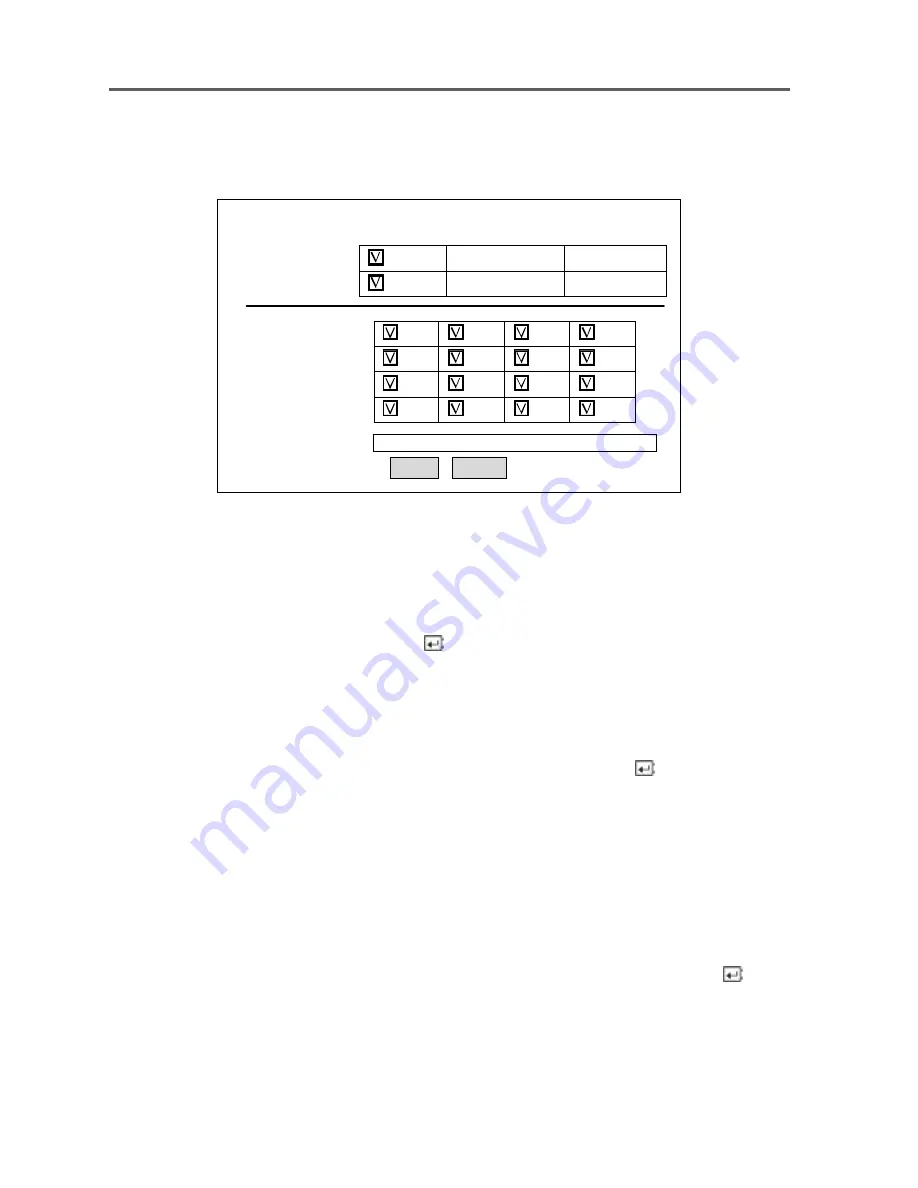
Figure 52 — Multiplexer Backup screen
When the DVR is configured for use with a multiplexer, you can choose which cameras you
want to archive video from. Place a checkmark in the boxes beside the camera numbers for
which you want to archive video.
Highlight the
File Name
box and press the
button. A virtual keyboard appears. Enter a
file name for the video you are archiving and select
Close
. The DVR will automatically add
the camera number (for example “01”) and “.exe” to the file name. If you want to save the
file in a specific folder, enter the folder name followed by a “/”. For example:
“folder/filename”
Once you have given the video a file name, highlight
Start
and press the
button.
The DVR will display the USB drive capacity, the backup file size and ask if you want to
continue.
NOTE: Do not back up files larger than 2GB.
During archiving the title bar will first display
Preparing backup
, then it will show the
progress. Once archiving is complete, the title bar will display
Backup is completed
.
You can end the archiving process at any time by highlighting
Stop
and pressing the
button.
Backup
From
To
Camera
File Name
.
Start Close
.
First
2002-03-11
02:29:38
Last
2002-03-12
01:30:38
1
2
3
4
5
6
7
8
9
10
11
12
13
14
15
16
Summary of Contents for AHDR1
Page 1: ......
Page 9: ...User s Manual 8 Figure 1 Typical DVR installation 1 Figure 2 Typical DVR installation 2...
Page 11: ...User s Manual 10...
Page 21: ...User s Manual 20...
Page 49: ...User s Manual 48...
Page 69: ...User s Manual 68...


