www.adeept.com
69
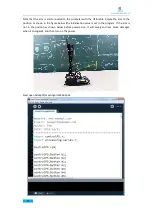
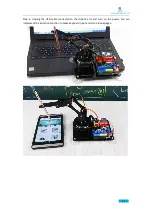
Next, rotate the potentiometer on the driver broad to the center as shown below:
After completing the above preparations, gently support the robotic arm and then turn on the
power. You will see the working status of the current situation and the number of the remaining
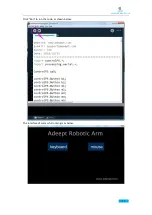
motions the robotic arm needs to be record display on the OLED. Adjust the potentiometer to
move the robotic arm. When the arm moves to the position you need, press the touch button
(note that the time for pressing the touch button cannot exceed 3 seconds), UNO will record the
position information of the arm at the current moment and the number of remaining motions
displayed on OLED will lose one. When the displayed number is 0, the robotic arm completes
recording and will run automatically. If the arm is powered off, the previously recorded motion
information is still stored in EEPROM. After turning on the power again, if you don't need to
modify the motion of the arm, you can press and hold the touch button for more than 5 seconds,
the arm will automatically perform the previously recorded motions.
Summary of Contents for ADA031
Page 1: ...www adeept com 1...
Page 13: ...www adeept com 9 Run the downloaded file Click I Agree Click Next...
Page 23: ...www adeept com 19 Click Run...
Page 24: ...www adeept com 20 Running effect is as follow...
Page 50: ...www adeept com 46 Effect diagram after assembling...
Page 71: ...www adeept com 67...
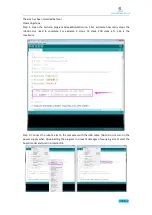
Page 77: ...www adeept com 73 Operating steps Open the file AdeeptArmRobot ino as shown below...
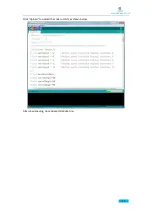
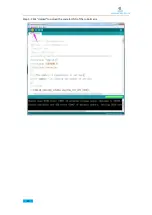
Page 84: ...www adeept com 80 Step 3 Click Upload to upload the code to UNO of the robotic arm...
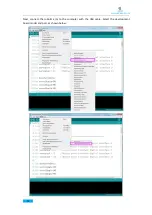
Page 87: ...www adeept com 83 Next select the development board model and port as shown below...
Page 88: ...www adeept com 84...
Page 93: ...www adeept com 89...


