www.adeept.com
40
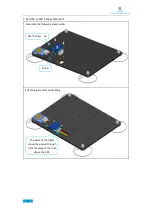
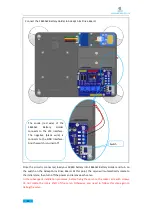
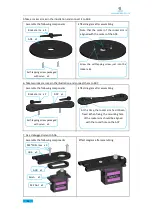
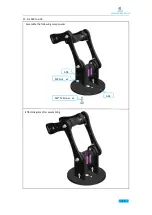
Effect diagram after assembling
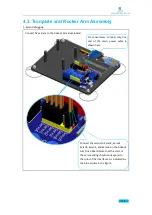
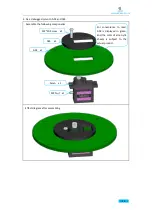
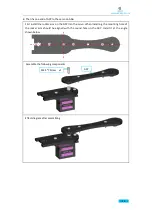
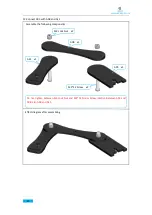
First install the rocker arm on the A07 into the servo. When installing, the mounting hole of
the rocker arm should be aligned with the round hole on the A07. Install it at the angle
shown below.
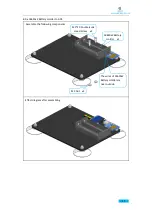
Effect diagram after assembling
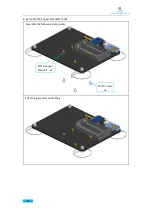
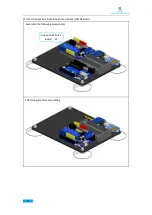
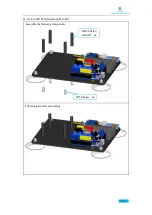
Assemble the following components
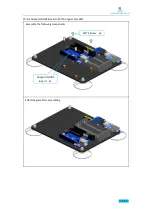
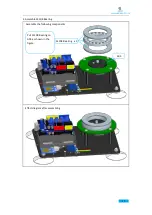
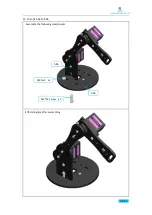
Assemble the following components
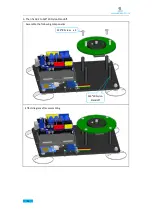
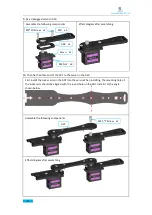
9. Fix a debugged servo to A10.
10. Then fix the other end of the A07 to the servo on the A10.
A10 x1
M2*10 Screw x2
A09 x1
Servo x1
M2 Nut x2
M2.5*7 Screw x1
A07
Summary of Contents for ADA031
Page 1: ...www adeept com 1...
Page 13: ...www adeept com 9 Run the downloaded file Click I Agree Click Next...
Page 23: ...www adeept com 19 Click Run...
Page 24: ...www adeept com 20 Running effect is as follow...
Page 50: ...www adeept com 46 Effect diagram after assembling...
Page 71: ...www adeept com 67...
Page 77: ...www adeept com 73 Operating steps Open the file AdeeptArmRobot ino as shown below...
Page 84: ...www adeept com 80 Step 3 Click Upload to upload the code to UNO of the robotic arm...
Page 87: ...www adeept com 83 Next select the development board model and port as shown below...
Page 88: ...www adeept com 84...
Page 93: ...www adeept com 89...

