Fusion Installation Procedures
7-40
InterReach Fusion Installation, Operation, and Reference Manual
CONFIDENTIAL
D-620610-0-20 Rev D
3.
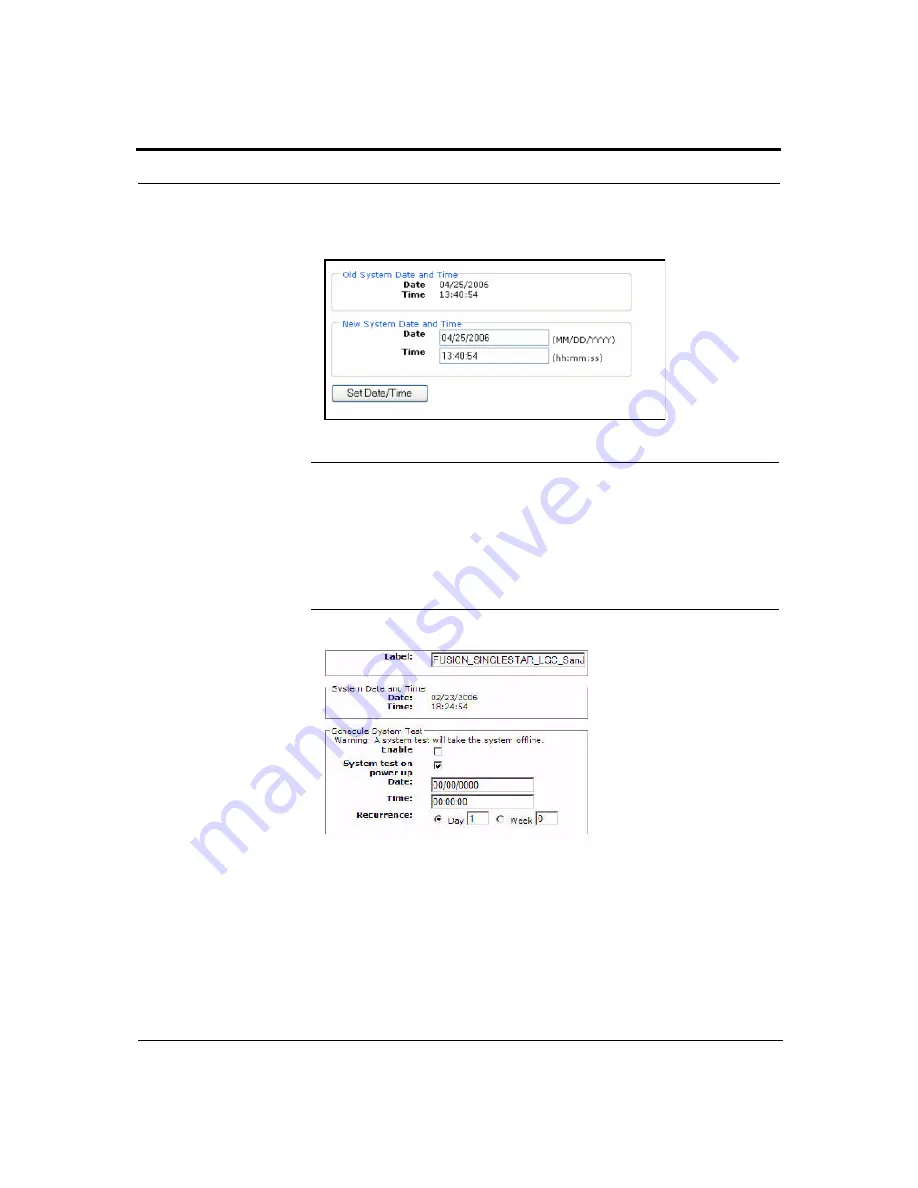
Click System Configuration and then click Set Date/Time. A page similar to
Figure 7-23 appears.
Figure 7-23
Set Time and Date Window
4.
Enter the desired time and date in the format indicated on the page and click Set
Date/Time. A page appears requiring you to reboot the system for the new date
and time to take effect.
5.
Select the Fusion Main Hub and click Install/Configure System. A screen similar
to the Figure 7-24 appears.
Figure 7-24
AdminBrowser Configuration Window
6.
If desired, type in a label.
The label is the system name displayed next to the icons and used in messages.It
can be up to 32 characters long depending upon the firmware version.
The default system label is “Fusion” and will be used if you enter nothing.
7.
Type in a Date and Time or leave the current system date and time unchanged.
Enter time is a 24-hour format.
8.
Use the next section to schedule a System Test.
This section allows you to do the following:


