19
3.7 Setting a pay period ending date
The ATR 440 is designed so that the last day of your pay period prints
on the bottom row of your time card. On initial setup, be sure to
select
the previous pay period
and not the current pay period ending date.
This will assure that when you start using the ATR 440, registrations
print in the correct row of your time recorder. For semimonthly and
monthly pay periods, select the 31st as the pay ending date. Since
monthly time cards normally have 32 rows, you must select one row
on the card as a blank row. Check your time card for the blank row
position.
Make sure that you chose the appropriate card type number
in Section 3.4.
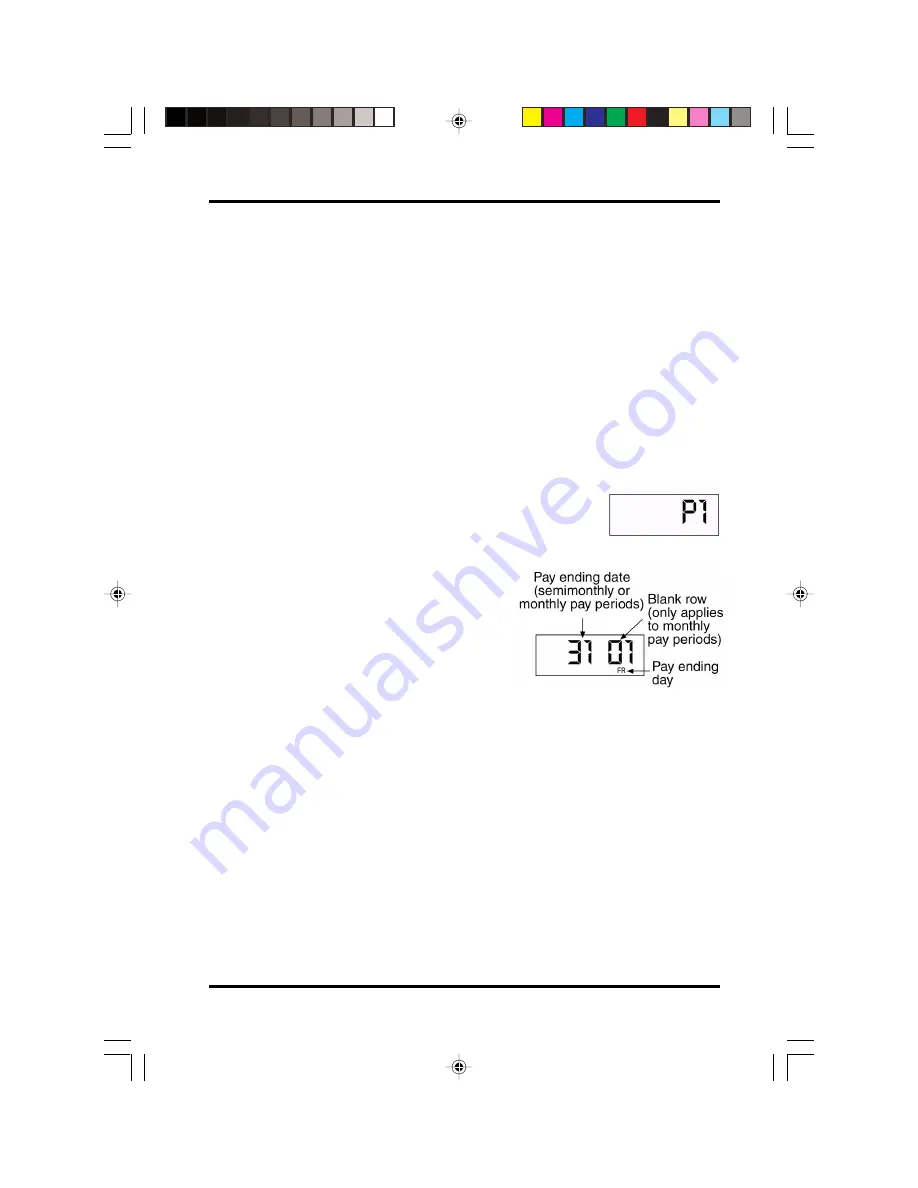
To change the pay ending date for a monthly pay
period, open the top cover. The digital display
reads P1.
Press the F5 button.
The pay ending date flashes.
For
semimonthly and monthly pay
periods, leave this set at 31.
Press
the + or - button to change the pay
ending date to the correct date and
press the E button.
The blank row number flashes next. Press the + or - button to
change the blank row to the correct row number. Then press the
E button.
Next, the day of the week will blink. This is the day of the week
a weekly or biweekly pay period should end on. Time for this
day should print on the last row of the time card. Press the + or -
button to change the day of the week. When the day is correct,
press the E button.
The display will turn off. You may either close the top cover at
this point or continue setting the clock.
Settings
atr440 A5 paper size.p65
8/21/02, 8:16 AM
19


