37
Installing the top cover
1
Perform the pre-installation instructions described on page 24.
2
Install the top cover.
(1) Align the top cover tabs with the slots on the chassis.
(2) Close the top cover.
3
Replace the two screws on the top cover.
Installing and removing the air duct
Caution! Always operate your server with the air duct installed to
ensure reliable and continued operation.
You need to remove the air duct to perform the following procedures:
•
Removing and installing a processor
•
Removing and installing a memory module
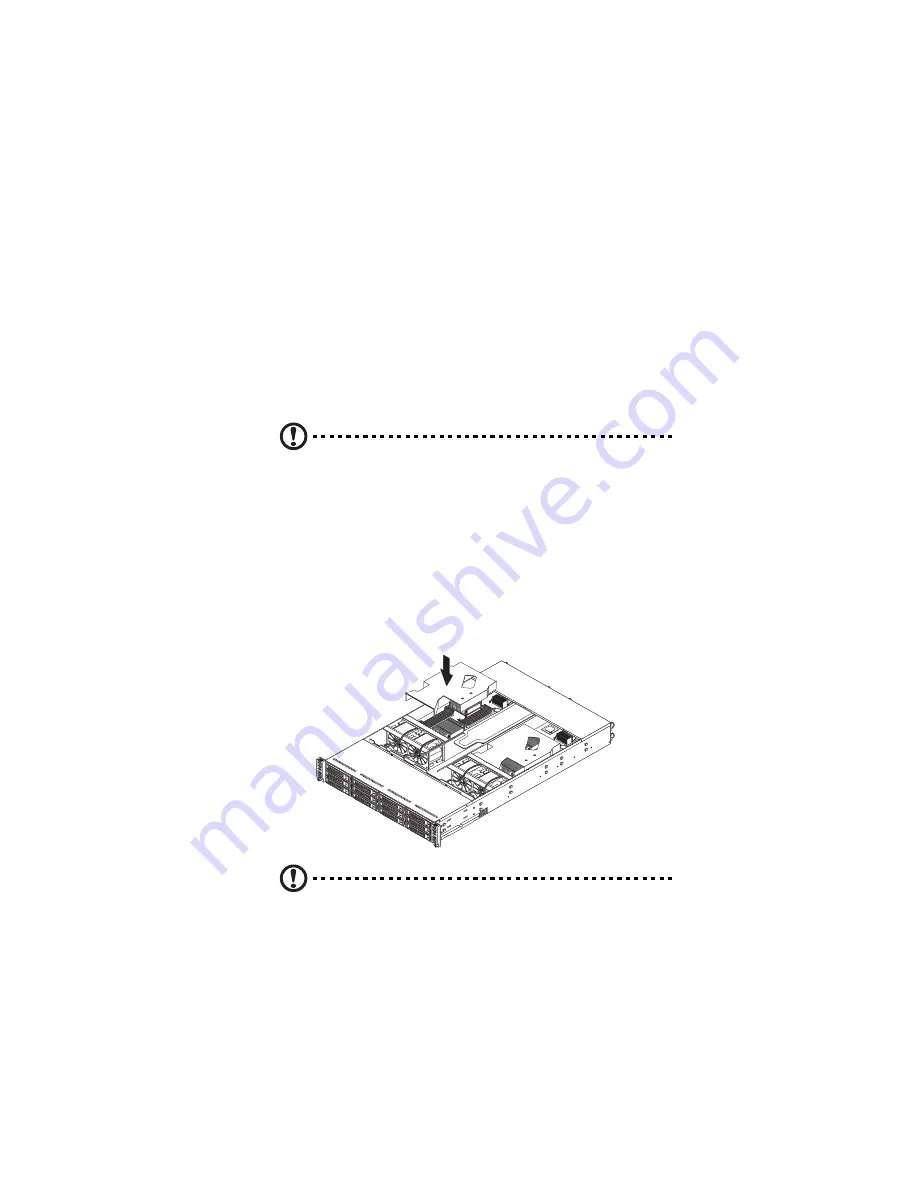
Installing the air duct
1
Perform the pre-installation instructions described on page 24.
2
Place the air duct on the chassis so that the tabs on the air duct
align with the slots on the chassis.
Caution! Do not pinch or unplug cables that may be near or under
the air duct.
Summary of Contents for AW170h F1
Page 1: ...AW2000h Series User Guide AW170h F1 AW170hd F1 AW170hq F1 ...
Page 16: ...xvi ...
Page 17: ...1 System tour ...
Page 30: ...1 System tour 14 ...
Page 31: ...2 System setup ...
Page 38: ...2 System setup 22 ...
Page 39: ...3 System upgrades ...
Page 70: ...3 System upgrades 54 ...
Page 71: ...4 System BIOS ...
Page 99: ...5 System troubleshooting ...
Page 109: ...Appendix A Server management tools ...
Page 114: ...Appendix A Server management tools 98 ...
Page 115: ...Appendix B Rack mount configuration ...
Page 126: ...Appendix B Rack mount configuration 110 ...
Page 127: ...Appendix C Acer Smart Console ...
Page 156: ...Appendix C Acer Smart Console 140 ...
Page 160: ...150 ...


