2 System setup
18
Turning on the system
After making sure that you have properly set up the system and
connected all the required cables, you can now power on the system.
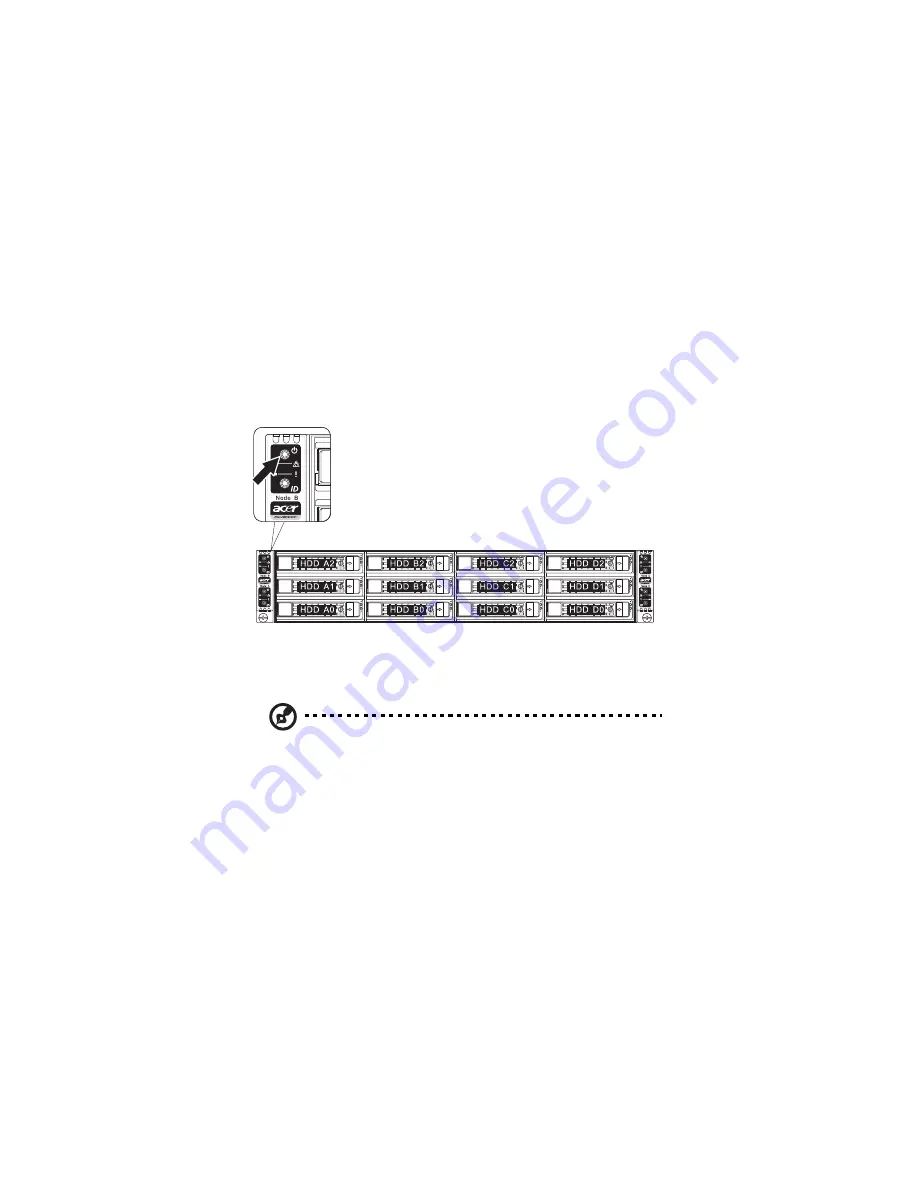
To power on the system:
After plugging in the power cord, press the power button for each
node. Each node can be powered on or powered off independently.
You can turn on each node at any sequence.
The system starts up and displays a welcome message on the monitor.
After that, a series of POST messages appears. The POST messages
indicate if the system is running well or not.
Note: If the system does not turn on or boot after pressing the
power button(s), go to the next section for the possible causes of
the boot failure.
Aside from the POST messages, you can determine if the system is in
good condition by checking if the following occurred.
•
The power indicator on the front panel lights up green.
•
The Num Lock, Caps Lock, and Scroll Lock indicators on the
keyboard light up.
Summary of Contents for AW170h F1
Page 1: ...AW2000h Series User Guide AW170h F1 AW170hd F1 AW170hq F1 ...
Page 16: ...xvi ...
Page 17: ...1 System tour ...
Page 30: ...1 System tour 14 ...
Page 31: ...2 System setup ...
Page 38: ...2 System setup 22 ...
Page 39: ...3 System upgrades ...
Page 70: ...3 System upgrades 54 ...
Page 71: ...4 System BIOS ...
Page 99: ...5 System troubleshooting ...
Page 109: ...Appendix A Server management tools ...
Page 114: ...Appendix A Server management tools 98 ...
Page 115: ...Appendix B Rack mount configuration ...
Page 126: ...Appendix B Rack mount configuration 110 ...
Page 127: ...Appendix C Acer Smart Console ...
Page 156: ...Appendix C Acer Smart Console 140 ...
Page 160: ...150 ...


