3 System upgrades
34
3
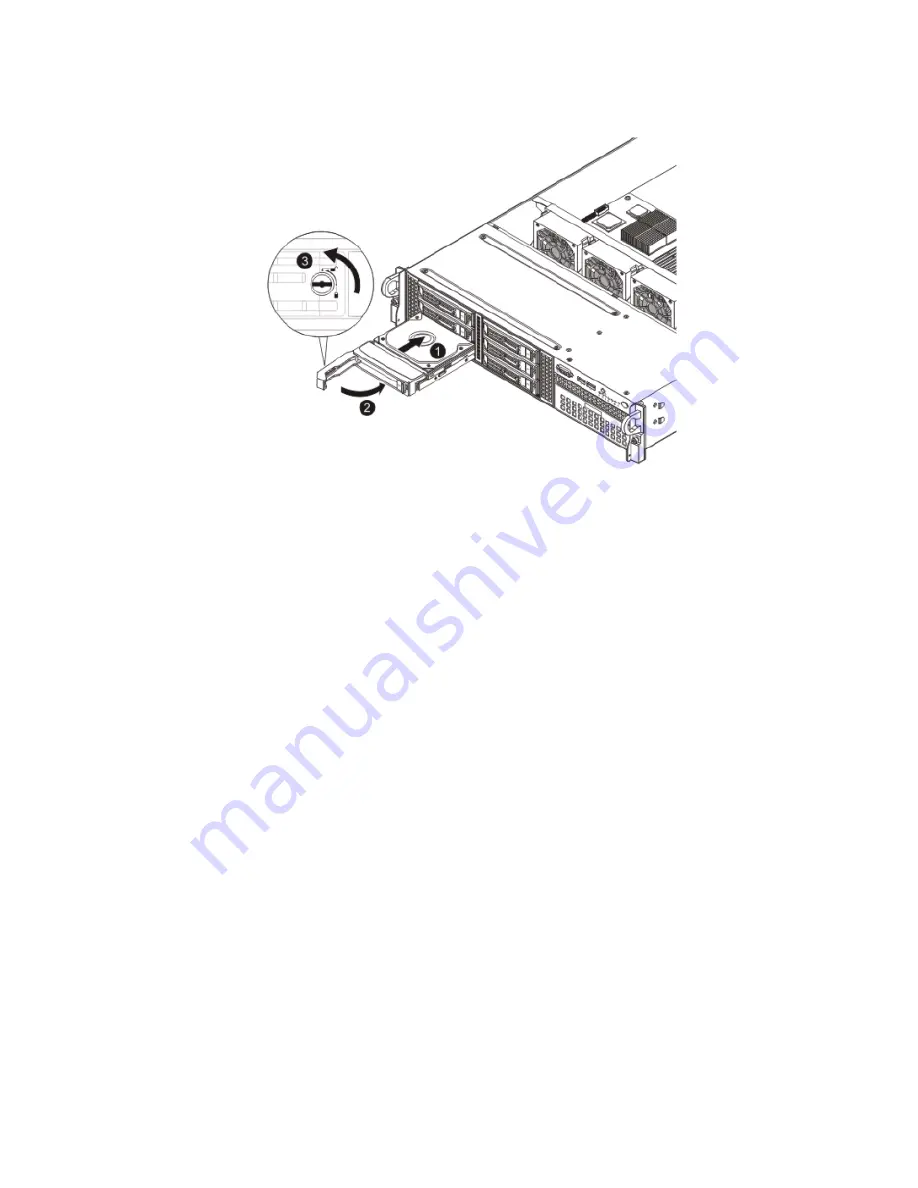
Lock the HDD carrier.
4
Observe the post-installation instructions described on page 27.
Removing and installing a 2.5” hard disk
drive
Removing a 2.5” hard disk drive with carrier
1
Observe the ESD precautions described on page 26.
2
Remove the carrier with failed HDD.
3
Remove the HDD carrier.
(1) Unlock the HDD carrier latch.
(2) Slide the HDD carrier latch to release the lever.
(3) Pull the lever up.
Summary of Contents for AR380 F1 Series
Page 1: ...AR380 F1 Series User Guide ...
Page 14: ...xiv ...
Page 18: ...xviii ...
Page 19: ...1 System tour ...
Page 35: ...2 System setup ...
Page 42: ...2 System setup 24 ...
Page 43: ...3 System upgrades ...
Page 82: ...3 System upgrades 64 ...
Page 83: ...4 System Bios ...
Page 119: ...101 View Event Log View the System Event Log Mark All Events as Read Marks all events as read ...
Page 120: ...4 System Bios 102 Clear Event Log This option clears the Event Log memory of all messages ...
Page 128: ...4 System Bios 110 are designed for maximum system stability but not for maximum performance ...
Page 129: ...5 System troubleshooting ...
Page 139: ...Appendix A Server management tools ...
Page 151: ...Appendix B Rack mount configuration ...
Page 152: ...Appendix B 134 ...
Page 163: ...Appendix C Acer Smart Console ...
Page 192: ...Appendix C Acer Smart Console 174 ...


