107
8
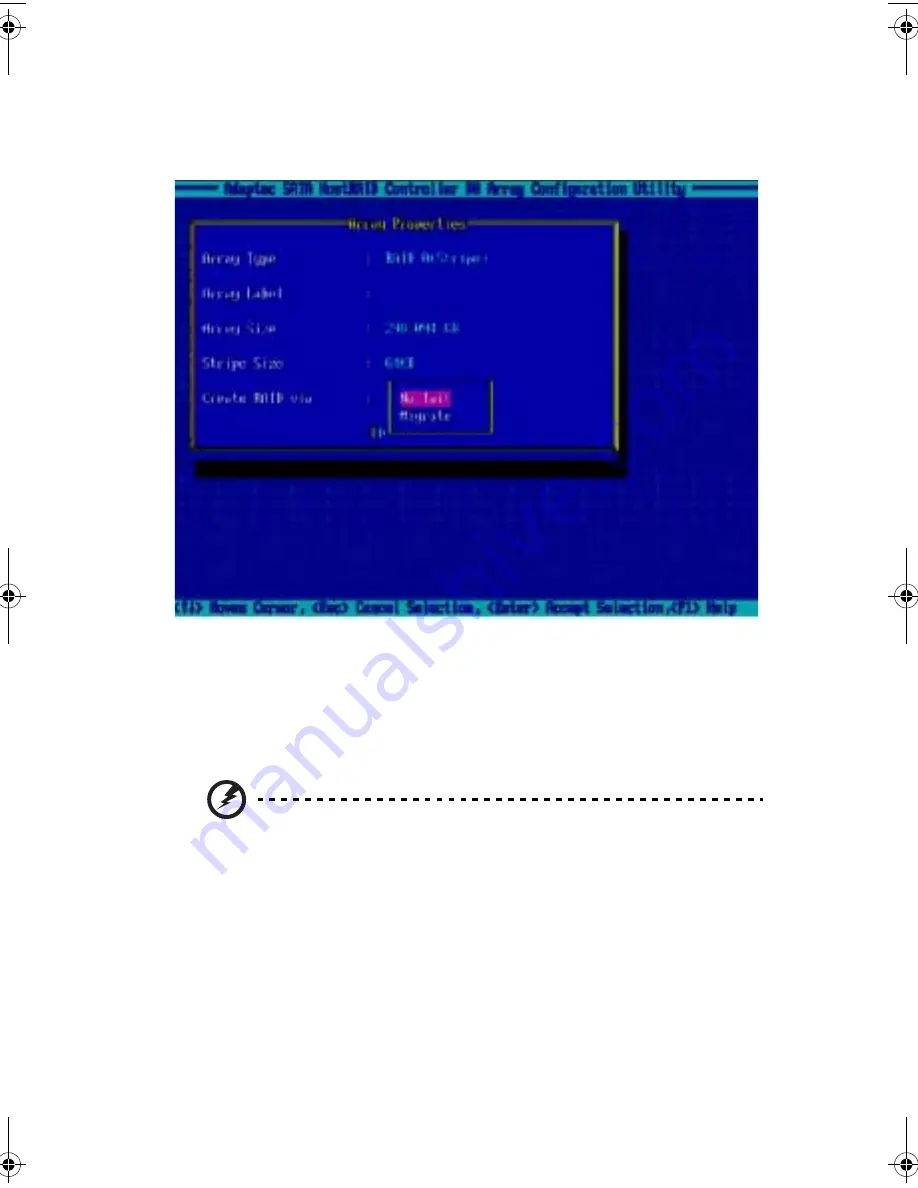
Using the <Tab> key, scoll to the
Create RAID via
field and select
No Init. Press <Enter> to continue.
9
With the <Tab> key, scroll to
Done,
and press <Enter> to exit the
utility.
Create RAID 0 from source drive
1
Install a new HDD and initalize it.
Warning! Do NOT initailize the source drive! Doing so will
destroy all data!
2
From the Main Menu, select
Create Array
, and press <Enter>.
3
Press the <Ins> key to add to the new drive(s) to the Selected
Drives field.
4
Press the <Enter> key to confirm your selection.
5
In the
Array Type
field, move the cursor to RAID 0(Stripe) and
press the <Enter> key.
6
Use the <Tab> key to scroll to the
Array Label
field and enter text
to identify the array. Press <Enter> to confirm the array’s label.
BB!S421!.!FO/cppl!!Qbhf!218!!Gsjebz-!Nbsdi!23-!3115!!5;1:!QN
Summary of Contents for Altos R310
Page 1: ...Acer Altos R310 User s Guide ...
Page 10: ...Contents x ...
Page 11: ...1 System information ...
Page 17: ...2 System tour ...
Page 25: ...15 12 ID ID indicator 12 SVGA monitor port 13 PS 2 keyboard port No Icon Description ...
Page 27: ...3 Getting Started ...
Page 28: ...This chapter gives information on setting up and starting to use your system ...
Page 46: ...3 Getting Started 36 ...
Page 47: ...4 Configuring the system ...
Page 67: ...5 BIOS setup ...
Page 90: ...5 BIOS setup 80 ...
Page 91: ...Appendix A Management software installation ...
Page 92: ...This appendix shows you how to install the ASM and EasyBUILDTM software packages ...
Page 96: ...Appendix A Management software installation 86 ...
Page 97: ...Appendix B Rack installation ...
Page 107: ...Appendix C SATA RAID configuration utility ...
Page 108: ...This appendix provides instructions for using the SATA RAID configuration utility ...
Page 122: ...Appendix C SATA RAID configuration utility 112 ...


