

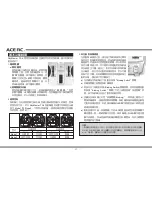
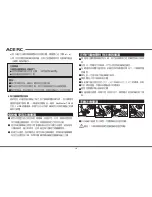
4. Range-Check
A built-in range-check function on the transmitter reduces signal
strength for pre-flight range-check. When this function is activated,
signal strength is weak. Use the weak signal strength for pre-flight
range-check to confirm operation of wireless radio control system is
normal. It is recommended to perform a complete range-check
before every flight.
NOTE
Binding process may take 3~10 seconds to execute. If binding fails,
the LED light on the receiver will turn red. Please turn off power and
repeat the above steps from a) ~ e).
NOTE
Never push the “Binding SW” button during flight. Flying under weak
signal strength will result in signal loss and model crash.
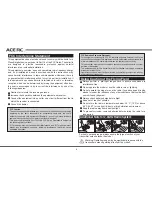
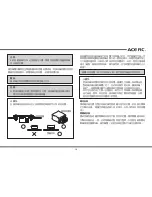
“Range-Checking” procedure:
a) Turn both transmitter and model power on and ensure the system
is functioning properly.
b) Take the transmitter to a distance of about 20~30m from the
model.
c) Press and hold the “Binding SW” button. Signal strength is now
weak. The transmitter buzzer will signal with a short “Bi-Bi-Bi”
warning tone. Please do not release “Binding SW” at this stage.
d) Operate both left and right sticks to drive movement on the
servos.Visually confirm that all movements are accurate and
signal is interference-free.
e)Release “Binding SW” button. Signal reverses back to full strength
and warning tone stops. And the warning tone also will stop in the
same time.
f) Model is ready to fly.
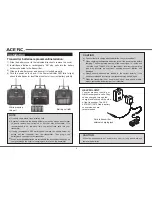
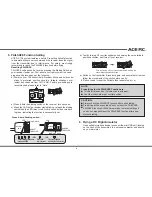
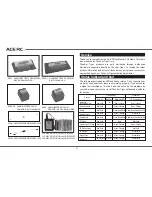
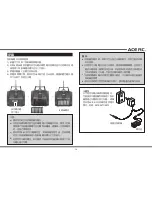
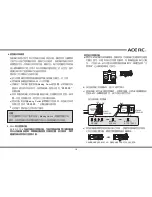
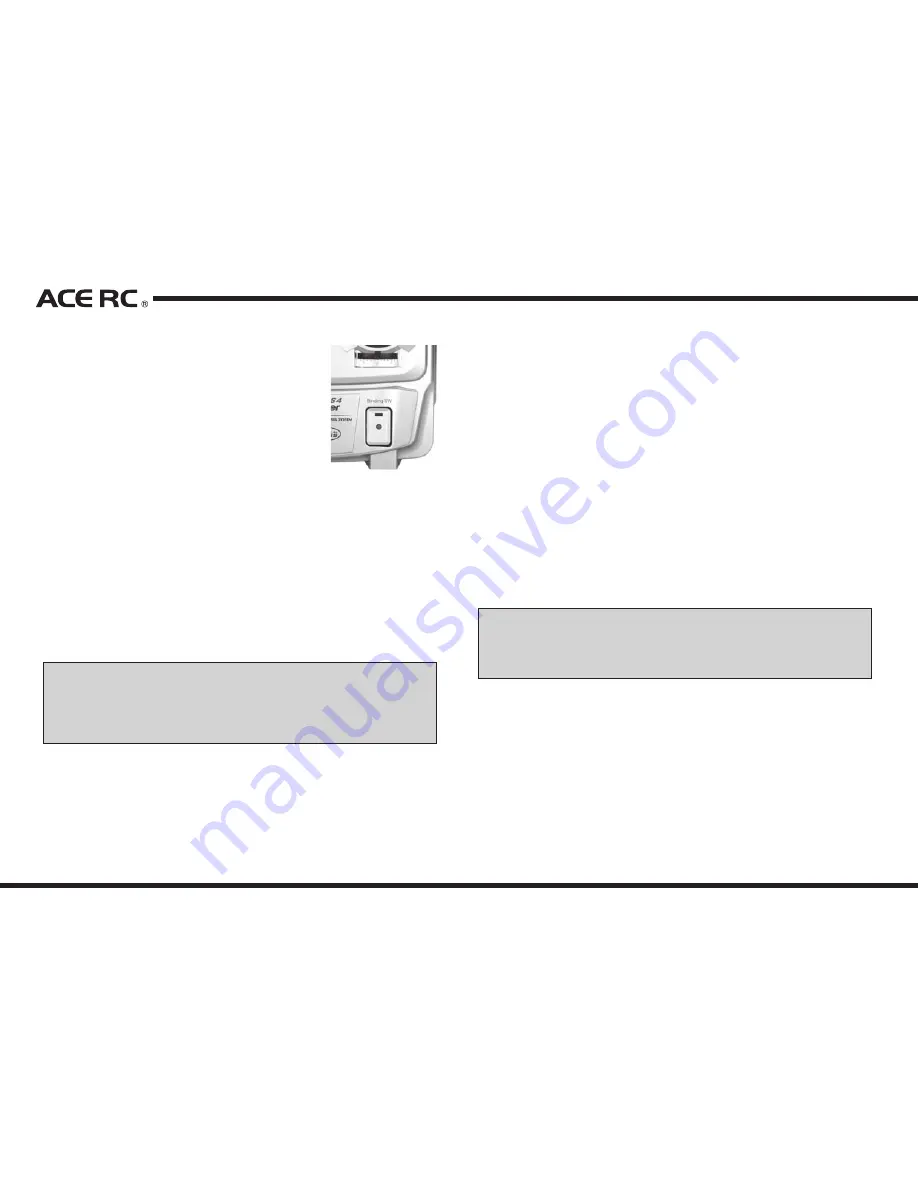
3. Binding process
A binding feature is included in the SkyMaster
TS4 2.4 GHz spread spectrum system to
ensure the transmitter and receiver bind
properly and prevent interference from other
controllers.
To bind Tx/Rx, please proceed as per the
following:
a) Press and hold “Binding SW” button located
on the right lower side of the transmitter.
b) Simultaneously, turn on the power.
c) Release the “Binding SW” button. The binding LED will blink
rapidly, indicating the transmitter is binding.
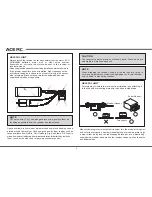
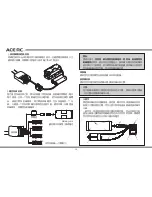
d) Press and hold the BINDING push button on the Receiver, plug
the battery power connector on the receiver to turn power on.
Then release the BINDING push button.
e) Successful binding is confirmed by the binding LED changing from
a rapid blink to a slow flash on the transmitter. The LED will turn
green on the receiver. Upon confirmation, turn off power of the
receiver and transmitter and launch normal start-up procedures.
7


