


RTU500 series Remote Terminal Unit
Windows 7
ABB AG - 1KGT 150 924
V000 1 | 9-1
9 USB RNDIS Driver Installation
The Remote Network Driver Interface Specification (RNDIS) is a Microsoft proprietary protocol used
on top of USB. It provides a virtual Ethernet link to most versions of the Windows operating system.
The USB interface on the CMU modules works as USB RNDIS target device. RNDIS host is a
Windows 7 computer. RNDIS interface’s IP address on the RTU is 169.254.0.10. The USB RNDIS
Device running on Windows host can get IP settings assigned automatically from the "link local"
block 169.254.0.0/16 (APIPA - Automatic Private IP Addressing). As described in RFC3927, it is
allocated for communication between hosts on a single link. The Windows host can obtain this
address by auto-configuration. The alternative to assign manually the IP address 169.254.0.1 on
Windows 7 host is described below.
If firewall is used on Windows 7 computer, please adjust firewall settings to allow communications
via the RNDIS interface. Subnet mask is 255.255.0.0.
The RNDIS driver is part of the Windows 7 installation, but you need to tell to the system where
it can find it. Before starting the driver installation, be sure that the current user has administrator
rights in the Windows 7 operating system. These rights are needed to install new driver software
on the computer.
This chapter describes how to install software for USB RNDIS device and setup the network interface
on Windows 7.
9.1 Windows 7
Install RTUtil500 Version 11.0.1.0 or higher.
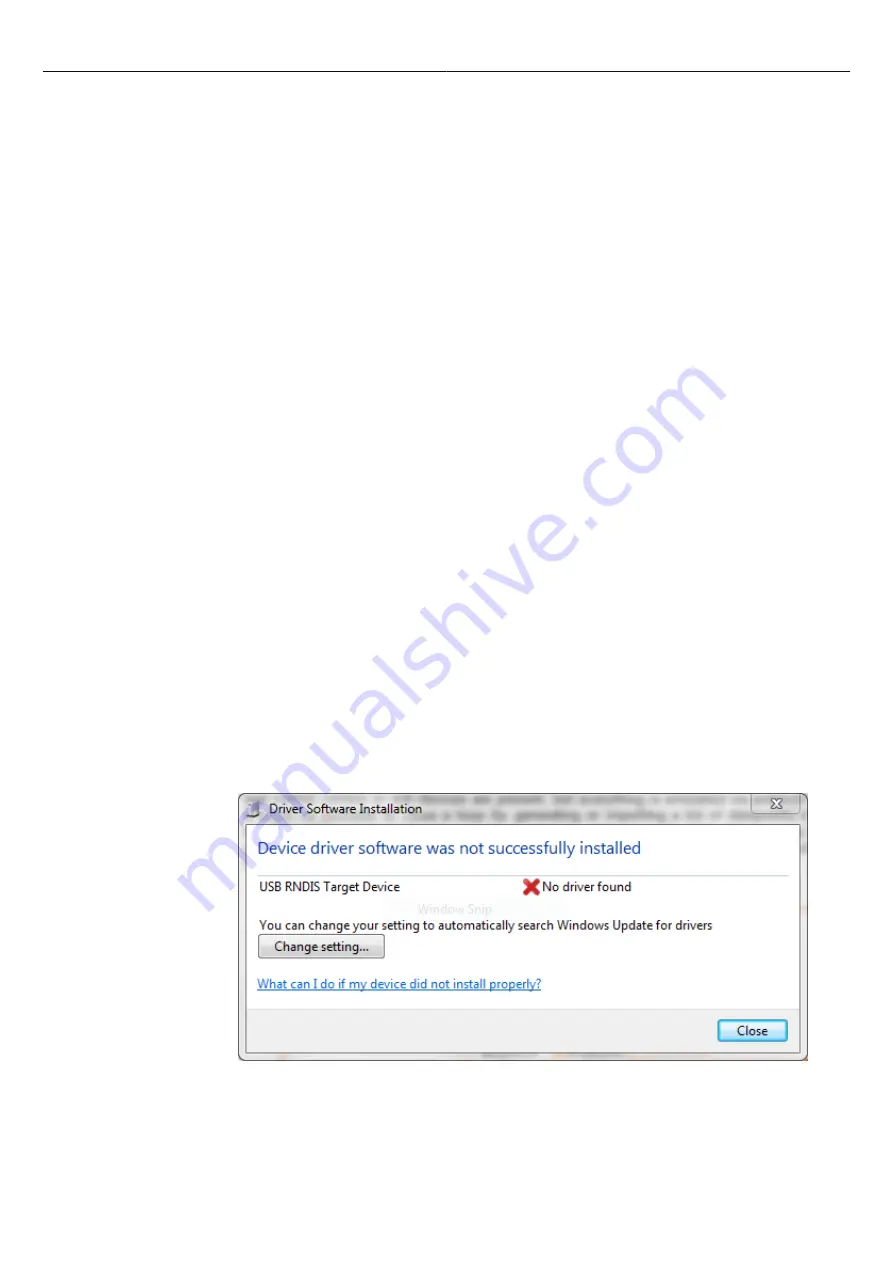
Connect the running RTU and the Windows 7 machine via USB cable. As soon as the RTU is
detected the Windows 7 operating system will try to automatically find a driver for it, but fails.
The Windows 7 machine detects the new USB RNDIS Target Device and prompts you to install it.
The following dialog box
"Driver Software Installation"
appears. Select the
“Close”
button.
Figure 108: Driver Software Installation


