2 – Select the target bank (e.g. a) by rotating the Left Crown
3 – Select the location of the playback file (by pressing the Left and Righ buttons to select the
Media or Project or Day fields and then Ok buttons to validate)
4 – Highlight the desired file by pressing the Plus(+) and Minus(-) buttons
5 – Assign the selected file to the current bank by pressing the Shift + F3 buttons.
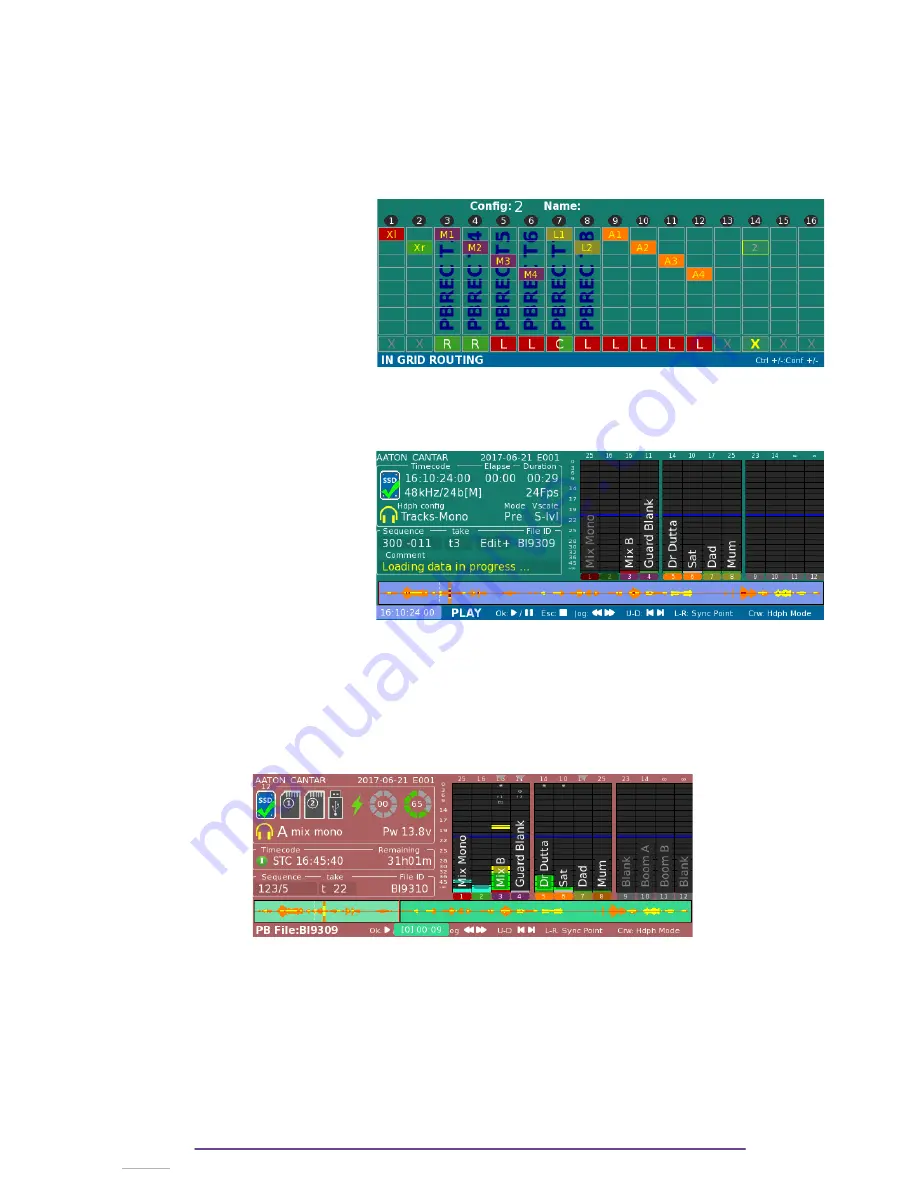
All ISO tracks are automatically duplicated into the playback grid. Mixdown tracks (Xl Xr) are
ignored, if necessary you still can edit the playback grid.
Press F1 to get an overview of the
final InGrid: a merge of the
playback Grid with the regular
Cantar InGrid.
Don’t forget to close the level of your inputs (or to remove them from the regular InGrid) if you
don’t want to add them to the played ISO tracks.
2.
Play-cards
In Clone mode, the Play-cards are
not available assuming the whole
file will be played.
3.
Test & Ppr
In a similar way to Live Mode, Test may be used to practice and Ppr to pre-load the played file.
4.
Record
Start the PLAYBACK and REC Record session by holding the Shift button pressed while rotating
the Main Selector to the REC position (12 o’clock).
– Play the source file by pressing the Ok button : you can redo your mixdown.
Note: All the metadata (track names, scene, take, notes) are duplicated in the newly recorded
take. The note field will begin with a reference to the original take (Ie.g CLONE:BI9309) to
keep track of the source playback file.
During the record, the Cantar displays the regular audio timecode, but at the end of the record,
the original timecode (of the playback file) will take the place. This new file can be used in post
to replace the source file.
Cantar X3
67
Summary of Contents for Cantar Mini
Page 1: ...Cantar Mini User Manual Software v 2 37...
Page 2: ...Cantar X3 2...
Page 81: ...Cantar X3 81...
Page 82: ...Cantar X3 82...


