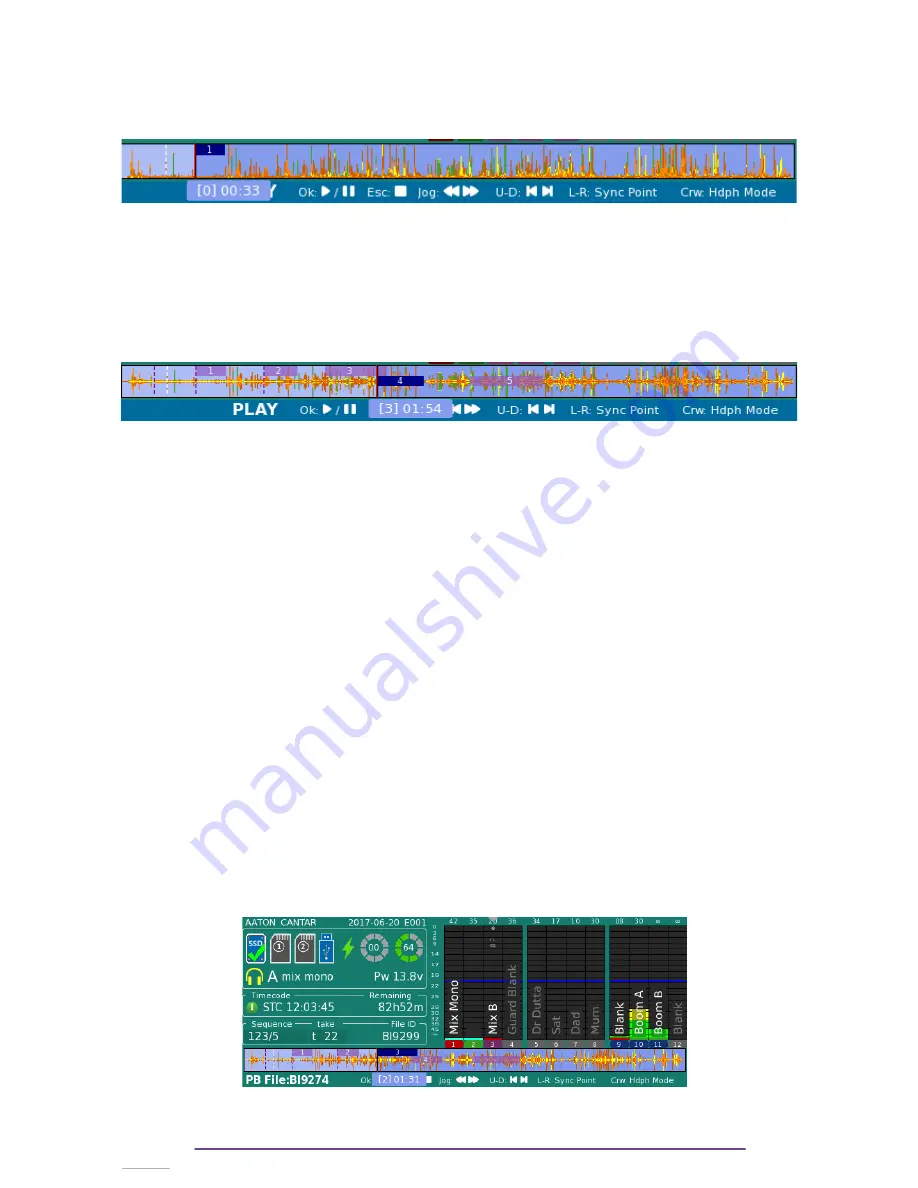
– Move the cursor to the In point, using the Jog Wheel.
– Create a new Play-card by pressing the Shift+F4 buttons. The In-point is defined by the Play
cursor position and the Out-point is by default placed several seconds later.
You can create up to 21 Play-cards within a file by repeating those actions.
– Move from one Play-card to another by pressing the Left and Right buttons. The current card
appears in dark blue while the other are in pink.
– Change the In or Out point of the currently selected Play-card by moving the play cursor on the
desired position (using the Jog Wheel), and then pressing the Ctrl + F1 buttons to move the In-
point or the Ctrl + F2 buttons to move the Out-point.
– Erase the currently selected Play-card by pressing the Shift + Esc buttons.
– Play the currently selected Play-card by pressing the OK button (Play/Pause). Audio will stop at
the end of the card.
– Disable the Play-card selection by pressing the F4 button, especially in order to be able to play
the file freely outside the card boundaries.
Pressing the Left and Right buttons automatically goes back to card selection.
– Switch between Playback banks (a, b, c, d, e) by pressing the Plus(+) and Minus(-) buttons.
3.
Test the setup
The PLAYBACK and REC TEST Menu allows to practice before the Record. You have access to
the regular audio inputs (mic, line …) and simultaneously you can start to play the previously
setuped Cards from the banks. (Play-cards can not be edited).
This Menu is accessed by holding the Shift button pressed while rotating the Main Selector in the
TEST position (10 o’clock).
– Move from one bank to another by pressing the Plus(+) and Minus(-) buttons.
Once a bank is loaded (it can take a few seconds according to the loaded take’s caracteristics),
only the Waveforms of the selected tracks in the Playback grid are displayed (T3/T4/T5 in the
example bellow).
– Play/pause by pressing the Ok button.
– Move from one card to another by pressing the Left and Right buttons.
Playback will stop at the end of the selected Play-card and the play cursor will be parked to the
In-point of the next Play-card.
Cantar X3
65
Summary of Contents for Cantar Mini
Page 1: ...Cantar Mini User Manual Software v 2 37...
Page 2: ...Cantar X3 2...
Page 81: ...Cantar X3 81...
Page 82: ...Cantar X3 82...


