3 options to choose a print profile, higher quality prints are printer
with mode resolution and hence require more time.
6. Print with support structure
The option to give your model some support material to make the
print more successful.
7. View modes
After your model has been prepared for printing, you can use
different view modes to analyze your design.
8. Rotate model options
Option to change the rotation of the object you like to print.
9. Scale model options
Option to change the scale of the object you like to print.
10. Mirror model options
Options to mirror the object you’d like to print.
11. Loaded
3D model
This is the object you have loaded through the load file button.
12. 3D print volume
This is a visualization of the print volume of your Aakar v2 your
object should remain inside this volume.
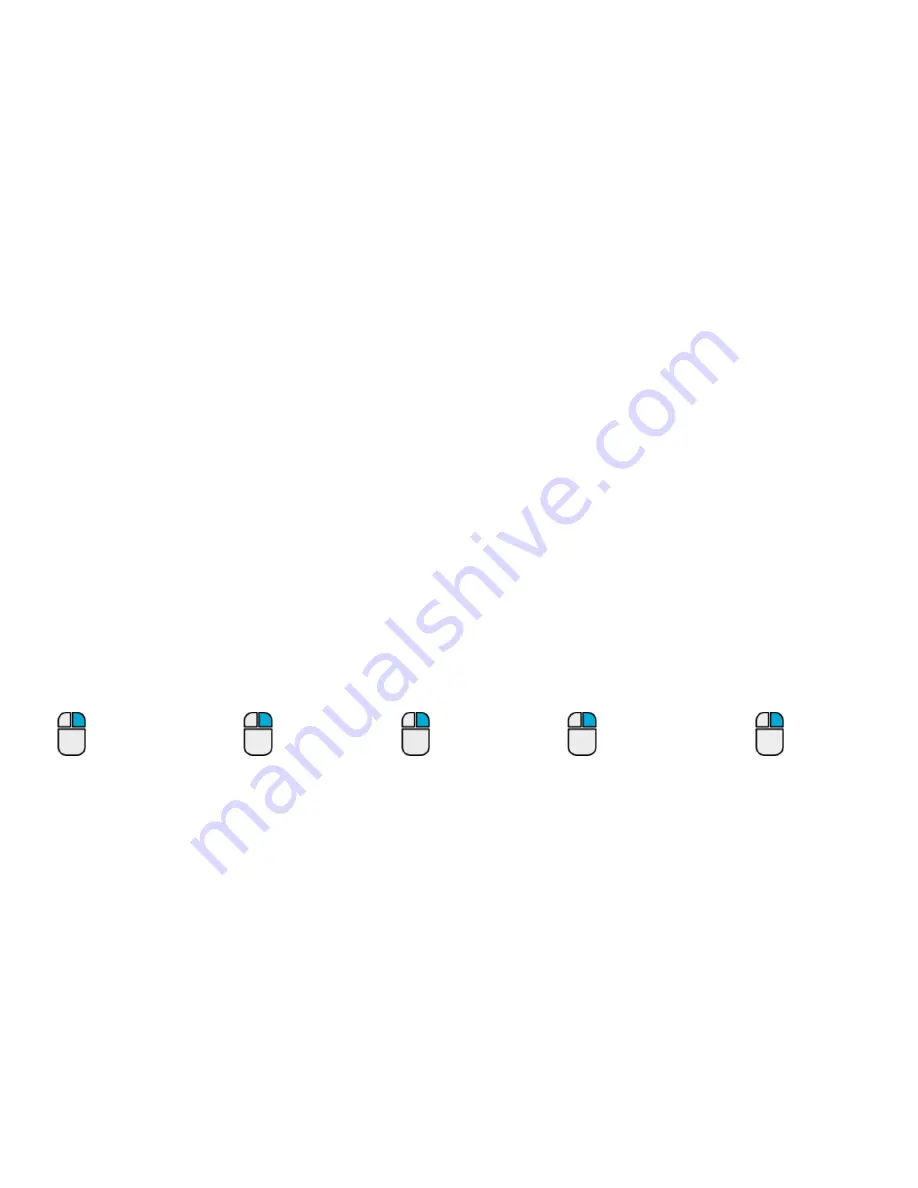
The following mouse actions are used to work, navigate and view the 3D model:
Leftmousr button
Select objects.hold and mave
the mouse to drag object on
the 3d space
Scrollwheel button
Use the scroll wheel
to zoom in or out.
Rightmouse Button
Hold and move the
mouse to rotate the
viewpoint around the
3D model.
Rightmouse Shift
Hold and move the mouse
to pan the 3D view.
Right and Left
mouse button
Hold and move the
mouse to zoom.
Summary of Contents for AAKARv2
Page 1: ...USER MANUAL...
Page 3: ...Welcome to AAKAR v2...
Page 9: ...Graphic LCD Push and rotate button Play Pause Button...
Page 10: ...Print head cable Extruder face panel Mounting guides Filament inlet Extruder cold end fan...
Page 11: ...GETTING STARTED WITH SOFTWARE...
Page 20: ...GETTING STARTED WITH HARDWARE...
Page 38: ...MAINTAINANCE...
Page 45: ...Good luck from Aakar Team...


