


27
EN
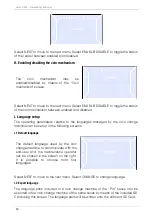
Select ENABLE/DISABLE to enable/disable
the acceptance of the corresponding
banknote, then select NEXT to move to the
next banknote.
If the NEXT button is pressed again after the sixth coin, you can verify the type of
value associated to any token inserted in the hopper.
In the example, a value of 3 Euro is assigned to the token.
This function is valid also for the second hopper (if present).
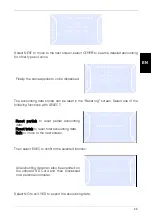
D. Setting up the token value
To assign a value to the type of token
inserted into the hopper, select YES in the
following screen.
The display will show the screen here on
the right.
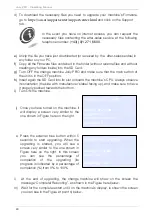
You can set an Euro value for the token by means of the left button (CONTIN) and
right button (CHANGE).
A token value can also be entered for the second hopper (if present).
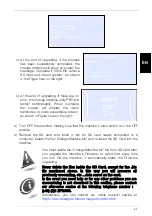
D.1 Rationale of dispensing
The combination of change dispensed for
specific inserted cash values can be set.
Select ENABLE in the DISPENSING
RATIONALE screen.
Summary of Contents for Jolly PRO
Page 2: ...EN ...
Page 57: ...57 EN ...
Page 58: ...Jolly PRO Operating Manual 58 ...
Page 59: ...59 EN ...
Page 60: ......