282 | Product Options
Aprisa SRx User Manual 1.3.0
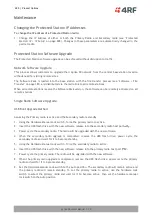
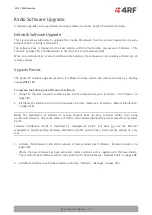
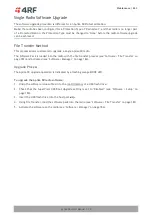
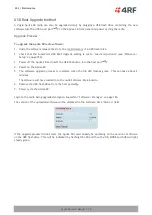
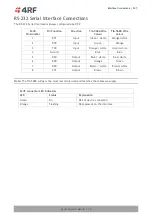
Replacing a faulty power supply
Replacing one of the power supplies can be achieved without disruption to traffic.
If a power supply has failed, the associated radio will have failed which will have caused the protection
switch to switch-over to the other radio. It will not have switched back unless the power was restored and
another problem occurred which caused a switch-over.
1. If the A power supply is faulty, ensure that the B radio is active (whether it be the primary or
secondary radio).
If the B power supply is faulty, ensure that the A radio is active (whether it be the primary or
secondary radio).
2. Replace the faulty power supply.
Spares
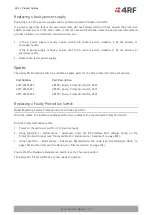
The Aprisa SR Protection Switch is available as spare parts for the three radio interface port options:
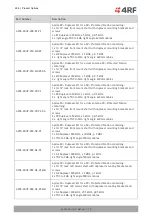
Part Number
Part Description
APST-XPSW-X22
4RF SR+ Spare, Protection Switch, 2E2S
APST-XPSW-X31
4RF SR+ Spare, Protection Switch, 3E1S
APST-XPSW-X40
4RF SR+ Spare, Protection Switch, 4E0S
Replacing a Faulty Protection Switch
Note:
Replacing a faulty Protection Switch will disrupt traffic.
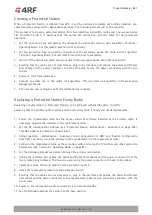
Move the radios, the interface cables and the power cables to the replacement Protection Switch.
On both Protected Station radios:
1. Power on the radio and wait for it to become ready.
2. Using SuperVisor > Maintenance > Advanced, enter the RF Interface MAC address shown on the
Protection Switch label (see ‘Protected Station: Maintenance > Advanced’ on page 238).
3. Using SuperVisor > Maintenance > Advanced, Decommission the node (see ‘Decommission Node’ on
page 162) and then Discover the Nodes (see ‘Discover Nodes’ on page 162).
Ensure that the Hardware Manual Lock switch is set to the Auto position.
The Aprisa SR+ Protected Station is now ready to operate.


