4ms Sampler User Manual Download Page 15

Adjustable Fade Time (Smoother Looping) 

The 

Sampler

 performs a fade at the beginning and end of a sample, and a crossfade when looping. 

This essentially adds an envelope to the playback. There are two types of envelopes:

Fade in/out envelopes

: this is a very short envelope applied to the beginning and end of 

playback when 

Length

 is over 50%. It reduces clicks when starting, stopping, or looping, 

especially when starting or ending in the middle of a sample file.

Percussive envelopes

: this is the decay envelope applied to playback when 

Length

 is less 

than 50% (if 

Reverse

 is on, it’s an attack envelope). This envelope gives the playback a 

“percussive" sound.

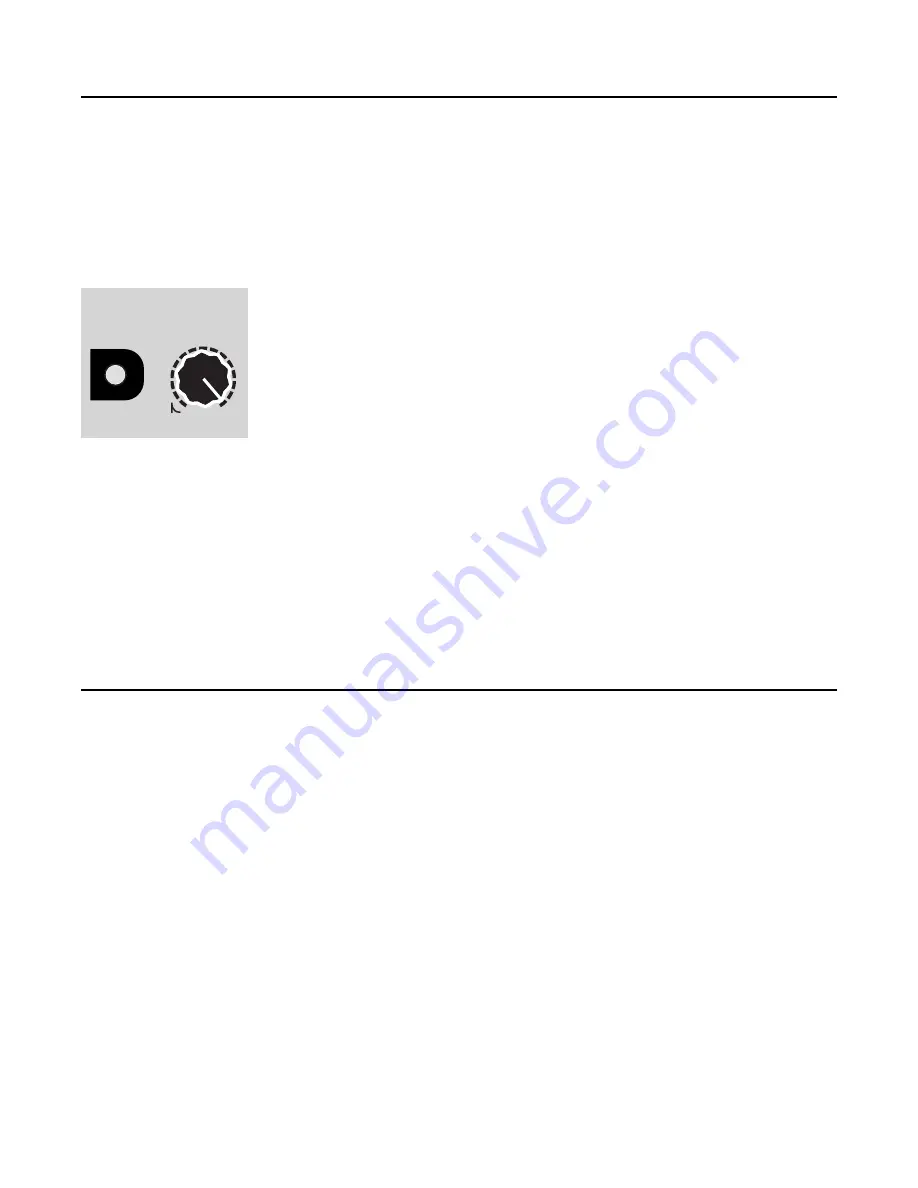
You can adjust the amount of 

Fade Time

 for the fade in/out envelopes by 

holding down 

Reverse

 while turning the 

Length

 knob. If you turn 

Length

 all 

the way down, 

Fade Time 

will be 0 and envelopes will be disabled. The 

Fade 

Time

 will increase as you turn the knob up, until it reaches 39ms when the 

knob is fully clockwise.

No changes to 

Fade Time

 will be saved after you power down unless you 

perform a Save by holding down all three buttons for five seconds (See 

Saving 

New Samples into slots, 

page 9).

While the maximum 

Fade Time

 you can set by holding down 

Reverse

 and turning 

Length

 is 39ms, 

you can actually set 

Fade Time

 to be longer than this by editing the settings.txt file and entering a 

value up to 255 (corresponding to 255ms). See the 

System Settings File

 section below.

Percussive envelope time is set by the 

Length

 knob and CV, not by 

Fade Time

. However, percussive 

envelopes will be turned off whenever 

Fade Time

 is 0.

Keep in mind that when 

Fade Time

 is set to 0, playback may click and pop. This is not normally a 

desired setting. However, turning off envelopes is often preferred when doing "Granular" patches (see 

page 12), or when playing CV sample files (.wav files with clocks/gates, sequencer CV, or slow LFOs, 

etc).

System Settings File 

On the SD Card there is a file called settings.txt, which lives in the _STS.system folder. If you are 
familiar with editing settings files and wish to change how your 

Sampler

 operates, you may edit this 

file with a plain text editor. The file is meant to compatible with the 4ms 

Stereo Triggered Sampler

, so 

not all options are available for the 

Sampler

 (for instance, nothing regarding channel 2 is meaningful 

on the 

Sampler

).

After editing the file, save it as plain text. If you try to save it as RTF or as a docx or anything that 
contains formatting, HTML, markup, or anything other than ASCII characters, the 

Sampler

 will not 

load the file and will restore default settings.


[STEREO MODE] 

Possible values: 

stereo, mono 

Default value:

 stereo 


Selects 

Stereo

 or

 Mono Mode

 on startup. See 

Stereo/Mono Mode

 section, page 8


[RECORD SAMPLE BITS] 

Possible values: 

16

24 

Default value: 

16 

Sets the bit depth for recording.

[RECORD SAMPLE RATE] 

Not used on the 

Sampler

 (future firmware version will support it)

Page   of 

15

20

Hold…

and turn

+

Reverse

Length

All

Fade Time

Summary of Contents for Sampler

Page 1: ...reo playback channels can play any of 600 samples Recording creates stereo WAV files directly onto microSD Card for immediate use Extremely low noise high fidelity design Plays a variety of WAV files up to 32 bit 96kHz Records at 24 bit or 16 bit 48kHz future firmware will support up to 96kHz Intelligent file system makes loading large sample libraries easy by organizing banks into folders CV and ...

Page 2: ... a folder of WAV files 10 Folders with color names 11 Automatic loading of new moved files 11 Sample List HTML file 11 Example Patches Sequencing the Sampler 12 Granular Scrubbing 12 Clock Sync and Shifting Ping Pong Loops 13 Advanced Features CV Calibration 14 Start up bank 14 Adjustable Fade Time Smoother Looping 15 System Settings File 15 Variable Trigger Delay Latency 17 Color Adjustment Mode ...

Page 3: ...ples loaded at one time 10 samples per bank Includes a microSD card with over 200 samples Extremely quiet low noise and low jitter design Firmware can be updated by playing an audio file into the Sampler Playback channel Mono or stereo output through Out Left and Out Right jacks Play button trigger jack Tapping the button or receiving a trigger starts re starts the sample When Length is set to All...

Page 4: ...tarting with a color name will be loaded into that color bank Example Blue Frooty Loops will load into the Blue bank Sub folders are ignored only folders in the root directory are scanned for WAV files Works best with UHS Speed Class 3 cards with this symbol printed on the card Electrical and Mechanical Specifications 16HP Eurorack format module 0 98 25mm maximum depth 10 pin Eurorack power header...

Page 5: ...g You also can select a bank using the Bank CV jack It accepts voltage from 0V to 5V and there are 60 banks so a new bank is selected every 1 12th of a volt That means you can select banks by playing a CV keyboard or sequencer into this jack each semitone note from C0 to B5 will be a different bank Looping The Sampler is also great for looping samples Go to a sample that s at least a couple second...

Page 6: ... you see how the tempo of the loop does not change That s because with Length under 50 the playback time is constant regardless of Pitch With Length over 50 the audio sample data that s played is constant even though it s stretched or shrunk So if you set Start Pos and Length to capture a particular part of a sample let s say it s a human voice saying the word hello then as long as Length is over ...

Page 7: ...hort After that it wraps back around to solid White As you add samples to your card you can fill up a maximum of 60 banks Since there are 10 colors that means each color can have 0 solid to 5 flashes At 5 flashes the bank button is flashing almost constantly Empty banks will be skipped as you cycle through banks with the Bank button What if you ve filled up your banks with samples and you want to ...

Page 8: ...hannel out of Out Left and the right channel out of Out Right However if you are using a mono signal path in your patch you may want to use Mono Mode In this mode the Sampler mixes the left and right channels together and sends that to both output jacks Note that regardless of Stereo or Mono Mode if you play a mono file both jacks will output the mono sample Toggle Stereo Mono Mode To toggle betwe...

Page 9: ...y doesn t the Sampler just save your sample slot assignment information automatically when you record The reason is that you might have recorded over a slot that you didn t mean to or you might not like any of your takes and decide not to keep them Tutorial 4 Loading Files onto the microSD Card The Sampler has an intelligent and intuitive sample file management system You can do everything in seve...

Page 10: ... that file and will try to find a new file to fill that slot The first place it will look is the original file s folder What this means is that if you don t like a particular sample you can delete the file and replace it with a new file The Sampler won t find the deleted file and it will load the new file instead In complex cases such as when you have banks containing samples spanning multiple fol...

Page 11: ...d or replaced by new files inside existing folders Sample List HTML file After you ve made changes to the microSD card using a computer the next time you boot the Sampler with that card the module will create a file in the root level of the microSD card called __Sample List__ html This is a handy quick reference for seeing what files are in what banks and how long each sample is So if you are ever...

Page 12: ...us clocking the sequencer which starts a sample on the Sampler which fires an End Out when it finishes which advances the sequencer etc The Length control on the Sampler will control the tempo which will vary with each step if the samples are of different lengths Try this patch with the Sequencer CV out into the Sample CV Note if the patch seems to run for a moment and then stop the gate pulse wid...

Page 13: ...mple triangle if you don t have a random source into an attenuator module Attenuate the signal heavily down to about 0 5V max Patch the attenuated random LFO noise into the Length CV jack Make sure the Length knob is turned all the way back down The overtone should now be randomized enough that it disappears Adjust the attenuation and or random speed and or Length knob to suit your taste 9 To chan...

Page 14: ...s will turn green and fade back to normal colors If they turn red then read the note on step 5 and try again If you saw the lights turn green then your calibration has been saved The calibration will persist even after power down Calibrating CV jack offset For the other four CV jacks besides Pitch calibration is not normally necessary However in exceptional circumstances using a noisy power supply...

Page 15: ...esponding to 255ms See the System Settings File section below Percussive envelope time is set by the Length knob and CV not by Fade Time However percussive envelopes will be turned off whenever Fade Time is 0 Keep in mind that when Fade Time is set to 0 playback may click and pop This is not normally a desired setting However turning off envelopes is often preferred when doing Granular patches see...

Page 16: ...k to jump to when powering up The ones digit of the bank number equals color of the bank with 0 White 1 Red 9 Pearl The tens digit of the bank number equals the number of blinks ranging from 0 to 5 Therefore 3 means Yellow no blinks and 41 means Red 4 four blinks STARTUP BANK CHANNEL 2 Not used on Sampler TRIG DELAY Possible values any whole number between 1 and 20 which sets the trigger delay in ...

Page 17: ...e a valid SD Card is inserted 2 Hold down the Play and Reverse buttons and power on 3 When the Play button starts flashing release the buttons 4 Press Play repeatedly until each of the three buttons has turned red green and then blue Then press Play three more times as each button turns white In total you will have pressed Play 13 times 5 At this point Play will be solid green not flashing Press a...

Page 18: ... and Reverse buttons while powering on the Sampler When you see either button blink release the buttons 4 If the Reverse and Play buttons are blinking red press the Play button Play will start blinking slowly twice per second to indicate the module is now ready to receive firmware 5 Begin playing the file Immediately you should see Bank turn on and Play and Reverse start flashing blue white cyan a...

Page 19: ...the microSD card while the Sampler is playing or recording How to prepare a new microSD Card Purchase a UHS Class 3 card see above Format the card as ExFAT preferred or FAT32 acceptable See screenshot right for how to set MacOS standard Disk Utility program Verify all sample files are valid WAV files see file format specifications below Put your WAV files into folders to organize them into banks p...

Page 20: ...5 sec Play Looping Reverse Play Record Play Mode Hold 2 sec Hold and turn Start Pos Reverse Channel Volume Hold one second Play Bank Stereo Mono Play Start Stop Recording Hold 2 seconds Reverse Bank CV Calibration Hold and turn Reverse Length All Fade Time Hold all buttons 3 seconds Reverse Play Bank Save Changes to sample slots and fade time Next Bank Bank Settings Hold while powering on Reverse ...

Reviews: