background image


  HD-F01-TX 

User Manual


4


8.


OSD Setting 

Step 1:

 Connect the HD-F01-TX to the control  computer by using  serial cable that comes 

with the item. (The serial cable contains one 3.5 mm ear jack male connector and one DB9 
pin female connector.) 

Step 2: 

Put the CD into  the control computer. Decompress the configuration  tool  folder that 

burned in the CD and install  the tool. (You can also ask the technical specialist  for the 

configuration  tool folder.) 

Step 3: 

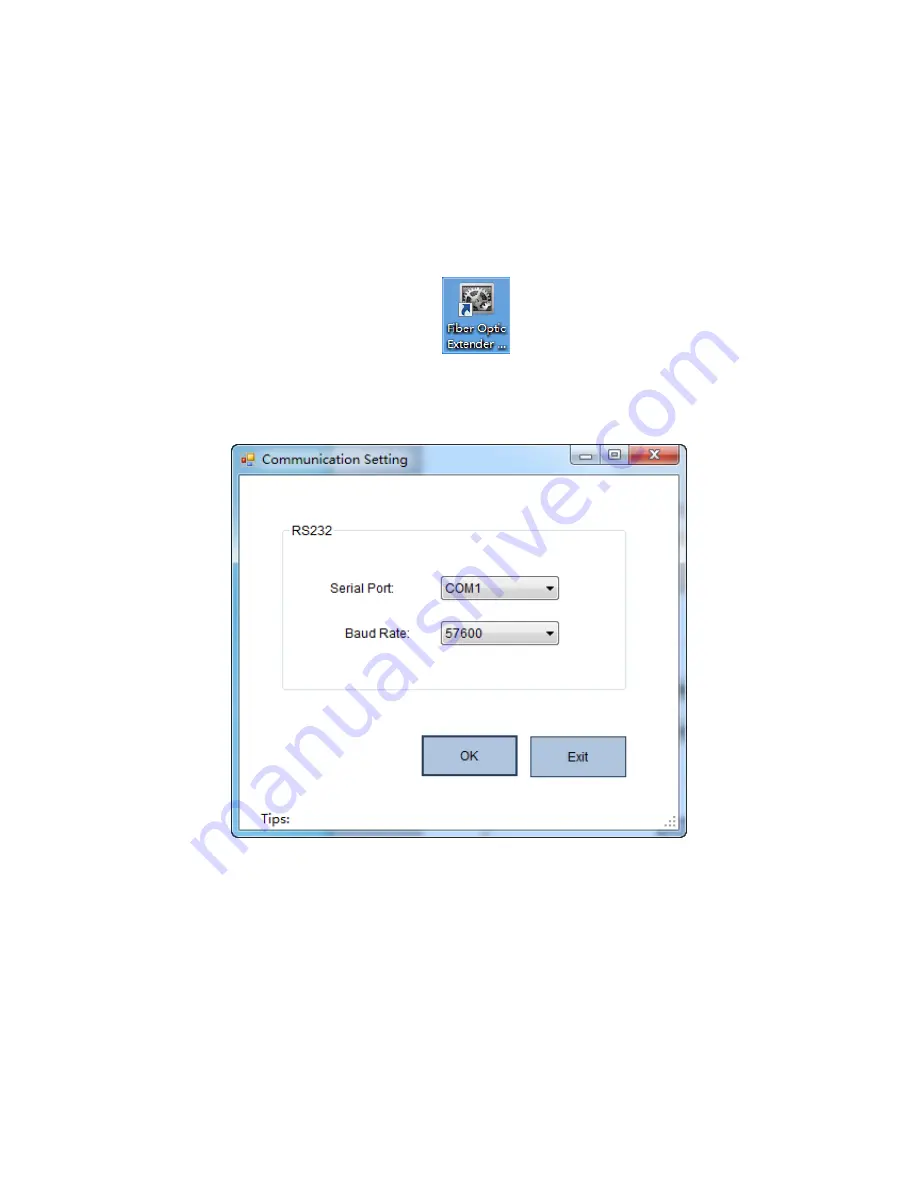
Double-click  the configuration  tool 

  will  enter into  the 

Communication 

Setting

 interface. Select the serial port and baud rate as shown in figure  3. After that, click  the


OK

 button. 

Figure 3    Communication  setting interface 


Step 4:

 OSD setting main interface will  show up after click the 

OK 

button in step 3. OSD 

setting is available  in text and image mode. 


Image size is required to be less than 16K.   


Text should not exceed the software preview display.   


Image format is available in bmp,  jpg and jpeg. 


Color setting is available  in background and foreground.   

Details as shown in figure  4. 


Summary of Contents for HD-F01-TX

Page 1: ...l HD F01 TX 1 I O Connectors Figure 1 HD F01 TX Fiber Optic Transmitter I O Connectors 2 Connection Introduction Figure 2 HD F01 TX Fiber Optic Transmitter Connection Note Please connect one single mode optical fiber to the left port in the fiber optic connector ...

Page 2: ...OFF quickly within 1s Dial Switch 2 Function To select HDMI input audio mode Applying Condition Before applying power to the HD F01 TX or during the service of the item Operation If the switch sate is ON analog audio will be selected as the input audio for HDMI video If the switch sate is OFF HDMI audio will be selected as the input audio for HDMI video Dial Switch 3 Function To select VGA input a...

Page 3: ...Input Audio transmission is available in two modes as below 1 Analog audio input which can be embedded with VGA or HDMI 2 HDMI digital audio input which is transmitted by HDMI video synchronously It can also be de embedded from HDMI and embedded with VGA Note Audio can not be transmitted separately VGA HDMI signal transmission without audio is available 7 Applying Power First please make sure that...

Page 4: ...e configuration tool folder Step 3 Double click the configuration tool will enter into the Communication Setting interface Select the serial port and baud rate as shown in figure 3 After that click the OK button Figure 3 Communication setting interface Step 4 OSD setting main interface will show up after click the OK button in step 3 OSD setting is available in text and image mode Image size is re...

Page 5: ...of the Enable OSD Step 2 Set the background image according to your specific needs Please note that this step is optional Step 3 Set the color of the image Step 4 Set the location and the size of image Step 5 Select the magnification Step 6 Click the Download button and the setting will come into effect immediately Details as shown in figure 5 ...

Page 6: ...heckbox which is in front of the Enable OSD Step 2 Design the text content according to your needs Step 3 Set the color of text Step 4 Set the location and the size of image Step 5 Select the magnification Step 6 Click the Download button and the setting will come into effect immediately Details as shown in figure 6 ...

Page 7: ...ot required please uncheck the option which is in front of the Enable OSD 9 Parameter Setting Parameter setting of the HD F01 TX can help user select the control mode as well as the audio input mode according to their actualapplication requirements Details as shown in figure 7 below ...

Page 8: ... would like to check the current sate of the item please click the Load button If the control mode is Dial Switch the resolution of the item can be configured by DIP switch directly Important OSD information can be saved to the local computer through the configuration tool ...

Reviews: