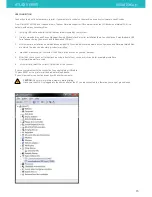
POWERING ON
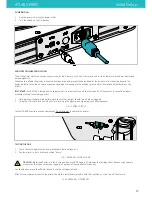
1. Plug the power cord into the power outlet.
2. Turn the switch on the ON position
ENDSTOPS SENSORS VERIFICATION
The ATLAS printer has three position sensors–one for the X tower, one for the Y tower, and one for the Z tower. We will name them alpha,
beta and gamma.
These sensors allows the printer to know its home position and prevent the hotend and/or the actuators from traveling beyond the
designated print area–which can cause serious damage or breakage to the extruder, glass, and/or the mechanical hardware on the
printer.
IMPORTANT:
Each ATLAS is tested prior to shipping, but it is important to verify the functionality of the sensors in case of damage or
movement during the shipping process.
1.
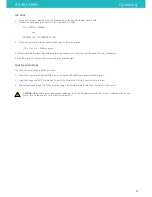
Hold a piece of opaque material into each sensor. The red light should turn off when triggered.
2. Using the LCD controls check if the CPU are receiving the signal when triggering each endstop sensor
LCD > PROBE > STATUS
Contact 3DBNZ if sensors are nonoperational. Do not attempt to operate the printer.
TESTING THE AXIS
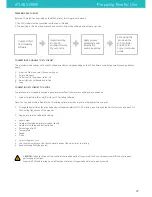
1. Check that nothing blocks the axis mechanisms (belts, pulleys etc)
2. Ask the printer to go to its know position “home“
LCD > PREPARE > HOME ALL AXIS
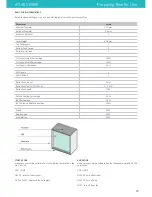
CAUTION
: While the effector is in the home position you CANT move in XY plane as the carriages dont have enough space to
accomplish that, take care when Jogging the postion of the end effector manually.
You should never move the effector by hand, use the carriages instead.
After a move command is sent to the printer the motors remains energized to hold their position, you can turn off the motors:
LCD > PREPARE > MOTORS OFF
ATLAS SERIES
Initial Setup
12


