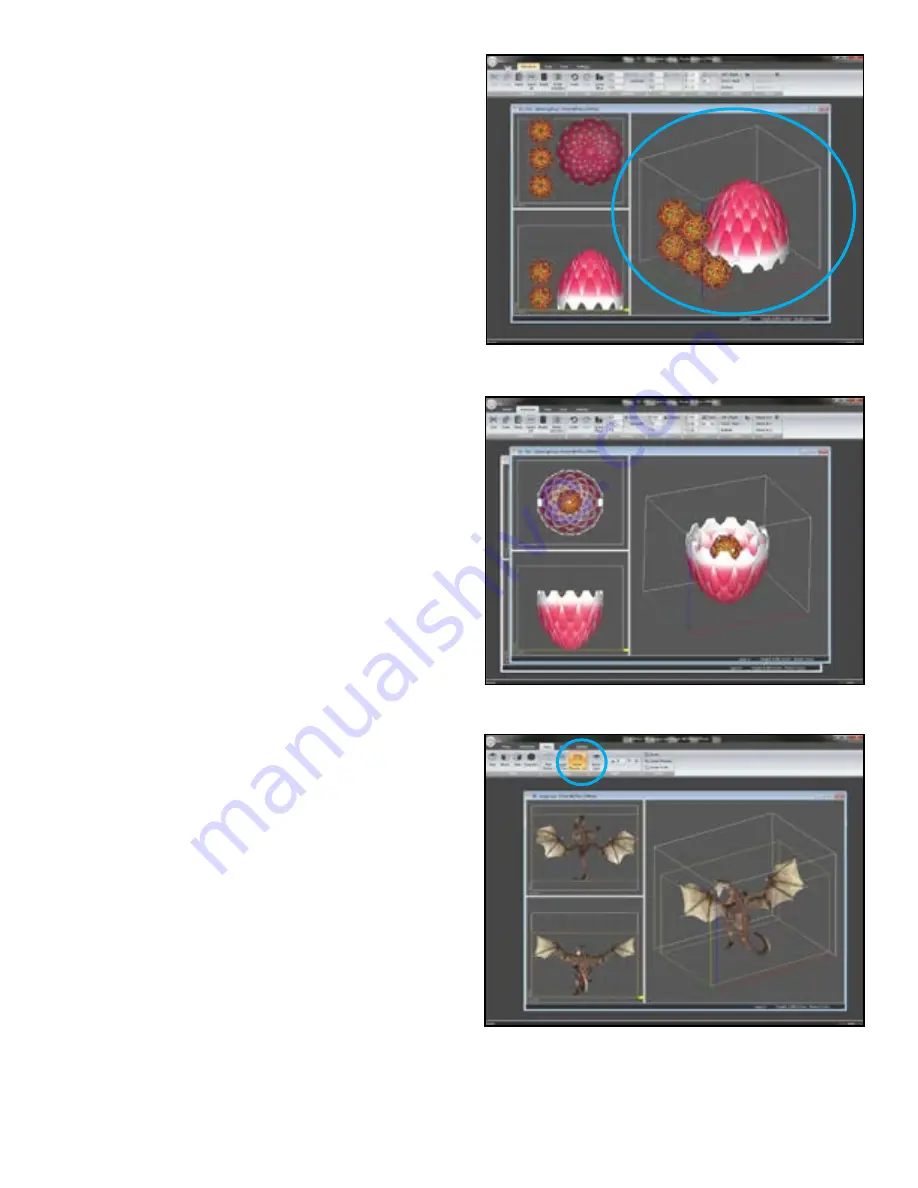
background image

30

      3D Systems, Inc.

Grouping:

After parts are positioned, a greybox will frame the parts to indi

-

cate that they are 

grouped

.

Moving manually/translating the part:

 Parts can be manually 

moved if the default position is not ideal for your needs.

•  

Mouse

 option – drag and place in top and side views. 

   You cannot  move a part in the isometric view. 

• 

Translate

 – move based on position

• 

Justify

 – front/back, left right, bottom

• 

Rotate

 – x,y,z are axes of rotation.

NOTE:


Bounding boxes can intersect as long the actual 3D model 

does not touch.

Rotating a Part: 

Parts being prepared for a build can be 

rotated


and 

scaled

 to suit your needs. Primarily, a part will be opened and 

prepared in a default setting.

• To rotate a part, select the part and choose 

Transform

   > Rotate.

 In the Rotate dialog, specify the plane and

   degree of rotation, and click OK.

• To keep a group of parts in the same relative orientation, 

   rotate the parts as a group. Select each part and then 

   choose 

Transform > Rotate

.

Summary of Contents for ProJet 4500

Page 1: ...User Guide ProJet 4500 3D Professional Printer ...

Page 2: ...ent 12 Regulatory Information 13 Spilled VisiJet Material 13 Waste Removal 13 Material Storage 14 10 SPECIFICATIONS and REQUIREMENTS 15 Computer and Operating Systems Requirements 15 Recommended Client Operating System 15 Electrical Requirements 15 11 SYSTEM COMPONENTS 16 18 12 FAMILIARIZATION 19 13 USING 3DPRINT 20 What s It For 20 File Formats 20 Computer System Requirements 20 Install Print Pla...

Page 3: ...3 3D Systems Inc 15 MAINTENANCE 39 Cleaning the Printer 39 Routine Cleaning 39 Vacuum Excess Core 39 Clean the Debris Separator 40 41 Replacing the Wiper 41 16 SERVICE and SUPPORT 42 ...

Page 4: ...MSDS SDS Support 3D Systems Customer Support will provide you information on how to obtain software updates how to order parts and return parts through 3D Systems Return Material Agreement RMA Information on how to get system upgrades and updates Help Quick access to answers to Frequently Asked Questions FAQ Welcome to the exciting world of professional 3D printing 3D Systems ProJet 4500 Full colo...

Page 5: ...ates uses and can radiate radio frequency energy and if not installed and used in accordance with the instruction manual may cause harmful interference to radio communications Operation of this equipment in a residential area is likely to cause harmful interference in which case the user will be required to correct the interference at his own expense NOTE Changes or modifications not expressly app...

Page 6: ... the Installation media a USB memory stick with the software Additional copies are available on our Web Site at 3dscentral 3dsystems com FEATURES and BENEFITS 5 The ProJet 4500 is our most convenient easy to use automated full color 3D Printer to date We ve built in the features that custom ers most asked for Built in heat curing no infiltration required 600 x 600 DPI Resolution yielding excellent...

Page 7: ...t heads during the printing process The binder which enters the service station is drained into the waste tray below the build chamber Keeping this station clean is critical for successful builds The wiper within the service stationshould be cleaned before each build Waste Tray This consumable item is used to collect and cure binder waste that is deposited into the service station during the print...

Page 8: ...thing may happen that could cause loss of data damage to equipment or personal injury Wear gloves for any interaction with consumables Wear sleeves whenever handling powder PACKAGING 7 NOTE Do not damage or discard any packaging materials or carton s If the printer needs to be returned to the manufacturer it should be shipped in its original packaging If other packaging is used the customer will b...

Page 9: ... electrical shock the printer will not operate unless external panels are installed Check the facility s electrical ser vice rating before you connect power to the printer ELECTRICAL GUIDELINES Read and follow all printer instructions Follow all safety rules and heed all cautions and warnings in this guide Do not attempt to open chamber door while build in progress Do not use any material without ...

Page 10: ...as well as a quotation for regularly scheduled pickups Users of the printer should be informed of potential hazards of part material prior to working with a printer or performing duties which may result in exposure to uncured binder such as removal of material waste pan and empty material cartridges The VisiJet C4 Spectrum contains two components DISPOSAL granular core component safe to handle wit...

Page 11: ...Spectrum Binder is toxic if ingested Uncured material is toxic if ingested Uncured material must not be present where food and drink are stored prepared or consumed and not ingested After handling materials wash hands with soap and water before consuming or preparing food HANDLING FINISHED PARTS Finished cured parts can be handled or disposed of the same as standard household plastic products Visi...

Page 12: ...um Post Processing Guide Personal Protection Equipment Exposure to uncured binder may occur when removing and disposing of the waste pan To prevent con tact wear chemically resistant protective gloves nitrile or neoprene gloves are recommended Do not use Latex gloves Wear gloves at all stages of handling consumables In the event of a leak or spill of uncured part material wear safety glasses with ...

Page 13: ...s Technical Support for a service visit to determine and repair the source of leakage Small spills of uncured liquid part material can be cleaned up using disposable towels non reusable rags or absorbing materials such as sawdust clay diatomaceous earth or activated charcoal If spilled material is hot liquid wait until it cools and gels before wiping up After cleaning the spill wipe surface with d...

Page 14: ...95 F 35 C ENVIRONMENTAL CONDITIONS No direct sunlight heat flames or UV energy BINDER SHELF LIFE 1 year from date of manufacture CLIMATE A cool dry area with adequate ventilation TEMPERATURE RANGE 40 F 4 C to 80 F 27 C MAXIMUM TEMPERATURE RANGE 95 F 35 C ENVIRONMENTAL CONDITIONS Avoid direct sunlight heat flames or UV energy CORE VisiJet C4 Spectrum Core VisiJet C4 Spectrum Clear Color Binders ...

Page 15: ...Multi core processor 2 GHz or faster per core System RAM 2 GB Screen Resolution 1024x768 COLOR REPRODUCTION Full CMY Color ETL APPROVAL Meets CE and UL standards MATERIALS VisiJet C4 Spectrum Clear Binder VisiJet C4 Spectrum Cyan Binder VisiJet C4 Spectrum Magenta Binder VisiJet C4 Spectrum Yellow Binder VisiJet C4 Spectrum Core OPERATING ENVIRONMENT Maximum Temp Range 50 85 F 10 29 4 C Recommende...

Page 16: ...T A GLANCE 11 A B C D E Color Binder Pockets C M Y Feeder Fast Axis Print Head Cartridge Waste Tray H I J Vacuum Hose Fine Cleaning Wand Control Panel Printer Components F G Clear Binder Pocket Debris Separator Housing A B C D E F G H I J ...

Page 17: ... Binder Cartridges C M Y IGUS Chain Fast Axis Assembly Fast Axis Assembly Build Chamber H I J Vacuum Hose Service Station Carriage contains print heads F G Clear Binder Cartridge Debris Separator A B C D E F G H I J Internal Components ...

Page 18: ...18 3D Systems Inc External Components A B Upper Real Panel Lower Rear Panel Power Supply B A A B C D E Front Left Door Side Panel Printer Door Cleaning Station B C A D Control Panel E ...

Page 19: ... a strong shell for the part exterior At the same time color can be applied to that same shell to obtain a full color model When printing the interior of the part a latticed infrastructure is created to support and stabilize the shell and to maintain accurate part geometries When the part is finished printing heaters surrounding the walls and above the build chamber turn on to cure the part s This...

Page 20: ...er model under Software 3dscentral 3dsystems com WHAT S IT FOR 3DPrint is a Windows based software program designed to easily and quickly manipulate annotate and preview 3D modeling data before printing it in a 3D Systems 3D printer zbd files are build files created by the 3DPrint Software can open but not import zpr files are part files created by a number of software packages from other companie...

Page 21: ...n savers and your power management software are turned off on the computer driving your 3D Printer Most screen savers and power management software can be turned off in the main Windows screen settings For additional instructions on how to disable your hardware and software power management please consult your computer hardware Owner s Manual Also allow 3D Print through Windows Firewall NOTE You m...

Page 22: ...nstall the 3DPrint application Read the licensing agreement carefully Select the destination directory The Setup program prompts you for a selection and will suggest C Program Files 3DPrint Software as the default directory C PROGRAM FILES X86 3D PRINT SOFTWARE 1 04 3 4 5 ...

Page 23: ...tall and then you are returned to the desktop 2 When a file is opened 1 Locate the 3DPrint icon on your desktop and double click to OPEN 6 LOCATE THE 3DPRINT ICON Once installed locate the 3DPrint icon on your desktop Double click on it to open the splash screen ...

Page 24: ...E Tabs Toolbar Top View Side View Build Box B C A F 3D View D E F THE 3DPRINT MAIN WINDOW The 3DPrint Main Window has two 2 viewing modes 3D and 2D Cross Sectional Explore the features of the Main Window in the sections below F ...

Page 25: ...n of the Build Bed in the Z X plane It also provides the Layer Slider which you can click and drag to move up and down the layers of the part The Top View is a 2D representation of the Build Bed in the Y X plane The 3D View is an interactive representa tion of the Build Bed where you can quick ly change the angle from which the part is viewed using the mouse ...

Page 26: ... as File Save and Save As as well as Import and Export to bring files into 3DPrint or export them into another application Transform Tab The Transform tab provides tools to move scale rotate and mirror your part as well as copy and paste to make copies of your part Tools The Tools tab gives you access to the Print Time Estimator how long the job will take to print as well as Create a Fixture Fixtu...

Page 27: ...27 3D Systems Inc Ribbon Button The Ribbon button provides access to file functions such as OPEN SAVE PRINT 2D ...

Page 28: ...opened or imported 3DPrint will Warn you if any piece of the part falls out of bounds of the Build Bed bounds Orient imported parts for the fastest print times Choose Dimensions Once the file is open it is necessary that you select your preferred unit of dimensions Material type Visijet C4 Spectrum Opening and Inserting Files This function opens a new window to print a separate print job It will n...

Page 29: ...e function positions parts for fastest printing in the build volume by using bounding boxes Bounding boxes posi tion parts for optimal spacing between parts PART ORIENTATION Overview Part Orientation Parts that lie in the X Y plane will be stronger than those aligned on the Z Axis If a part has a particularly delicate feature especially one shaped like a thin rod align that feature in the X Y plan...

Page 30: ...y front back left right bottom Rotate x y z are axes of rotation NOTE Bounding boxes can intersect as long the actual 3D model does not touch Rotating a Part Parts being prepared for a build can be rotated and scaled to suit your needs Primarily a part will be opened and prepared in a default setting To rotate a part select the part and choose Transform Rotate In the Rotate dialog specify the plan...

Page 31: ...rag to bottom for ideal printing Scaling the Part Select the part and choose Transform If you scale a part and it does not fit into the Build Bed 3DPrint prompts you with a warning telling you an object is extending beyond the Build Bed boundaries and draws a red wire frame around the part In the Scale dialog boxes you have several options Scale the part as an absolute percentage of its size when ...

Page 32: ...erse the orientation of a part in the X Y or Z Axis The software does this by placing a plane in the center of the part Select a part and select Transform Mirror The software will not create a separate part It will take the selected part and invert its orientation Mirror a group of parts by selecting the parts and then choosing Transform Mirror ...

Page 33: ...th bodily injury or printer damage due to electrical shock or fire CAUTION Verify printer s rear panel power switch is OFF Connecting power with switch on can damage printer and cause bodily injury or death due to sudden unexpected mechanical motion PREPARE THE BUILD AREA Go to your printer and check each item listed below to ensure the printer is ready to print It is important to check each of th...

Page 34: ...ction with a clean lint free wipe before each build Use the kit mirror to inspect the print head for any excess residual fluid 5 Remove wiper from Service Station while wearing safety gloves and place in acetone 3 Pull out the Debris Separator window to expose the mesh filter Using a small brush brush any core par ticles from the mesh filter Using an external vacuum remove any remaining debris pow...

Page 35: ...s a heat cure cycle Heating will begin during the build and continue after the build is complete A timer on the LCD menu will count down the time remaining to cure the part Curing the part is required for strength development and to fulfill health and safety requirements If parts are uncured they will make it through the Debris Separator Do not vacuum uncured parts with the user hose NOTE Do not o...

Page 36: ...es in the Build Bed surrounded by unused loose core You will need to remove unused core from the Build Bed after the drying cycle is finished Important Use caution when removing and cleaning T 1 Before you begin vacuuming check the part orientation in 3DPrint to avoid damage to your part 2 On the LCD display select VACUUM 3 Open the printer top cover The vacuum starts Use the Control Knob to move ...

Page 37: ...tion where you can clean the part of any remaining Core with the Air Wand 1 Gently lift the part and place it into the cleaning station and begin to depowder core material from the outside of your part Be sure to blow excess core material from inside of the part 2 Use a brush to remove core from sections of your part that may be fragile ...

Page 38: ...o the printer or change a print head unless a message in the Printer Status dialog informs otherwise THE PRINTER STATUS REPORT The printer has an onboard Status Report you can use to check Core levels head life remaining etc This is especially useful if the printer is located some distance from the computer used to control it To access the onboard Status Report select STATUS REPORT on the LCD The ...

Page 39: ...er runs VACUUM EXCESS CORE After every build vacuum up all loose Core material in the Build Chamber including the Build Bed Deck and Fast Axis including the Rails and Carriage To vacuum NOTE Use gloves and sleeve protectors when handling consumables 1 Close the printer top cover and select VACUUM on the LCD menu 2 Open the printer top cover The vacuum starts Remove the vacuum hose from its stand 3...

Page 40: ...that uses the entire vertical capacity of the Build Bed Adding further core provides no benefit and risks overfilling the feeder Do not continue running the vacuum after the FEEDER IS FULL message appears If you continue to vacuum Core into the feeder the LCD will display FEEDER LIMIT and the vacuum will be disabled FEEDER IS FULL AUTO SHUTOFF IN 10 SEC KEEP VACCUM ON 5 When finished return the ho...

Page 41: ...ch build 1 In the Service Station gently push down wiper and allow it to rise for removal and cleaning Lift the wiper and separate from the base 2 Using a metal pick included in accessories kit scrape residual out of each vacuum hole to ensure a strong vacuum 3 Replace the wiper in the service station once each vacuum hole is cleared of any obstruction ...

Page 42: ...e 3DPrint Software Service Menu Binder Core Types Binder Core Expiration Dates EXACT Error Code Description of Problem CONTACT 3D SYSTEMS If you have any questions about your 3D ProJet or the 3DPrint Software please contact your local Reseller Service Provider If they are unable to help contact us directly United States Corporate Headquarters 333 Three D Systems Circle Rock Hill SC 29730 Tel 1 803...

Page 43: ...t information on Materials that are compatible with your printer Best Practices to help you create the very best parts 3dscentral 3dsystems com Service Visit the Support section of our Web site for tips on maintaining your printer troubleshooting problems or to contact our Service staff 3dscentral 3dsystems com ...

Page 44: ...22 95060 Rev A 3D Systems Inc 333 Three D Systems Circle Rock Hill SC 29730 www 3dsystems com 2014 3D Systems Inc All rights reserved ...

Reviews: