


3D Systems, Inc.
18
F
Capturing Options
Options in this group allow users to manage their working environment and scan an object with optimal results.
There are six options:
Easy Scan
Automatically determines the best exposure settings, and then captures an object.
Note: HDR is used during the capturing process if necessary
HDR
Scans multiple times at varying levels of exposures in order to capture large contrast variances for
scanned objects.
High Sensitivity
Special capturing option which allows for capturing of difficult-to-capture noisy surfaces, such as
hair.
Reduce Noise
Minimizes waves or ripples that may be cause by tiny movements or ambient vibration during a
capture process.
Last Scan
Displays the last set of scans created.
Delete Last Scan
Deletes the last scan data created.
G
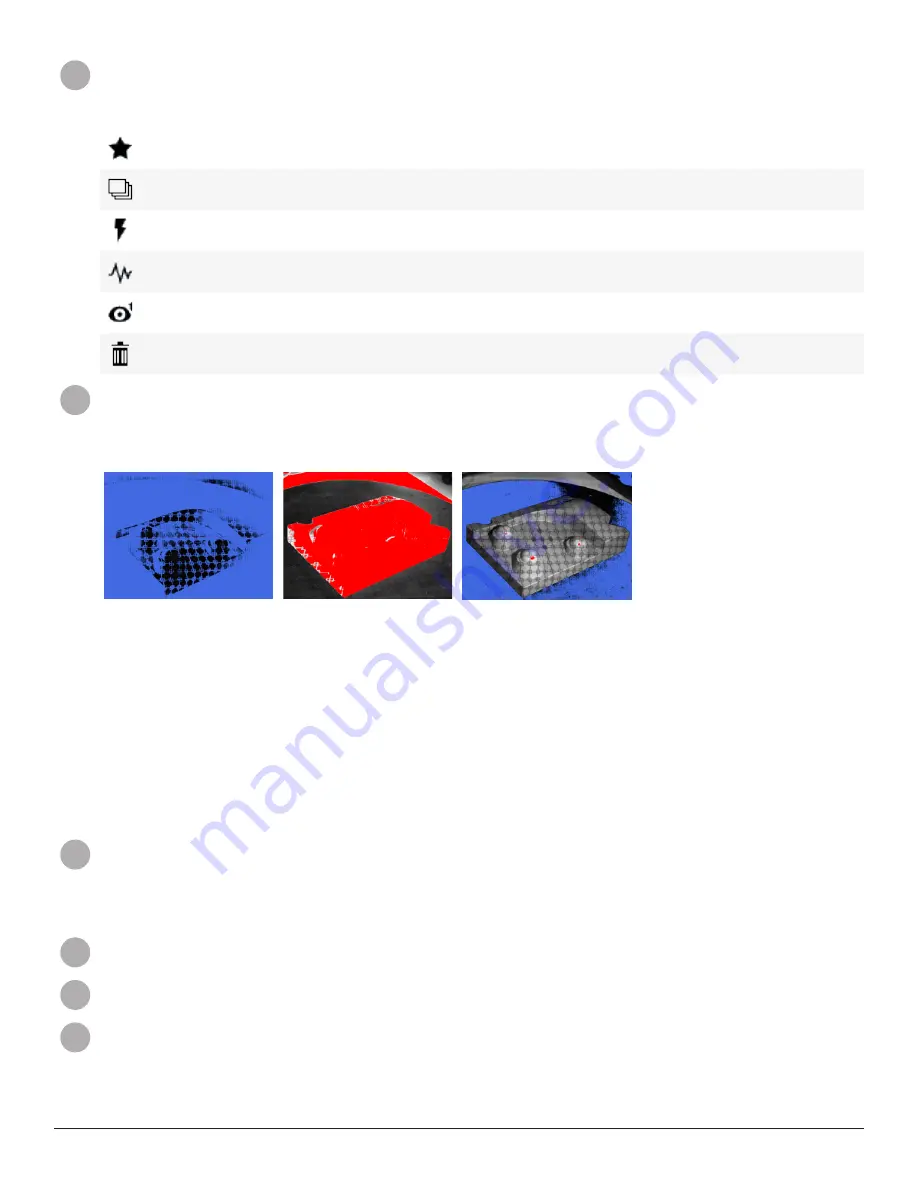
Exposure Settings
Allows users to adjust an exposure value.
A scan that shows a lot of red is over-exposed, and a scan that shows a lot of blue and black is under-exposed. An optimal
scan has a good balance, and several “high spots” of exposure.
Under-Exposed
Over-Exposed
Optimal
Note: Scan quality can vary by the following factors:
•
Environmental conditions
Light and vibration can cause inaccuracies. Ensure the system is stable and the exposure is set to the condi-
tions.
•
Stability of the scanner and the object
If either the scanner or the object move during the scan, the data will be inaccurate. Ensure both are stable and
secure.
•
Shape and size of the object
If the part you want to scan has limited features, you must use target markers or spheres to align the data.
H
Turntable Settings
Allows users to adjust the number of scan divisions in 360 rotational degrees.
Note: More scans will result in better coverage, but setting this value too high may result in a lot of excess data, which
will only serve to slow down scanning and post-processing operations. 6 to 12 scans are recommended. The number
of scans can be adjusted up to 16 scans.
I
Status Bar
Shows the current working status of the scanner.
J
Settings
Goes to the Settings menu.
K
Help
Shows the Help document.