3D Systems, Inc.
8
5
SETTING UP GEOMAGIC CAPTURE SERIES 3D SCANNER
Follow these steps to set up the Geomagic Capture Series 3D scanner in your Geomagic application.
Network Configuration
1.
Make sure that all cables and cordsets that were delivered with a scanner are connected to the Geomagic Capture Series 3D
scanner.
2.
Connect the Geomagic Capture Series 3D scanner to a PC using a CAT5e Ethernet cable.
3.
Enter the scanning command in the Geomagic application to connect the scanner.
Note: Consult the Online Help for additional information on the scanning command in the host application.
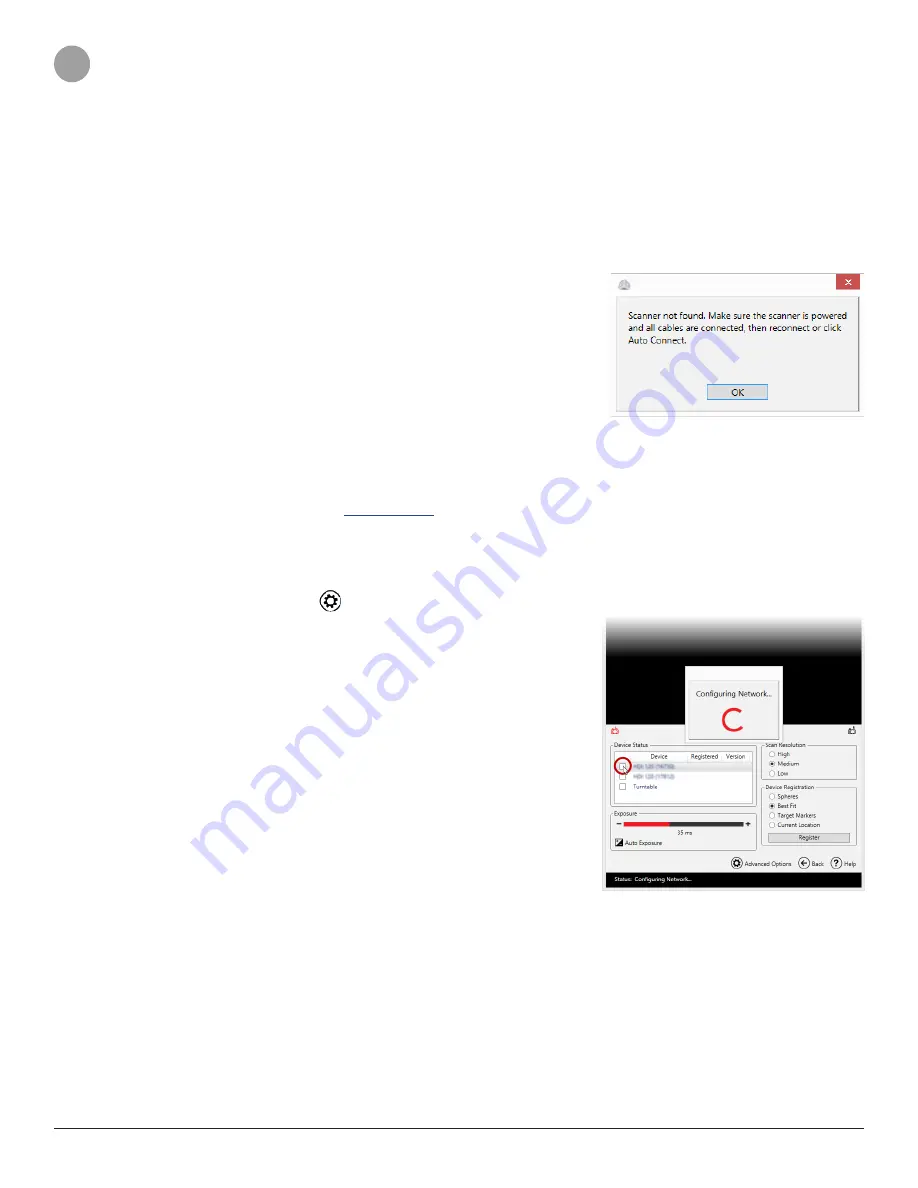
Note: If you receive the following warning message, check if all cables and
cordsets are connected to the scanner and the PC, and then click
OK
to
reconnect the scanner.
4.
The Geomagic Capture application will initiate. Select the check box next to the name of detected scanner to connect the scanner
to the application.
Note: If it is the first time to connect the Geomagic Capture series scanners to the PC, you must configure the network.
Once the check box is selected, the application will automatically try to connect the scanner.
For more information, see the following
Scanner Setup
Option 1: Automatic Configuration
1. Go to Settings by clicking
Settings
to check device status.
2. In the Device Status, select the check box next to the name of detected scanner to
connect the scanner to the application.
The application will try to automatically configure the network.


