247Security Inc. | 4400 North Point Parkway, Suite # 158, Alpharetta, GA 30022, USA | 1-866-693-7492 | www.247securityinc.com
Being able to fully access DVR400 System is a powerful feature as well as a critical
advantage factor that drives many customers to choose 247 Security Inc products. We can
save lots of valuable and money for field support / servicing.
5.4.2
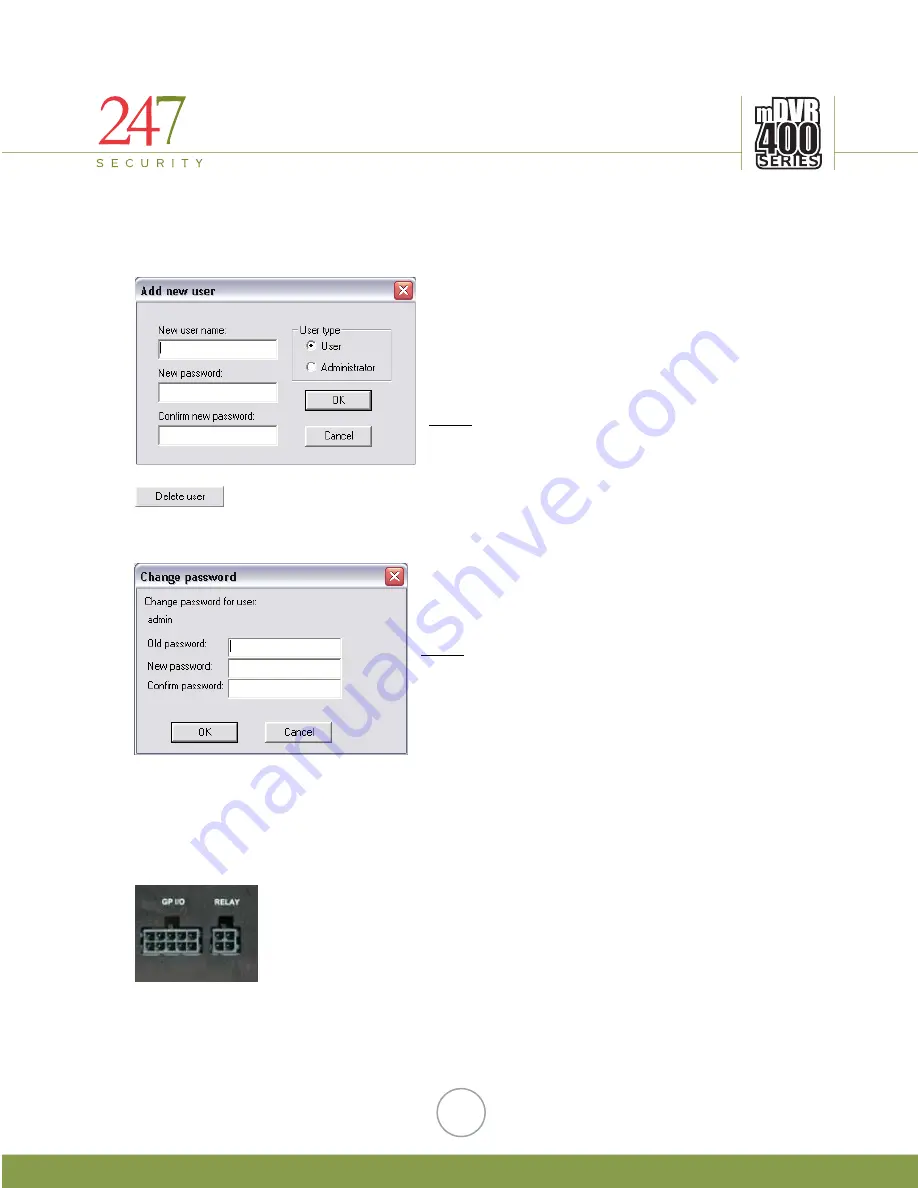
ADD NEW USER WINDOWS
This is the “Add New User” Windows that you will
see after Clicking on the “New user” button. In this
Windows, you can type in “New User Name”, “New
Password” and “Confirm New Password”. You
also need to assign “User Type”, either just a
normal User or Administrator. Click on “OK”
button to activate new user.
Note:
Only Administrator can add new Users to
DVR400 System.
User” button.
ew
You can delete any users (except Admin) by highlighting that particular user and
then clicking on the “Delete
5.4.3
CHANGE PASSWORD WINDOWS
Click on “Change Password” to allow Users/Admin
to change their password. You are required to enter
the correct old password in order to assign a n
password.
Note:
If you are Admin and have forgotten your
password than you will have to call 247 Security Inc
to re-activate your password.
6
DVR400 SERIES HARDWARE
INSTALLATION
Hardware Installation of the DVR400 includes a series of straightforward steps. The DVR400
system can be divided into five groups: General Purpose I/O & Relay, Power In & Event
Marker, Video & Audio In/Out, NETWORK/COM/USB Port and KB/MS. The goal of this
section is to fully describe each of these groups and how to connect them.
6.1
GENERAL PURPOSE I/O & RELAY
The DVR400 contains a total of five digital inputs and one digital
output. The digital inputs are labeled as DI_1, DI_2, DI_3, DI_4 and
DI_5. The digital output is labeled as DO_3. The labels are clearly printed
on the DVR cover itself.
End-users can assign any sensors to one of these digital input
signals. Up to 4 sensors can be wired to the DVR400. Alternatively, one
alarm (LED, Siren, etc.) is available on the digital output.
30


