FV744 Rev. A 01/20/21
Page 6
FV744 Rev. A 01/20/21
Page 5
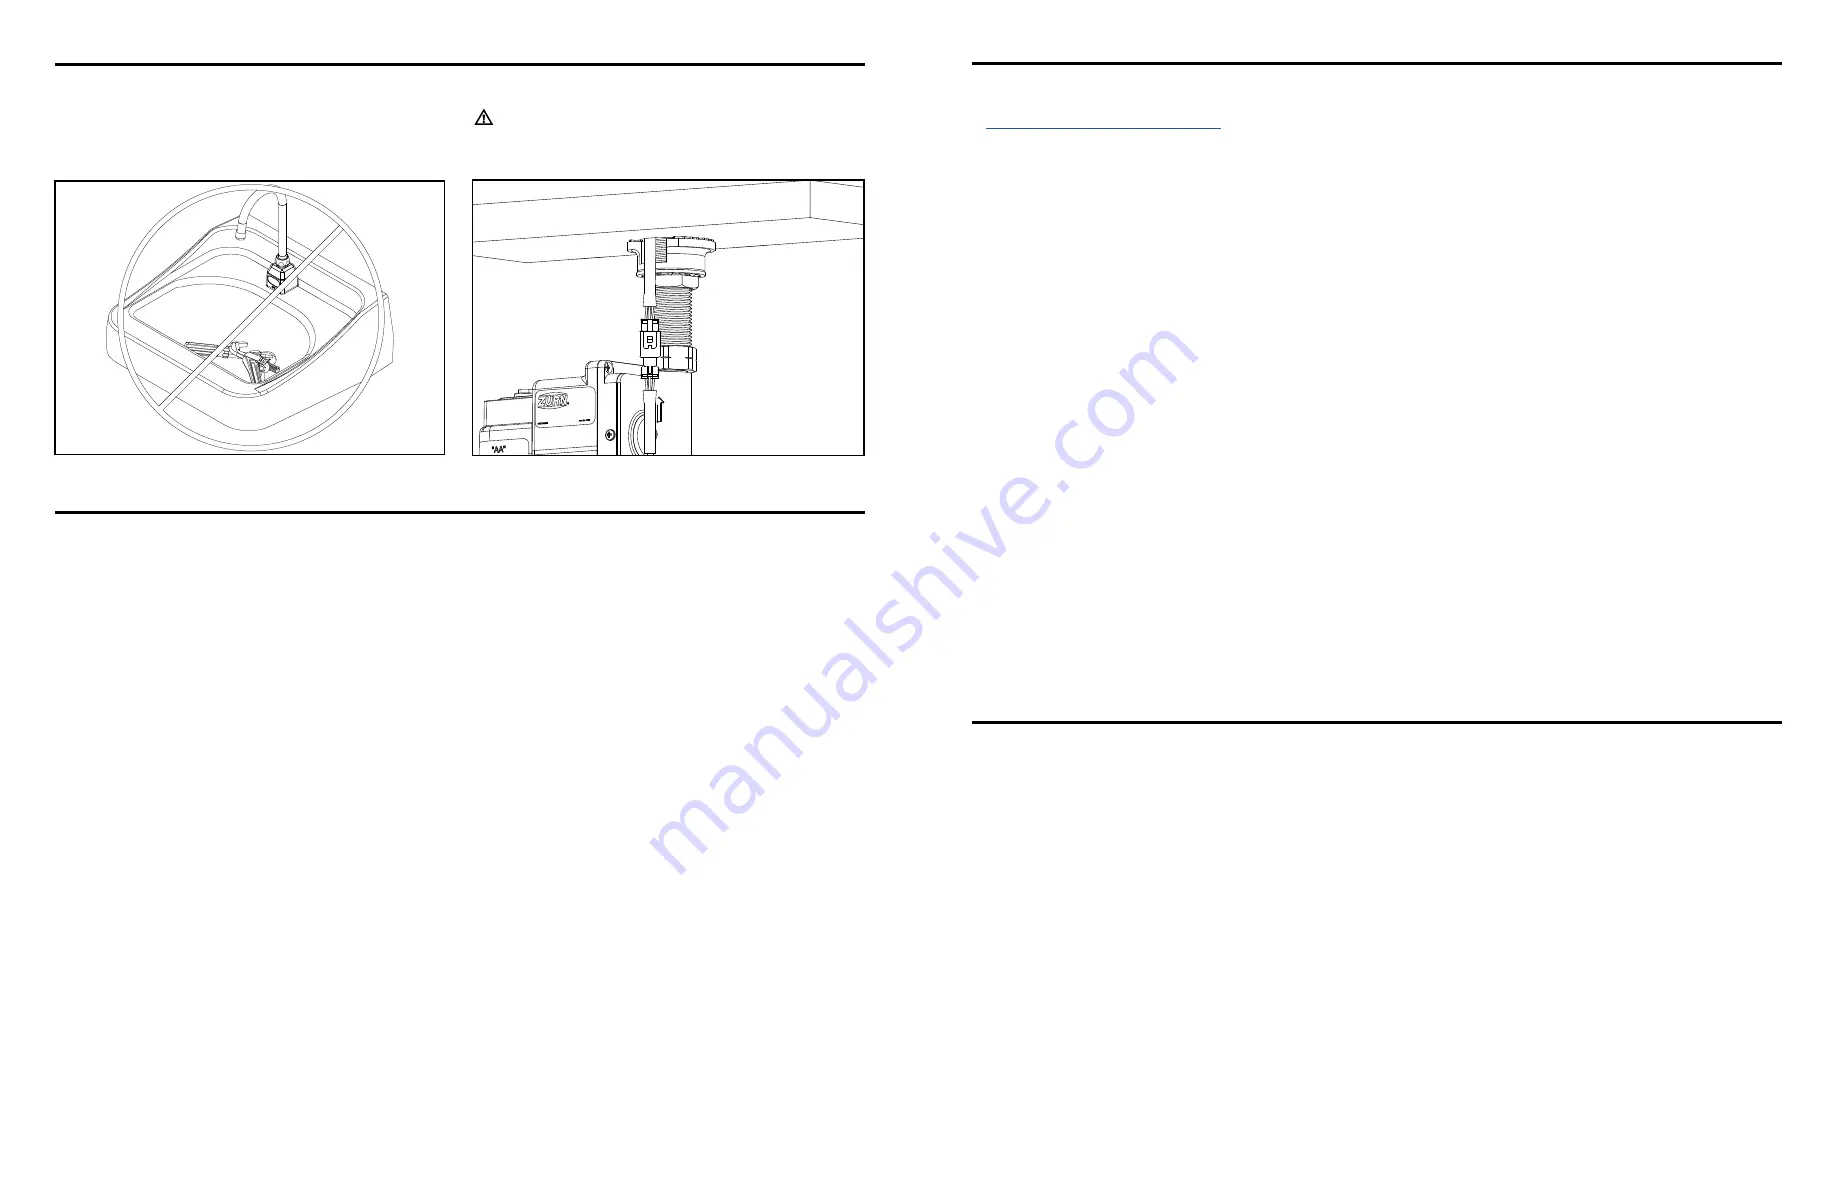
6. Ensure that sink is clear of tools/debris and is in normal
operating condition, and remove protective film from sensor lens
has been removed.
7. Turn on water supply(ies).
*** Water supply must be turned on in order for sensor to perform
wet calibration step ***
8. Connect sensor cable from spout to monitor.
Do not engage the sensor after the connection is made. The
sensor will perform automatic calibration, which could flow
water for up to 60 seconds. Once the flow of water has stopped,
the faucet is calibrated and can be used normally.
• Do not use any abrasive or chemical cleaners to clean the faucets.
•
If abrasives or chemicals are used it can lead to dulling of luster, attacking of chrome plating or decorative finishes.
• ONLY use mildly warm soapy water, and then wipe the device dry with a clean/soft towel or cloth.
•
Upon cleaning other areas of the restroom be sure the sensor lenses are protected from other cleaning chemicals/solvents to prevent
potential damages to the sensor and/or electronics.
Care and Cleaning Instructions
Gateway Instruction
Register in plumbSMART
You can request your Ethernet or LTE gateway by visiting
Zurn.com/plumbsmart-gateway-request
or call Zurn Customer Care at 1-844-987-6737
Step 1. Request Gateway:
Step 2. Cabling, Powering and Connecting Your Device:
1.
Connect one end of the RJ45 Ethernet cable (supplied) to the
gateway’s Ethernet port and plug the cable’s other end into the
nearest wall port of the building’s Ethernet network.
2. Connect the power supply to the power jack.
3.
Wait for status LED to go from ON to double flash every second,
the LoRa LED to turn ON solid, and the cell LED (if LTE enabled)
to flash once every 3 seconds. Should take around 1-2 minutes
depending on location. Your gateway is now ready to transmit
data from your Zurn connected product.
4. Zurn Gateways have been set to DHCP by default. Please
consult local IT support for possible additional access
requirements for your network.
Step 3. Determining general Location for the Zurn Gateway:
• Select a location central to all devices to be connected to this
gateway. Place the gateway as high as possible, such as near
the top of a wall.
•
Avoid obstructions. Thick walls and reflective surfaces, such
as metal, weaken the signal between the gateway and other
devices.
• The LoRa antenna is an omni-directional antenna, but for best
results, mount the device so the LoRa antenna is in a vertical
position near the top of a wall. We recommend conducting a site
survey to test the signal strength in different locations before
you mount the device.
Step 4. Mounting the Zurn Gateway:
The device ships with a mounting bracket. You will also need:
• Four #6 screws with anchors
• Screwdriver
• Drill
1. Determine where you want to mount the device.
2. Mark where you want the screws to go.
3. Drill holes for the screws and insert anchors.
4. Place the mounting bracket and secure it with screws.
5.
Attach the device to the bracket and rotate to lock into place.
NOTE: Instructions below are duplicated from registration card supplied with monitor
1. Install Zurn Connected Product(s)
2. Install Zurn Gateway per the Gateway Instructions Manual
3. Request plumbSMART Administrator Account at 844-987-6737
4.
Zurn creates your Enterprise Account for you! (You will be required to identify your building location, number of floors, and number
of rooms.)
5.
Log in to plumbsmart.zurn.com
6. Register each Connected Product in plumbSMART (Watch How-To Videos to Get Started. Located in the support section inside the
portal.)
7. Now, Relax. You’re Connected.
Z6950 Series
Battery Powered
Sensor Faucet
ZURN PLUMBING PRODUCTS GROUP COMMERCIAL BRASS OPERATION
5900 ELWIN BUCHANAN DRIVE, SANFORD, NC, U.S.A 27330
PHONE: 1-800-997-3876 FAX: 919/775-3541 WEBSITE: WWW.ZURN.COM


