background image

13

Calculator

The digital readout comes with a built-in calculator, which can be used to perform simple mathematical and trigonometric 

functions. Type on the numpad to enter the desired numbers and the various operator buttons (+, –, *, ÷) followed by 

equals (=) to solve. To use a trigonometric function, first enter the input value, then press the desired function button. The 

result of the operation will be displayed with one to five places after the decimal (see settings section to choose desired 

rounding precision). 

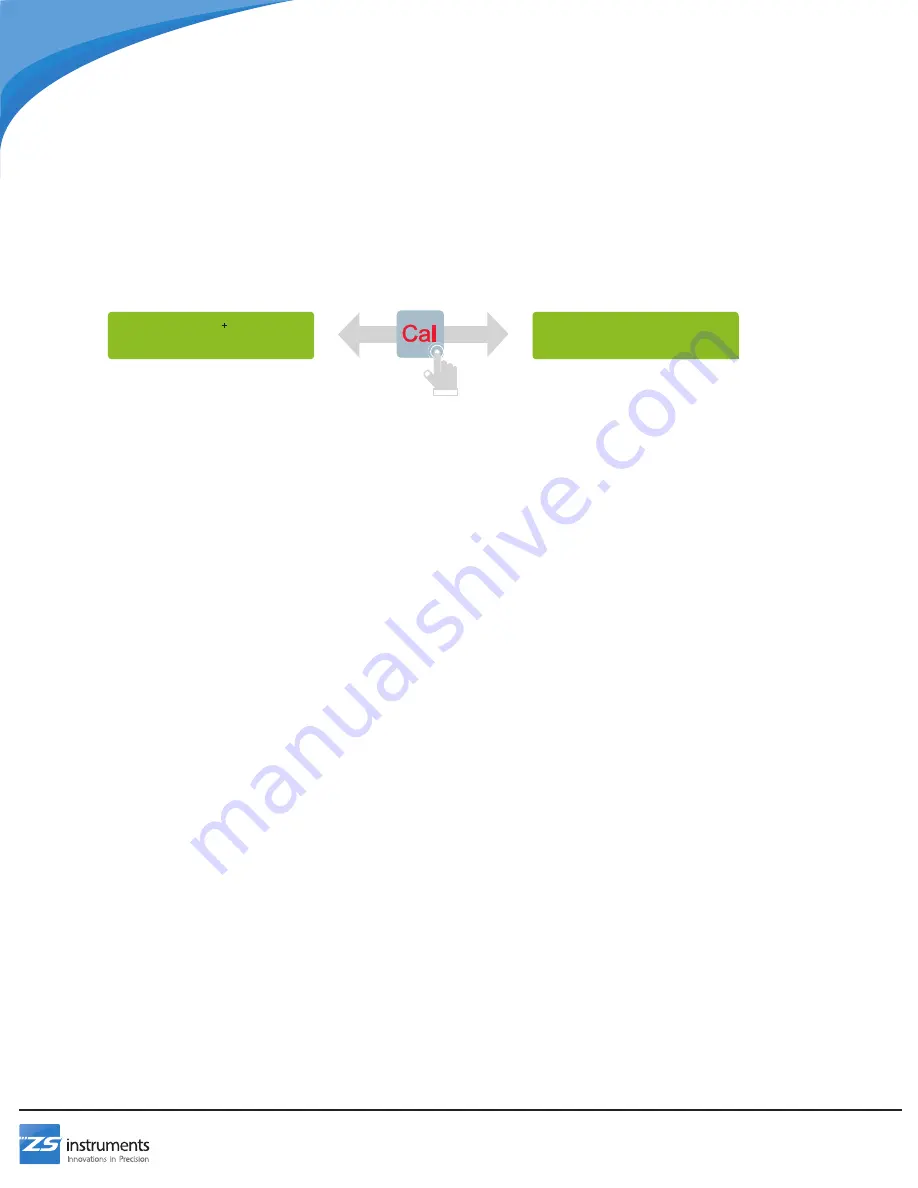
Press the Cal button to toggle between calculator and normal operation mode.

ABS
TL01  F0.0ipm 

***Calculator***
0

Standard Functions

Содержание DR300UN

Страница 1: ...Digital Readout Manual ABS TL01 F0 0ipm 8 8 8 8 8 8 8 8 0 0 0 0 0 8 8 8 8 8 8 8 8 0 0 0 0 0 8 8 8 8 8 8 8 8 0 0 0 0 0 Revision 1 6 ZS Systems LLC All Rights Reserved...

Страница 2: ...rline 14 Incline 14 Smooth Radius 17 Bolt Circle 19 Bolt Array 21 ToolCompensation 23 Lathe Functions Axis Summing 25 Radius Diameter mode 25 Axis Vectoring 26 TaperMeasurement 26 ToolCompensation 27...

Страница 3: ...eatures Please read through this manual in its entirety before beginning installation or using the unit to avoid damage to the DRO encoders or your machine Save this manual for future reference Produc...

Страница 4: ...t screws to level the mounting arm Step 2 Attach the DRO to the end of the mounting arm using the included hardware Due to the large number of machines and mounting configurations that are supported b...

Страница 5: ...the machine as shown Use the four set screws to level the mounting arm Remove the hex screw from the top of the mounting arm base Make sure that the DRO and cabling will clear all parts of the machin...

Страница 6: ...manual for the installation procedures Encoder alignment can drastically affect the accuracy of the DRO system and severely misaligned encoders will result in premature wear and or permanent damage O...

Страница 7: ...played on the information screen ABS for absolute and INC for incremental When the DRO is in absolute mode the coordinate display is always showing the position from the origin In the example part bel...

Страница 8: ...ts the All Axis Zero and Recall Last Value functions Abs Set X 0 in 8 8 8 8 8 8 8 8 0 0 0 0 0 All Axis Zero In the incremental mode to zero all axes at once press the Ax0 button 8 8 8 8 8 8 8 8 8 8 8...

Страница 9: ...ay reads zero and drill the third hole 6 Repeat steps 4 and 5 until all of the holes are drilled Inc Set X 2 25 in Inc Recall Press X Y Z Cncl Sub datum Mode Up to 200 sub datum points can be added to...

Страница 10: ...rows to select the datum you would like to edit 3 Press OK to confirm 4 Press 1 to sense the current position OR Press 2 and enter an offset value using the numpad 5 Repeat step 4 for the remaining ax...

Страница 11: ...Feed rate Display The feed rate is automatically displayed on the information screen either in inches per minute ipm or millimeters per second mm s based on the active units OR Sleep Mode Sleep mode c...

Страница 12: ...bs 1 Set 2 Restore Found X 1 6012 Saving Standard Functions To Restore Reference Zero Step Buttons Information Screen 1 Press F to navigate to the reference function 2 Press 2 to restore a reference 3...

Страница 13: ...rator buttons followed by equals to solve To use a trigonometric function first enter the input value then press the desired function button The result of the operation will be displayed with one to f...

Страница 14: ...Incline To machine a surface on a plane that is not parallel to two of the axes of machine travel use the Incline feature When machining an incline feature the digital readout will sequentially displa...

Страница 15: ...1 to sense the current position OR Press 2 to enter the position using the numpad Press OK to confirm 6 Enter the ending point of the incline for each axis Press 1 to sense the current position OR Pr...

Страница 16: ...the first point is displayed Move the tool until the axis displays read zero 5 If the cut plane is the XY plane plunge to the desired depth and leave the tool at that depth for the duration of the pr...

Страница 17: ...can be saved to one of 99 slots or it can be run immediately without saving Note A ball end mill MUST be used when milling radii on the XZ or YZ planes To Create a New Smooth Radius Feature Step Butto...

Страница 18: ...ngth along the remaining axis 6 Press the up arrow to advance to the next point and move the tool until the axis displays read zero If the cut plane is the XZ or YZ plane make a pass of the desired le...

Страница 19: ...a New Bolt Circle Feature X Axis Y Axis X Center Y Center Start Angle End Angle Radius Datum Step Buttons Information Screen 1 Press the bolt circle button to access the bolt circle feature 2 Press 1...

Страница 20: ...the tool above the workpiece once the hole is drilled 6 Press the up arrow to advance to the next point and move the tool until the X and Y axis displays read zero Repeat step 5 7 Repeat step 6 until...

Страница 21: ...o one of 99 slots or it can be run immediately without saving Mill Functions To Create a New Bolt Array Feature X Start Point Y Start Point Array Angle Distance Between Holes Distance Between Lines X...

Страница 22: ...s drilled 6 Press the up arrow to advance to the next point and move the tool until the X and Y axis displays read zero Repeat step 5 7 Repeat step 6 until all points are completed When the program fi...

Страница 23: ...s displayed on information screen e g TL02 To Edit Tool Offsets Step Buttons Information Screen 1 Press the tool button to access the tool compensation feature 2 Press 2 to edit or create a new tool c...

Страница 24: ...ool button to access the tool compensation feature 2 Press 1 to use an existing tool configuration Select the tool number you would like to apply using the up and down arrows then press OK to confirm...

Страница 25: ...irm 2 Use the up and down arrows to select the axis you would like to sum or choose OFF to turn feature off Press OK to confirm Function 2 Summing Summing 2 Z Y Z The 3 physical DRO axis displays are...

Страница 26: ...second position Step Buttons Information Screen 1 Press F and use the up and down arrows to navigate to the vectoring function Press OK to confirm 2 Use the numpad to enter the angle at which you wou...

Страница 27: ...t using the numpad Press OK to confirm 5 Press 1 to store the tool OR Press 2 to discard any changes Tool Compensatn 1 Use 2 Edit Edit Tool 01 Tool 01 1 Store 2 Discard Tool Offset X 1 125 in Tool Off...

Страница 28: ...e Set Save Changes 1 Yes 2 No Machine Type Mill OR Encoder Settings Each encoder setting must be set for each axis independently Under scale settings select the encoder axis to modify Axis Units Selec...

Страница 29: ...t the rounding for the selected axis Press OK to confirm 8 Use the up and down arrows to toggle between single periodic and smart distance coded reference Press OK to confirm 9 Press cancel to exit th...

Страница 30: ...Press cancel to exit the settings menu Press 1 to save changes or 2 to discard MAIN MENU Display Set OR Number of Axis 3 Axis DRO CALC Rounding 4 Digit s Save Changes 1 Yes 2 No LCD Backlight On Step...

Страница 31: ...1 8 kg Environmental Operating Temperature 30 115 F 0 45 C Operating Humidity 20 90 RH non condensing Storage Temperature 40 185 F 40 85 C Storage Humidity 10 95 RH non condensing Input and Resolution...

Страница 32: ...t information If an axis display always changes by a constant scale factor of the distance moved e g the display always shows double the distance traveled it is possible that the DRO has an incorrect...

Страница 33: ...ngs production downtime cancellation of contracts lost profits or lost business opportu nity arising from the use of ZS Instruments products This warranty applies only to the DR300 series of digital r...

Страница 34: ...34 DR300 UN ZS Systems LLC 675 N 36th Street Lafayette IN 47905 USA Telephone Fax 765 588 4528 Email sales zsinstruments com Website www zsinstruments com H W Ver 3 1 F W Ver 1 302...

Отзывы: