background image


Installation Manual 


Rev.1.5 


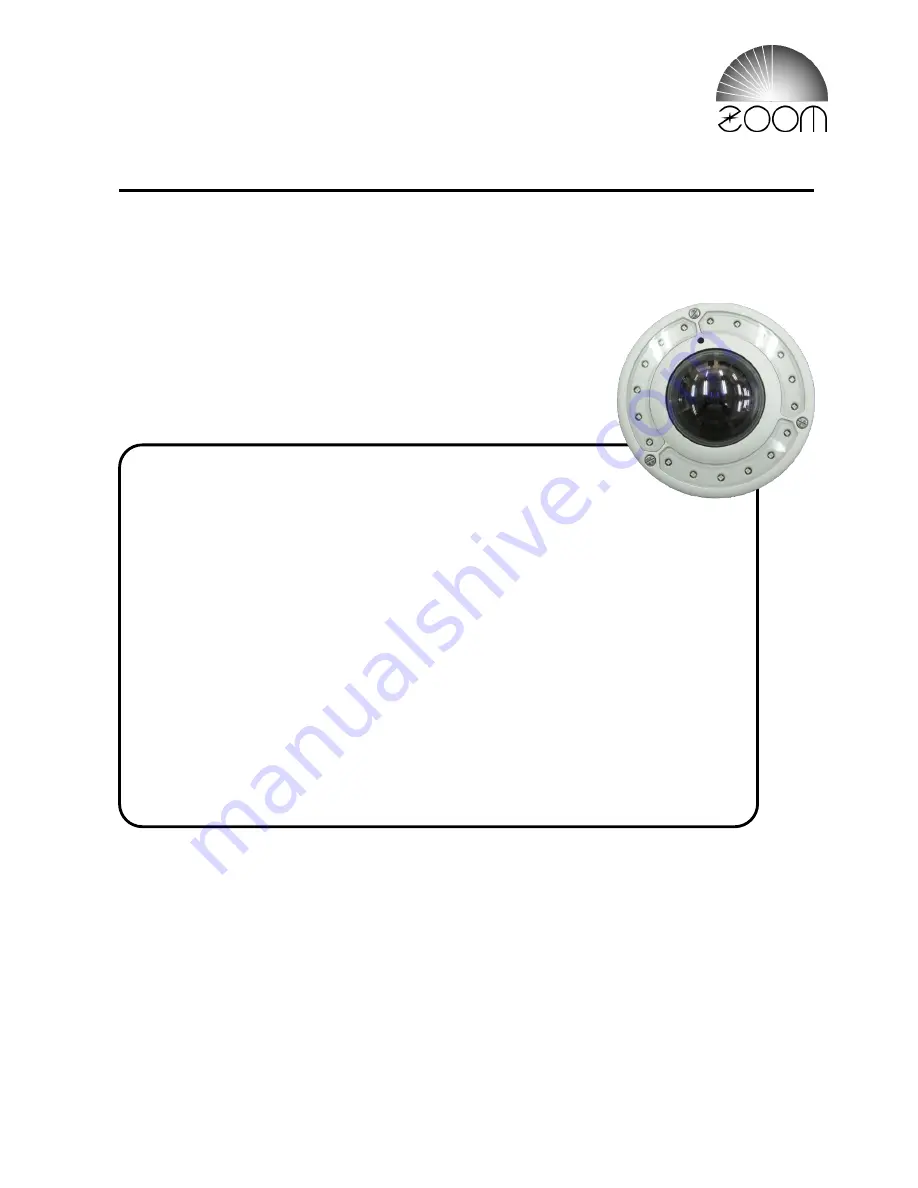
High Resolution 360° Network Camera 

Model:   

NUD360-F 


Contents 

1. Introduction

 ....................................................................................... 2 

2. Safety Instructions

 ............................................................................ 4 

3. Installation Requests

 ........................................................................ 5 

4. Package Contents

 ............................................................................ 7 

5. Physical Description

 ......................................................................... 8 

6. Installation of Camera

 ..................................................................... 10 

7. Other Connections

 .......................................................................... 16 

8. How to Install / Remove the Memory Card

 .................................... 21 

9. Connect Camera to Network

 .......................................................... 23 

10. Accessing the Camera

 .................................................................. 24 


Thank you for purchasing the ZOOM product. 


Please read this manual carefully and use it correctly and safely. 


Please read "Safety Instructions" before use. 


Please keep this manual in a safe place. 


Product operation and setting methods are described in the IP Utility and Web Configurator 
instructions that are included in the CD-ROM provided with the product. 


Note: In order to read the PDF file, Adobe Reader of Adobe Systems Corporation is 
necessary. 

© ZOOM Co., Ltd. 2016 


Содержание NUD360-F

Страница 1: ...amera to Network 23 10 Accessing the Camera 24 Thank you for purchasing the ZOOM product Please read this manual carefully and use it correctly and safely Please read Safety Instructions before use Please keep this manual in a safe place Product operation and setting methods are described in the IP Utility and Web Configurator instructions that are included in the CD ROM provided with the product ...

Страница 2: ...roof dome housing conforming to IP66 is adopted About immunity This camera was created for the purpose of obtaining images to monitor for a specific area This camera alone does not prevent crime or the like We do not assume any responsibility with regard to the followings in any case Accidental special or consequential damages injuries harms caused directly or indirectly in relation to this device...

Страница 3: ... United States and other countries SD logo SDHC logo and SDXC logo are trademarks of SD 3C LLC WiMAX is a trademark of WiMAX Forum QuickTime and Safari are registered trademarks or trademarks of Apple Computer Inc in the United States and other countries Other company names product names and logos described in this manual are trademarks and registered trademarks of each company About copyright Cop...

Страница 4: ... weather Servicing Do not attempt to service this device yourself Refer all servicing to qualified service personnel Damage Requiring service Disconnect this device from the power supply immediately and refer servicing to qualified service personnel under the following conditions When the power supply cord or plug is damaged If liquid has been spilled or objects have fallen into the device If the ...

Страница 5: ...wed Although this unit meets IP66 waterproof specifications internal electronic components may be damaged under the following circumstances and it can not be guaranteed Where to use drugs such as pools Places where special environments such as solvents and flammable atmospheres occur Where radiation X rays and powerful radio waves and magnetic fields occur Places where corrosive gases are generate...

Страница 6: ...t The installation screws are loose or missing The installation place is loose or inclined There are damaged or marked rust in the device or the installation place To prevent accidents be sure to ask dealers or contractors to repair it if necessary When using beyond 8 years please consider the replacement as well as increasing the number of periodic inspections If you are using the device for many...

Страница 7: ...plate Application CD IMPORTANT When the camera is taken out from the box the lens cover is covered by a plastic thin film To avoid scratches or leaving fingerprints on the lens cover it is recommended to retain the film covering the lens cover until the camera is completely installed and all connections are completed However the plastic has been removed on some of the pictures in this documentatio...

Страница 8: ...en shipped a black plastic cap is inserted for dustproofing 7 Installation Screw Hole Using these holes x4 install the camera 8 Top Case Screw x3 Fix Top Case to Bottom Case Its head has a special shape Use the included Hexagon Screwdriver 9 Installation Plate When installing the camera fix this plate 10 Camera Fixing Screw Be fixing Installation Plate to Body Never loosen or remove these 11 Cable...

Страница 9: ...tal Input DI Digital Output DO devices are used in applications like motion detection event triggering alarm notifications etc 4 Reset Button Restores the factory default settings of the camera To reset the camera while the power is on press and hold Reset Button for at least 5 seconds 5 DC 12V Power Input In case the camera is connected to a non PoE Power over Ethernet switch use this connector t...

Страница 10: ... surface of the installation place take out the cable from the side of the camera When routing the cable inside of the installation place by penetrating the installation surface take out the cable from the bottom of the camera Note There is only one Cable Hole Cap attached on the camera Please attach it to either side or bottom cable hole which does not use Step 2 Drill holes for installation in t...

Страница 11: ...rd with the metallic contacts facing down into the card slot of the camera See How to Install Remove the Memory Card on page 21 Step 4 Prepare to Waterproof When it is necessary to waterproof the cable and cable pulled out portion please decide the waterproofing method in advance The camera comes with two 2 glands used for waterproof installation Cable Gland For use with an Exterior grade Ethernet...

Страница 12: ...duit not included in the package Waterproof Solution with Naked Cable This section describes the procedures to waterproof the cabling connections using an exterior grade Ethernet cable 1 Disassemble the cable gland as shown below 2 Insert the clamping nut into the Ethernet cable Body with Washer Sealing Insert with Claw Clamping Nut ...

Страница 13: ... installation the conduit gland body can be securely attached to the camera therefore the use of lock nut is not necessary Please set the lock nut aside 2 Pull the Ethernet cable and other cables if any through the flex conduit Note To connect an external power adapter audio in out or digital input output DI DO devices insert the cables without connectors through the flex conduit together with the...

Страница 14: ...he specified connector Step 6 Assemble the Top Case Return the top case to its original position and tighten the Top Case Screws 3 places At that time please do not pinch the Fall Prevention Wire and cables SD Card Slot Digital Input Output Ethernet Port Fall Prevention Wire Audio Input Output ...

Страница 15: ...aces downward Do not loosen or remove the Camera Fixing Screw right figure 3 yellow squares that fixes the camera to the Installation Plate Please use screws for installation that match the material of the installation place Because the camera is heavy fixing should be based on the bolt net tightening Disclaimer The manufacturer will not be responsible for camera damage caused by improper installa...

Страница 16: ... PoE switch has limited power supply you can purchase a power adapter and directly connect the camera to a power outlet The power adapter must be connected to the supplied terminal block before use To do this follow the procedures below The work is done inside the camera Work with the Top Case opened according to Step 4 on the page 12 1 Loosen the screws of the 12V and GND pins of the power termin...

Страница 17: ...ncy button smoke detector passive infrared sensor etc Digital Output DO devices are external devices that are activated by the camera upon an event inside the camera For example you can connect an alarm horn to the camera as such when an event occurs inside the camera e g detected intruder the alarm horn will sound Other common DO device applications are motion triggered lights electric fence magn...

Страница 18: ...l high Logic level 1 3 1V 30V Current 10mA 100mA DO Connection design Transistor Open Collector Voltage Current 24V DC 50mA Typical Connection Based on these specifications if the DI device has a voltage of 0V 30V or the DO device has a voltage of 24V 50mA then the camera can supply internal power to these devices and there is no need to connect the DI DO device to an external power source In this...

Страница 19: ...ring scheme below Note that when choosing an appropriate relay please refer to its specifications and make sure they match the above design The triggering circuit voltage has to be around 12V DC and the switch controlled circuit voltage has to match the external power supply e g 110V AC or 220V AC The illustration below is a graphic example of connecting a relay to a high voltage DO device Relay D...

Страница 20: ...e supplied audio terminal block To connect audio input output devices map the pins to one of the pin combinations below Device Pin Mapping Instructions Audio Output GND Connect the wires of the audio output device to GND and AUDIO OUT AUDIO OUT Audio Input GND Connect the wires of the audio input device to GND and AUDIO IN AUDIO IN Press and hold the orange tab as you insert the wire through the p...

Страница 21: ...le size in the market 8 1 How to Insert the Memory Card 1 Open the Top Case Refer to the page 11 Step 3 2 Insert the memory card with the metal contacts facing toward the side which has MEMORY CARD sign 3 Push the card into place down until it is locked Note Although it is designed not to be inserted in the opposite direction please do not force it in 4 Close the Top Case 5 Once inserted make sure...

Страница 22: ...tem It might take couple of minutes to format the storage It may be needed when using brand new MicroSDHC cards or the ones that have been used in other devices before such as photo cameras or mobile phones If the formatting of the memory card fails then the card is either physically damaged or does not comply with the specification of the camera In such case please use another card Once the drive...

Страница 23: ... to configure the recording rules For more details about storage preparation please refer to the firmware manual 9 Connect Camera to Network Connect the other end of the network cable to a switch or injector Then connect the switch or injector to a network or PC and a power source See Power over Ethernet PoE example connection diagram below Network AC Power Source PoE Injector PoE Switch Power Cab...

Страница 24: ...ould request a unique IP address from the DHCP server automatically In such case the camera will immediately be ready for the access from the PC The user however might not know the IP address of the camera yet It is necessary to know the IP address of the camera in order to access it using a Web browser The quickest way to discover the cameras in the network is to use the simplest network search b...

Страница 25: ...low You can quickly notice the camera model in the list Click on the IP address to automatically launch the default browser of the PC with the IP address of the target camera already filled in the address bar of the browser Use the default IP address of the camera If there is no DHCP server in the given network the user may have to manually assign the IP addresses to both the PC and the camera to ...

Страница 26: ...26 Manually adjust the IP address of the PC In the following example based on Windows 7 we will configure the IP address to 192 168 0 99 and set Subnet Mask to 255 255 255 0 by using the steps below 1 2 ...

Страница 27: ...h the procedure shown above all the cameras will have unique IP addresses starting from 192 168 0 101 In case there are 20 cameras selected the last one of the cameras would have the IP 192 168 0 120 Later by pressing the Refresh button of the IP Utility you will be able to see the list of cameras with their new IP addresses Please note that it is also possible to change the IP addresses manually ...

Страница 28: ...er browsers free third party software plug ins must be installed to the PC first to be able to get the live video feed from the camera Browser Required Plug In Safari QuickTime http www apple com quicktime download Other non Internet Explorer browsers Basic VLC Media Player http www videolan org Disclaimer The camera manufacturer does not guarantee the compatibility of its cameras with VLC player ...

Страница 29: ...p 192 168 0 100 Upon successful connection to the camera the user interface called Web Configurator would appear together with the login page The HTTP port number was not added behind the IP address since the default HTTP port of the camera is 80 which can be omitted from the address for convenience Before logging in you need to know the factory default Account and Password of the camera Account A...

Отзывы: