Para Español, vea por favor página 14.
Z O O M A P + 4
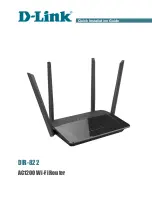
This Quick Start tells you how to install the AP+4 and configure
wireless security. For additional information about other topics
,
please
see the User Guide
on the CD.
Quick Start
Connecting the Hardware
1
Put the AP+4 near a computer to be used for setup. That
computer needs an Ethernet (LAN) port.
2
Turn off the computer.
3
Plug the supplied power cube into the AP+4, and then into a
power outlet.
Important!
Use only the power cube shipped with the AP+4.
Other power cubes may damage the device.
The
PWR
LED on the AP+4 front panel should turn on and
within a few seconds the
WLAN
LED should flash. (The
WLAN LED continues to flash to signify broadcast activity as
long as the Wireless LAN is enabled. It is enabled by
default.)
4
Connect one end of the supplied Ethernet cable to the
computer’s Ethernet port and the other end to any of the
AP+4’s LAN ports.
5
Turn on the computer. The connected
LAN
port and the
ACT
(Activity) LEDs immediately become steady on. (If you
have a 10 Mbps Ethernet connection, the LAN LED does not
turn on.)
6
If you want the AP+4 to have access to the Internet, connect
its
WAN
port to the Ethernet port on your cable modem,
ADSL modem, or other broadband device. When you do
this, the
WAN
LED turns on if the broadband device is on
and its Ethernet port is working.