14
Motor Torque Adjustment
The motor torque of the stabilizer shall be adjusted by 3 levels to adapt the specific
camera and lens applied for ideal performance.
Auto torque adjustment:
Under auto torque adjustment, the stabilizer will adjust the
motor torque according to the weight of the carried camera and lens.
Operation Method:
Single press Menu Button and rotate the dial to "motor", then
rotate the dial to "auto" and press the right side of the dial to confirm. The stabilizer will
enter the auto torque adjustment state. Please do not operate the stabilizer before the
stabilizer shortly vibrate, and a “√” mark will appear on the display screen, which means
the auto torque adjustment is completed.
Customized Motor Torque:
Please set a proper motor torque according to the actual
camera setup. Overhigh motor torque will cause the stabilizer vibration, vise versa,
excessive low motor torque will affect the gimbal stabilization.
Operation Method:
Single press Menu Button and rotate the dial to "motor", then
rotate the dial to "custom" and press the right side of the dial to confirm. Press right
again to select the corresponding axis and set the parameters via the dial. Single press
the left to exit, then the stabilizer will save the parameter and a “√” mark will appear on
the display screen, which means the auto parameter adjustment is completed.
How to Use
Stabilizer Mode Description
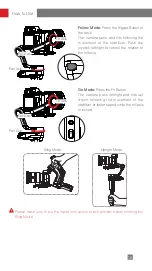
Motors circled in red will auto move with the stabilizer, while motors circled in grey
are locked instead of moving with the stabilizer.
Tilt Axis
Roll Axis
Pan Axis
Pan Following Mode (PF):
Push up the
PF/L mode switch
The camera pans left/right following the
movement of the stabilizer while the tilt
and roll axes are locked. Push the joystick
up/down allows manual control of the tilt
axis.
PF
L
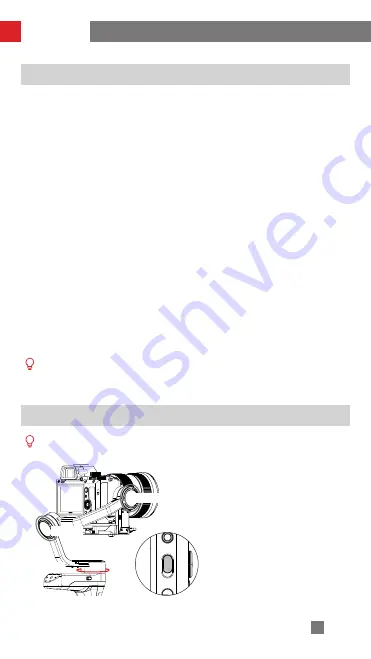
① When conducting the auto torque setting, please make sure that the three axes
are unlocked and the stabilizer is straightly put on a flat surface.
② Please rebalance the stabilizer if camera setup is changed, and adjust the motor
torque settings following the above method.
Содержание WEEBILL-S
Страница 2: ...WEEBILL S User Guide Z H I Y U N E N v 1 2 0...
Страница 25: ...21 Calibration and Firmware Upgrade STEP 3 STEP 4 STEP 5 STEP 6...
Страница 34: ......

