(844) 200-1945 |
Page 11 of 31
Copyright © Zenty AV
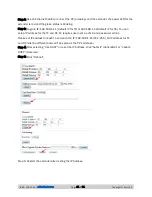
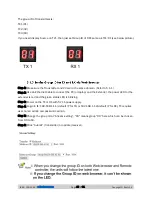
Step 2: Use an Ethernet Cable to connect the PC (or laptop) and the extender. the power LED for the
extender is red and the green status is blinking.
Step 3: Login in IE: 192.168.1.11 (default IP for TX) or 192.168.1.12(default IP for RX), You can
setup IP address for the TX and RX. TX requires user name: admin and password: admin
Please set IP address for each TX and each RX, IP: 192.168.1.XX (XX:1-255). All IP address for TX
and RX must be different and can’t be same as the PC’s
address.)
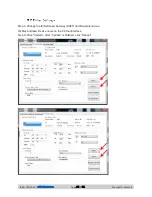
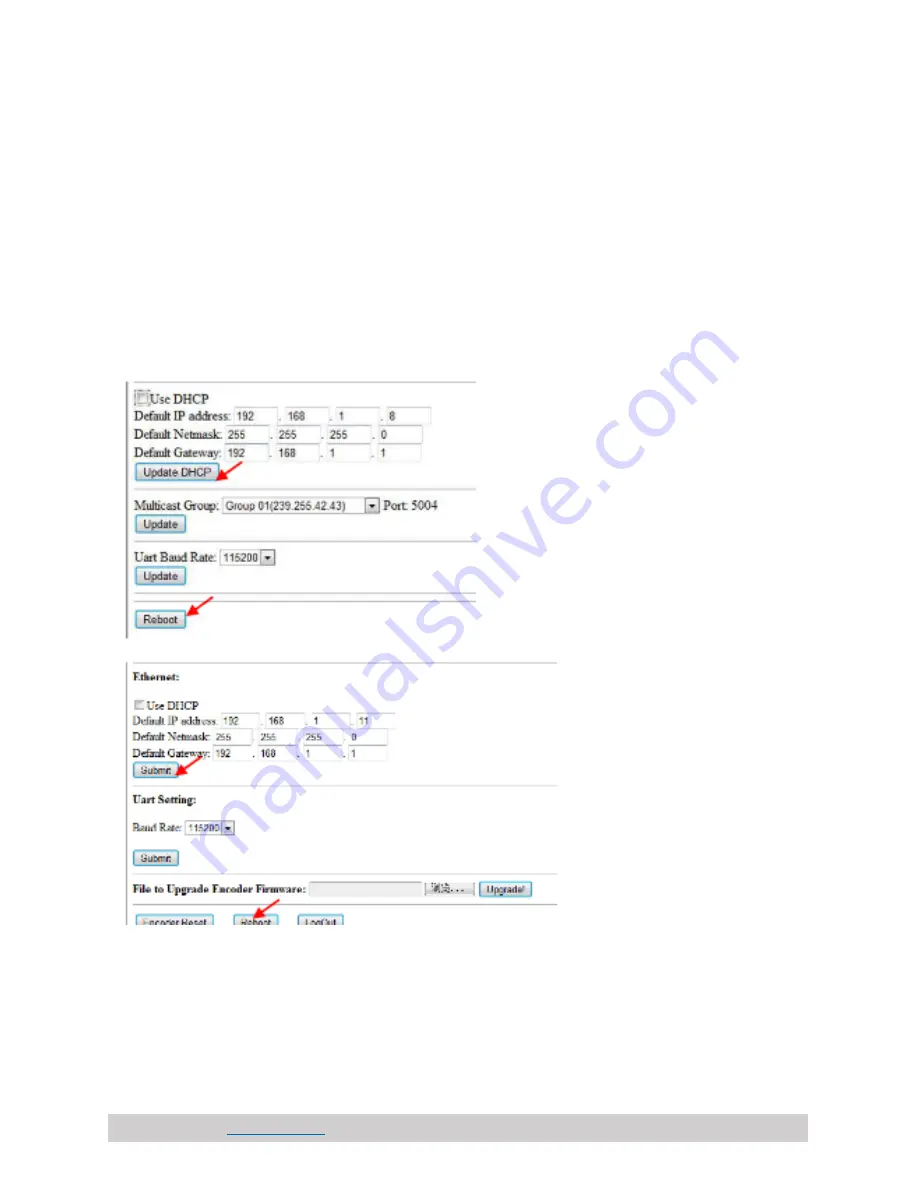
Step 4: After selecting
“Use DHCP” or reset the IP Address, click “Submit”
(transmitter) or “update
DHCP” (Receiver).
Step 5:
Click “Reboot”.
Step 6: Restart the extender after resting the IP Address.
Содержание ZT-111
Страница 2: ...844 200 1945 sales zenty com Page 2 of 31 Copyright Zenty AV...
Страница 3: ...844 200 1945 sales zenty com Page 3 of 31 Copyright Zenty AV...
Страница 7: ...844 200 1945 sales zenty com Page 7 of 31 Copyright Zenty AV...
Страница 8: ...844 200 1945 sales zenty com Page 8 of 31 Copyright Zenty AV...
Страница 17: ...844 200 1945 sales zenty com Page 17 of 31 Copyright Zenty AV...
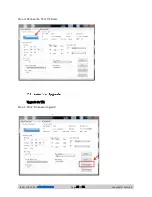
Страница 22: ...844 200 1945 sales zenty com Page 22 of 31 Copyright Zenty AV Upgrade for RX Step 1 Click Firmware Upgrade...
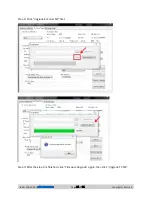
Страница 23: ...844 200 1945 sales zenty com Page 23 of 31 Copyright Zenty AV Step 2 Click Upgrade Rx FW...
Страница 26: ...844 200 1945 sales zenty com Page 26 of 31 Copyright Zenty AV...
Страница 28: ...844 200 1945 sales zenty com Page 28 of 31 Copyright Zenty AV Step 8 Click Next Step 9 Click Stream...

