


14
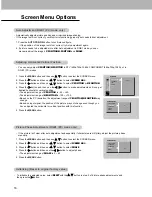
Picture Menu Options
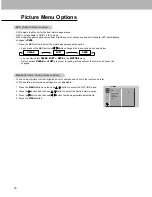
- You can adjust picture contrast, brightness, color, sharpness and tint to the levels you prefer.
- In PIP and twin picture modes, settings are not adjustable.
1. Press the MENU button and then use
D
/
E
button to select the PICTURE menu.
2. Press the
G
button and then use
D
/
E
button to select the desired picture option.
3. Press the
G
button and then use
F
/
G
button to make appropriate adjustments.
4. Press the MENU button.
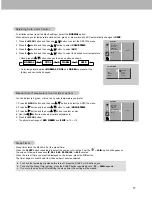
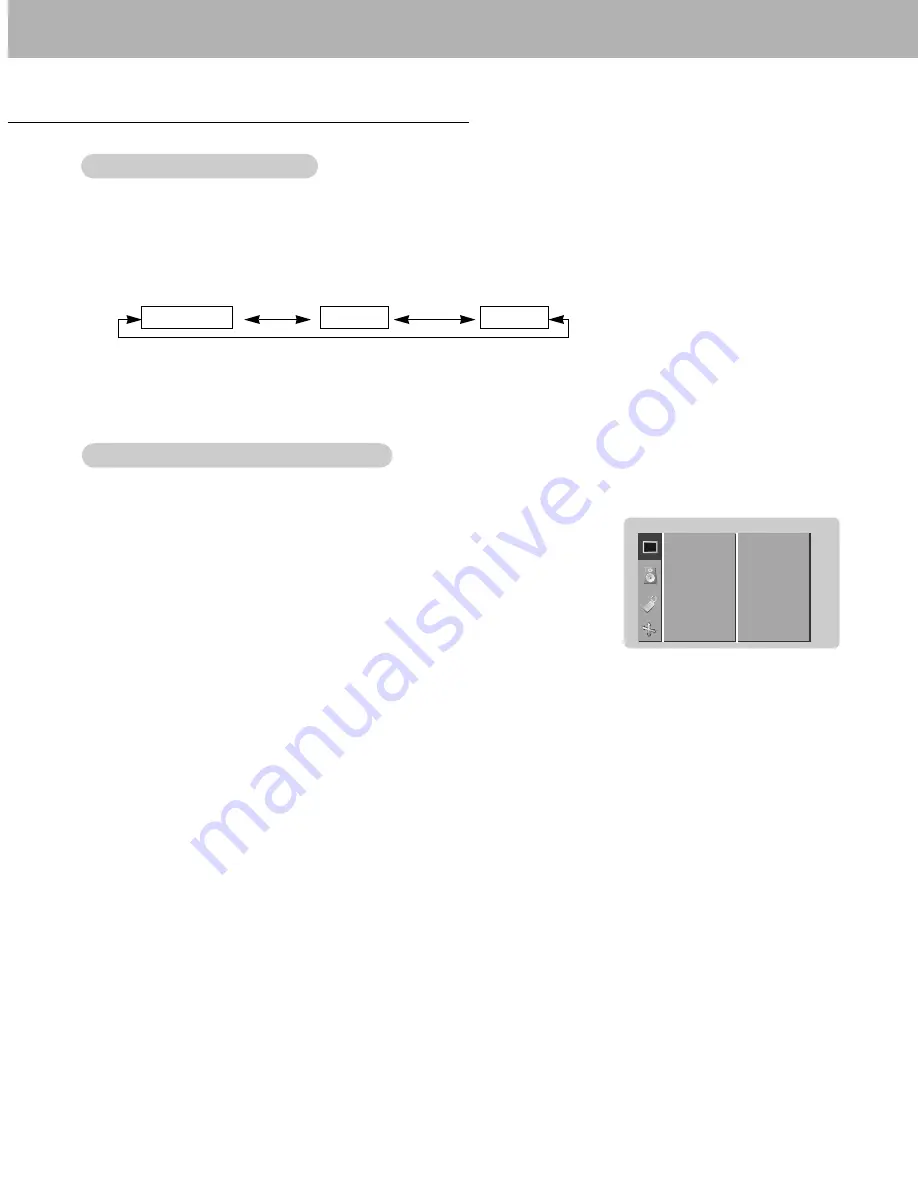
Manual Picture Control (User option)
Manual Picture Control (User option)
APC
CONTRAST
G
BRIGHTNESS
COLOR
SHARPNESS
TINT
PICTURE
100
1. Press the APC button to select the picture appearance setup option.
APC (Auto Picture Control)
APC (Auto Picture Control)
• Each press of the APC button or
F
/
G
button changes the menu option as shown below.
• You can also select
CLEAR
,
SOFT
or
USER
in the
PICTURE
menu.
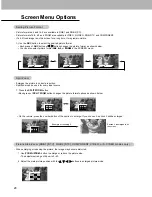
• Picture options
CLEAR
and
SOFT
are preset for good picture quality at the factory and cannot be
changed.
CLEAR
SOFT
USER
- APC adjusts the Monitor for the best picture appearance.
- APC is not available in RGB 1,2 (PC) mode.
- When adjusting picture options (contrast, brightness, color, sharpness and tint) manually, APC automatically
changes to
USER
.
Содержание P42W24B
Страница 32: ...P N 3828VA0361D RF02RA 206 3849...


