background image

OPERA

TION

19

Operation with Radio

Presetting Radio Stations

You can preset 30 stations for FM and AM. Before tun-
ing, make sure that you have turned down the volume
to the minimum.

11

Press FUNCTION on the front panel repeatedly
or FM/AM on the remote control until FM or AM
appear in the display window.

2

2

And then every time you press FM/AM, FM and
AM change alternately.

3

3

Press and hold TUNING/SKIP

or 

on the front panel for about two seconds until 
the frequency indication starts to change, then 
release.

Scanning stops when the DVD Receiver tunes in a 
station. “TUNED” and “STEREO” (for stereo program) 
appear in the display window.

ote

Tuned” only appears when the signal is FM and

stereo.

4

4

Press MEMORY.

A preset number will flash in the display window.

5

5

Press 

TUNING/SKIP or or on 

the

front panel to select the preset number.

6

6

Press MEMORY again.

The station is stored. 

77

Repeat steps 3 to 6 to store other stations.

To tune in a station with a weak signal 

Press TUNING/SKIP or 

or 

repeatedly in

step 3 to tune in the station manually.

To clear all the memorized stations 

Press and hold MEMORY for about three seconds and
“CLEAR ALL” appears in the display window and then
press MEMORY again, the stations are cleared.

ote

If all stations have already been entered, FULL mes-
sage will appear in the display window for a moment
and then a preset number will flash. To change the pre-
set number, follow the steps 5-6 as above.

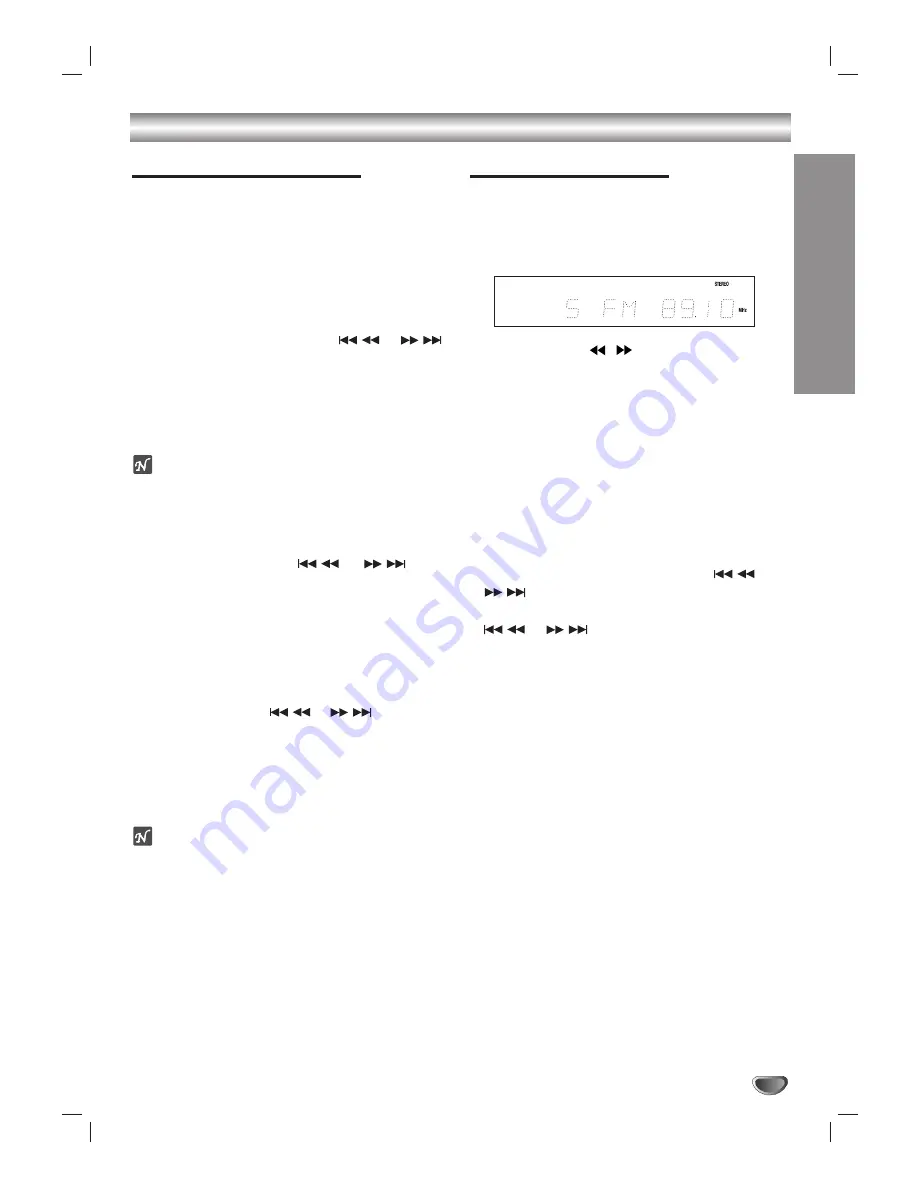
Listening to the Radio

Preset radio stations in the DVD receiver’s memory first
(see “Presetting radio stations” on the left side).

11

Press FM/AM until AM or FM appears in the dis-
play window.

The last received station is tuned in.

2

2

Press PRESET 

/

repeatedly to select a

preset station.

Each time you press the button, the DVD receiver tunes in
one preset station at a time.

3

3

Adjust the volume by rotating VOLUME on the
front panel or by pressing or - on the
remote control repeatedly.

To turn off the radio 

Press POWER to turn the DVD receiver off or select
another function mode (DVD/CD, VIDEO 1 or VIDEO 2).

To listen to non-preset radio stations 

Use manual or automatic tuning in step 2.

For manual tuning, press TUNING/SKIP

or

on the front panel repeatedly.

For automatic tuning, press and hold TUNING/SKIP

or 

for about two seconds on the front

panel.

For your reference

If an FM program is noisy

Press MONO/ST. on the front panel so that
“STEREO” disappears in the display window. There
will be no stereo effect, but the reception will
improve. Press the button again to restore the stereo
effect.

To improve reception

Realign the antenna.

Содержание DVT216

Страница 1: ...Copyright 2002 Zenith Electronics Corporation Installation and Operating Guide Warranty Model Number DVT216 Speakers FE 5620TE FE 5620WE DVD Home Cinema System...

Страница 2: ...following measures Reorient or relocate the receiving antenna Increase the separation between the product and receiv er Connect the product into an outlet on a circuit different from that to which th...

Страница 3: ...as two blades and a third ground ing prong The wide blade or the third prong are provided for your safety If the provided plug does not fit into your outlet consult an electri cian for replacement of...

Страница 4: ...h 22 Zoom 23 Marker Search 23 Special DVD Features 23 Title Menu 23 Disc Menu 23 Camera Angle 23 Changing the Audio Language 23 Subtitles 23 Operation with Audio CD and MP3 Disc 24 Playing an Audio CD...

Страница 5: ...e labels of some DVD discs indicates which type of receiver can play those discs This unit can play only DVD discs labeled 1 or ALL If you try to play any other discs the message Check Regional Code w...

Страница 6: ...ine or thinner as these might damage the surface of the unit To obtain a clear picture The DVD receiver is a high tech precision device If the optical pick up lens and disc drive parts are dirty or wo...

Страница 7: ...buttons PLAY button SLEEP indicator TUNED indicator STEREO indicator MUTE indicator MEMORY indicator PROGRAM indicator Repeat playback mode indicators Sound mode indicator Chapter Track number indicat...

Страница 8: ...reen TITLE and MENU screen SET UP buttons SLOW SCAN buttons SEARCH buttons REPEAT buttons NUMERICAL buttons MARKER buttons OPEN CLOSE buttons TEST TONE buttons CD DVD buttons ENTER buttons DIMMER butt...

Страница 9: ...ay not be displayed Set System Select switch when the power is turned off S VIDEO OUT Jack FM 300 Antenna Connector AM Antenna Connectors WOOFER OUT Jack VIDEO 2 Input Connectors VIDEO 1 Input Output...

Страница 10: ...nect the S VIDEO OUT jack on the DVD Receiver to the S Video in jack on the TV using an optional S Video cable S 2 2 Connect the Left and Right AUDIO OUT jacks of the DVD Receiver to the audio left ri...

Страница 11: ...etc OPTICAL otes When you select the VIDEO 1 function mode on remote no video signal is output to the VIDEO 1 jack If the audio format of the digital output does not match the capabilities of your re...

Страница 12: ...the 6 speakers 2 front speakers center speaker 2 rear speakers and subwoofer If you want to hear deeper bass sound DTS digital surround or Dolby Digital surround you should connect an optional active...

Страница 13: ...nal Pro Logic decoding algorithm However if the DSP contains the original Pro Logic code and if the product maker would like to use it this is quite acceptable and even encouraged A product must not o...

Страница 14: ...re by looking at its packaging Dolby Digital discs are labeled with the logo Dolby Surround encoded programs are labeled with the logo DTS Digital Surround discs are marked with DTS ote When you play...

Страница 15: ...front speakers to the listen er is 3 m and from the center speaker to the listener is 2 4 m the center delay time is 2 ms 3 m DF 2 4 m DC 60 cm A 60 cm A 30 cm 2 ms Setting the Delay Time in Dolby Dig...

Страница 16: ...Repeat Title Repeat Chapter Repeat A B Repeat Off Resume play from this point Action prohibited or not available otes Some discs may not provide all of the features on the on screen display example s...

Страница 17: ...IDEO OUT PROGRESSIVE SCAN jacks but are connecting the DVD Player to a standard analog television set Progressive Scan to Off If you are using the Component Video jacks for connection to a TV or monit...

Страница 18: ...e disc The alternative must have the same rating or a lower one If no suitable alternative is found play back will stop You must enter the 4 digit password or change the rating level in order to play...

Страница 19: ...ess MEMORY again the stations are cleared ote If all stations have already been entered FULL mes sage will appear in the display window for a moment and then a preset number will flash To change the p...

Страница 20: ...dphone Jack Connect a stereo headphone plug 3 5mm into the PHONES connector The speakers are automatically disconnected when you plug in headphones not supplied Selecting Input Source You can use VCRs...

Страница 21: ...ode Your player will not play discs that have a region code different from your player The region code for this player is 1 one General Features ote Unless stated all operations described are based on...

Страница 22: ...REPEAT A B at your chosen starting point A appears briefly on the TV screen 2 Press REPEAT A B again at your chosen end point A B appears briefly on the TV screen and the repeat sequence begins a b r...

Страница 23: ...the Marker number that you want to erase 3 Press CLEAR The Marker number will be erased from the list 4 Repeat steps 2 and 3 to erase additional Marker numbers 5 To remove the MARKER SEARCH menu pres...

Страница 24: ...t press REPEAT a second time The Repeat All icon appears on the menu screen 3 To exit Repeat mode press REPEAT a third time The Repeat Off icon appears on the menu screen Search 1 Press and hold SKIP...

Страница 25: ...yed once Repeat Programmed Tracks To repeat the track currently playing press REPEAT The Repeat Track icon appears on the menu screen To repeat all tracks of program list press REPEAT a second time Th...

Страница 26: ...an not read an MP3 file that has a file extension other than mp3 The player can not read a fake MP3 file that has a file extension mp3 MP3 disc compatible with this player is limited as follows 1 Samp...

Страница 27: ...he disc is dirty The speakers and components are connected poorly The DVD receiver is located too close to the TV Correction Plug the power cord into the wall outlet securely Insert a disc Check that...

Страница 28: ...control is not pointed at the DVD receiver remote sensor The remote control is too far from the DVD receiver There is an obstacle in the path of the remote control and the DVD receiver The batteries i...

Страница 29: ...ada 7579 Korean 7583 Kashmiri 7585 Kurdish 7589 Kirghiz 7665 Latin Code Language 7678 Lingala 7679 Laothian 7684 Lithuanian 7686 Latvian Lettish 7771 Malagasy 7773 Maori 7775 Macedonian 7776 Malayalam...

Страница 30: ...ds KZ Kazakhstan LA Laos LB Lebanon Code Country LC Saint Lucia LI Liechtenstein LK Sri Lanka LR Liberia LS Lesotho LT Lithuania LU Luxembourg LV Latvia LY Libya MA Morocco MC Monaco MD Moldavia MG Ma...

Страница 31: ...x 1 Pb Pr 0 7 V p p 75 Tuning Range 87 5 108 MHz Intermediate Frequency 10 7 MHz Signal to Noise Ratio 60 dB Frequency Response 150 10 000 Hz Tuning Range 530 1 720 kHz Intermediate Frequency 450 kHz...

Страница 32: ...e other rights that vary from state to state THE ABOVE WARRANTY DOES NOT APPLY TO 1 To damages or problems that result from shipping installation calibration maintenance or separate system components...

Отзывы: