11
Inspection
and Part
Preparation
After the parts have been cleaned,
they should be inspected for nicks, burrs
and stubborn residue. The gears and the
edges of the gear plate pockets are the
most likely areas to be damaged
because of the sharp edges on these
parts. An illuminated magnifier helps
during the examination.
Components should be cleaned
with a soft brush and a mild detergent
solution, or a safe, industrial solvent.
Do not use abrasives to clean the pump.
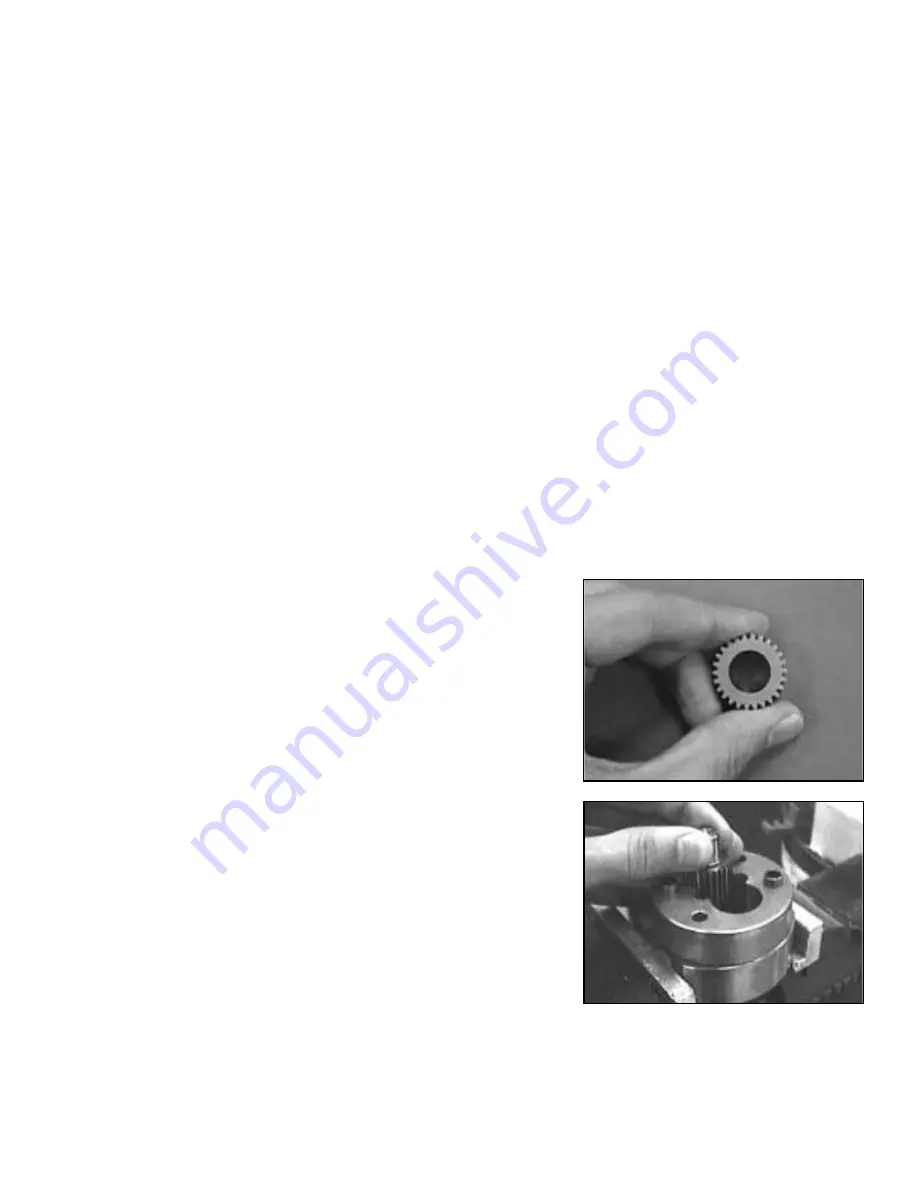
Carefully inspect for any tool marks,
nicks or scratches on the surfaces of the
plates and gears. See
Figure 9.
Watch for
shiny areas around nicks or scratches on
the plates. These indicate a raised area
that is present. This damaged area needs
further attention. It is acceptable to care-
fully stone a “cratered” nick with a new,
hard Arkansas or X-Fine water stone
(6000 grit or higher), but this should be
done with extreme care.
Deep marks or galling cannot be
removed by stoning. These surfaces must
be ground. Return the parts to the factory
for repair or replacement.
Any nicks in the gear teeth should be
removed by carefully stoning the parts
with a fine India oilstone or an Arkansas
stone. After all preparation has been
completed, remove the abrasive dust
and loose residue in an ultrasonic cleaner
or other suitable cleaning method.
Abrasive dust is larger in size than the
pump clearances.
Always use clean, lint-free rags or
disposable towels and compressed air to
clean components. Common paper towels
are not acceptable because they can
leave small pieces of paper and dust on
the pump parts. Use chemical brushes
to clean between gear teeth, bores and
other pump features. After all components
are clean, the pump can be reassembled.
See
Figure 10.
If cleaned parts are not to be
reassembled for a period of time, they
should be carefully packed in soft paper
to prevent damage during storage. Never
allow C-9000 parts to touch each other in
storage or during cleaning. These com-
ponents can easily damage each other
if they collide by shifting around in a pan
or bin.
New and replacement parts should
always be deburred and cleaned using the
above procedures.
In addition to the above
methods, new gears must be deburred
on the teeth tips and edges using 600
grit paper, as well. Roll the gear for two
revolutions like a wheel against the abra-
sive paper. Press down gently on the
gear during this process. Simulate a
motion as if you were trying to sand the
teeth off of the gear; perform only two
complete turns. Now, hold the gear and
sweep the edges of the teeth against the
paper for two revolutions of the gear.
Finally, lay the gear flat on its side and
block as discussed above. Repeat this
blocking on the other side of the gear.
Sharp edges on the gear bores must also
be broken.
Figure 9
Figure 10


