background image

9

Learning New Remote Codes

Teaching the HDS4.2 to use new remote control keys

If your remote does not have one of the pre-programmed component codes, or you simply want to 

re-map the HDS4.2 functions to other keys on your remote, the HDS4.2 can be taught to use new 

keys.
To teach the HDS4.2 to respond to new keys, you need to have the remote control(s) you want to 

use ready, and setup in the manner you want it to be used.

S

TEP

 1

1

Place the HDS4.2 in standby mode. This is the factory default 

mode on power up, and if it has not been changed, you can unplug 

the HDS4.2 and plug it back in and it will power up in standby mode 

(at this point only the power indicator light is lit and glowing RED). 

If the HDS4.2 does not power up in standby mode, follow the steps 

given in 

"Restoring the HDS4.2 to Factory Defaults" 

on page 14.

S

TEP

 2

2

Using a pen or pencil, press and HOLD the SETUP button on the 

back panel of the HDS4.2 (located near the power jack) for around 

4 seconds, until the HDS4.2 powers up, and the Power indicator on 

the front panel of the HDS4.2 will turn GREEN and begin to blink 

RED.

The HDS4.2 is now ready to accept new remote control key codes. For 

each of the following steps:

• You may press a key on your Remote Control, if accepted, the IR 

indicator light will blink, and the key will be learned as the new key 

for the given function. The HDS4.2 will advance to the next step.

• Or you may press and release the SETUP key on the back panel 

of the HDS4.2, this indicates to the HDS4.2 to skip this key, and 

the whatever key was previously programmed for that function 

will be retained. The HDS4.2 will advance to the next key.

• Or you may press and hold the SETUP key on the back panel un-

til the HDS4.2 returns to standby mode. This will end learn mode, 

all keys already programmed will be remembered, and all the 

keys skipped will retain their previously programmed values. The 

HDS4.2 will advance to Step 13.

S

TEP

 3

3

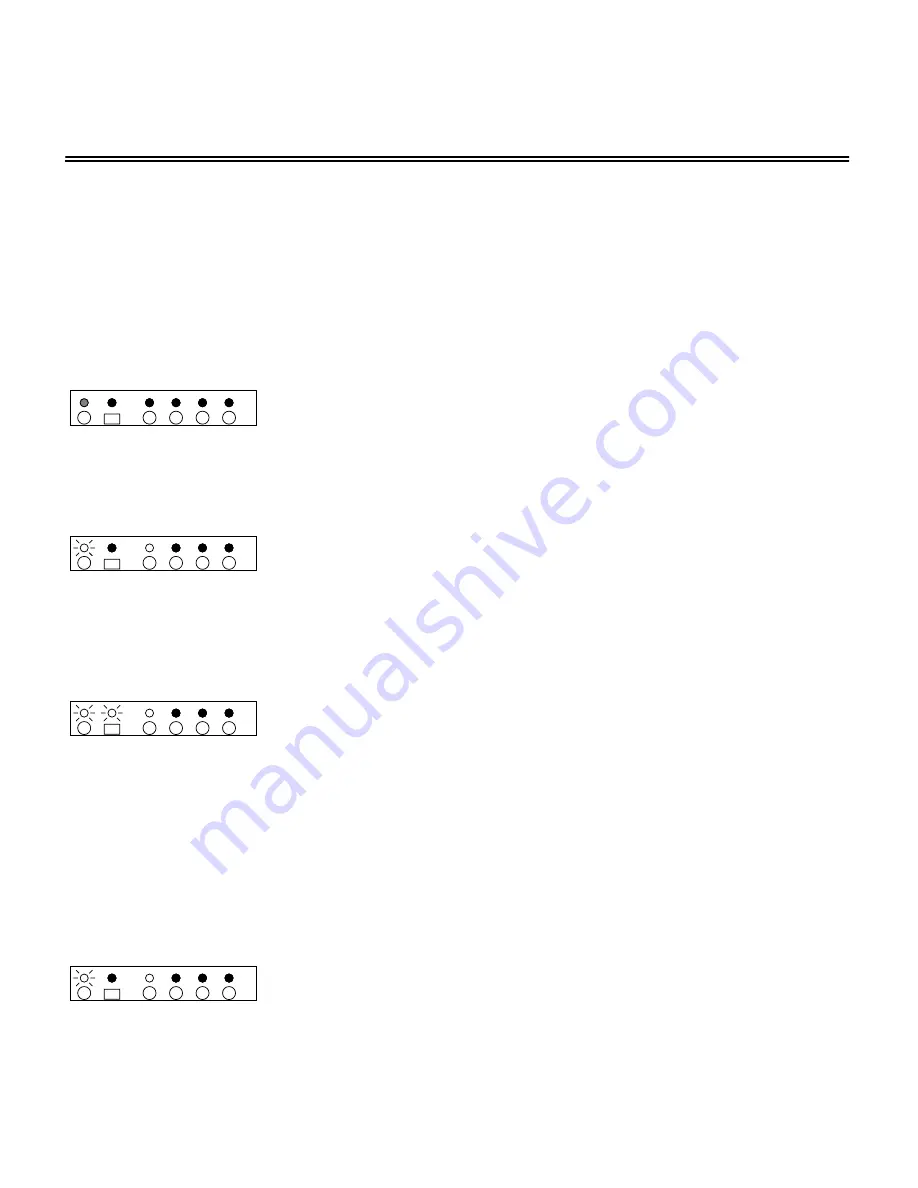
The Power indicator blinks slowly, and input 1 is selected.
Press the key on your remote that you want to use as the new key 

for 

S

ELECT

I

N

1

.

BLINK

4

3

2

1

ZEKTOR

4

3

2

1

ZEKTOR

4

3

2

1

ZEKTOR

4

3

2

1

ZEKTOR

Содержание HDS4.2

Страница 1: ...ZEKTOR HDS4 2 Component Video Audio Switch Owner s Manual www zektor com Rev 4 03 11 04 TM...

Страница 2: ...fall causing serious injury to a child and serious damage to the product Ensure that any attached cables cannot be tripped over This product is supplied with a UL Class 2 power supply as indicated on...

Страница 3: ...are three 75 ohm RCA jack terminators Since the OUT1 is the output of a passive switch it relies upon the HDTV to terminate the signals In cases where OUT1 is not used such as using only OUT2 to drive...

Страница 4: ...HANNEL 3 CHANNEL 4 POWER TOGGLE Pressing this button will cycle power from on to off and off to on CHANNEL 1 Pressing this button will select channel 1 of the HDS4 2 s inputs if power is off when this...

Страница 5: ...it will power on and then select input 3 SELECTIN4 Select input 4 If the HDS4 2 is in standby mode it will power on and then select input 4 POWEROFF The HDS4 2 can be set to standby mode by pressing a...

Страница 6: ...to begin using the HDS4 2 is to program your Universal Remote control to act like the remote used to control a Yamaha VCR Once this is done you will be able to immediately start using your HDS4 2 Che...

Страница 7: ...your remote control s model matches one of the above read your remote s user manual for in structions on programming your remote control then use the above device and manufacturer codes to setup your...

Страница 8: ...compatible component that the HDS4 2 understands or you can go to the section Learning New Remote Codes on page 9 to teach the HDS4 2 new keys for individual commands To search for compatible componen...

Страница 9: ...onds until the HDS4 2 powers up and the Power indicator on the front panel of the HDS4 2 will turn GREEN and begin to blink RED The HDS4 2 is now ready to accept new remote control key codes For each...

Страница 10: ...he new key for POWERTOGGLE 2 BLINKS STEP 8 8 After a pause the Power indicator blinks 3 times and repeats Press the key on your remote that you want to use as the new key for SELECTIN 3 BLINKS STEP 9...

Страница 11: ...codes that may not be compatible with the HDS4 2 In these somewhat rare circum stances you will have to program your remote control to a different manufacturer s code and or use different buttons on...

Страница 12: ...modes Bright Mode When pressing the SETDIMMODE key to toggle to this state the display will turn bright and remain that way Dim Mode When pressing the SETDIMMODE key to toggle to the Dim mode the dis...

Страница 13: ...asing the SETUP button on the back panel of the HDS4 2 STEP 1 1 Select an initial power on input Using the SELECTIN1 SELECTIN4 keys or the SELECT or SELECT keys choose the desired power on default inp...

Страница 14: ...after about three seconds the pow er indicator will flash three times indicating the HDS4 2 has been reset to factory defaults STEP 1 1 Remove all power from the HDS4 2 this can be done by unplugging...

Страница 15: ...lly used for viewing local news daytime TV etc and the Projection TV is used only for home theater viewing The projection TV has been connected to the buffered output OUT2 this setup assumes the pro j...

Страница 16: ...ve component outputs of OUT1 Pr Pb Y need termination This is accomplished by using the supplied 75 ohm RCA terminators which are plugged into the OUT1 s Pr Pb and Y jacks 1 2 3 4 OUT1 OUT2 To AV Rece...

Страница 17: ...the rear projection TV There is never a need to terminate the buffered output OUT2 and in this setup the buffered output is left unterminated 1 2 3 4 OUT1 OUT2 To AV Receiver Amp with digital audio i...

Страница 18: ...18...

Страница 19: ...ives you specific legal rights and you may also have other rights that vary from state to state and country to country Return Exchange Shipment of product is as advertised by product Upon receipt of m...

Страница 20: ...20 Customer Service Contact Information ZEKTOR LLC 12675 Danielson Court Suite 401 Poway CA 92064 Phone 858 748 8250 Email customerservice zektor com...

Отзывы: