ZedCam™ Limited, contact via
www.ZedCam.com
or 08450 175 193
User Manual version V1.7 (April 2008) page 4
Single Camera Remote Control
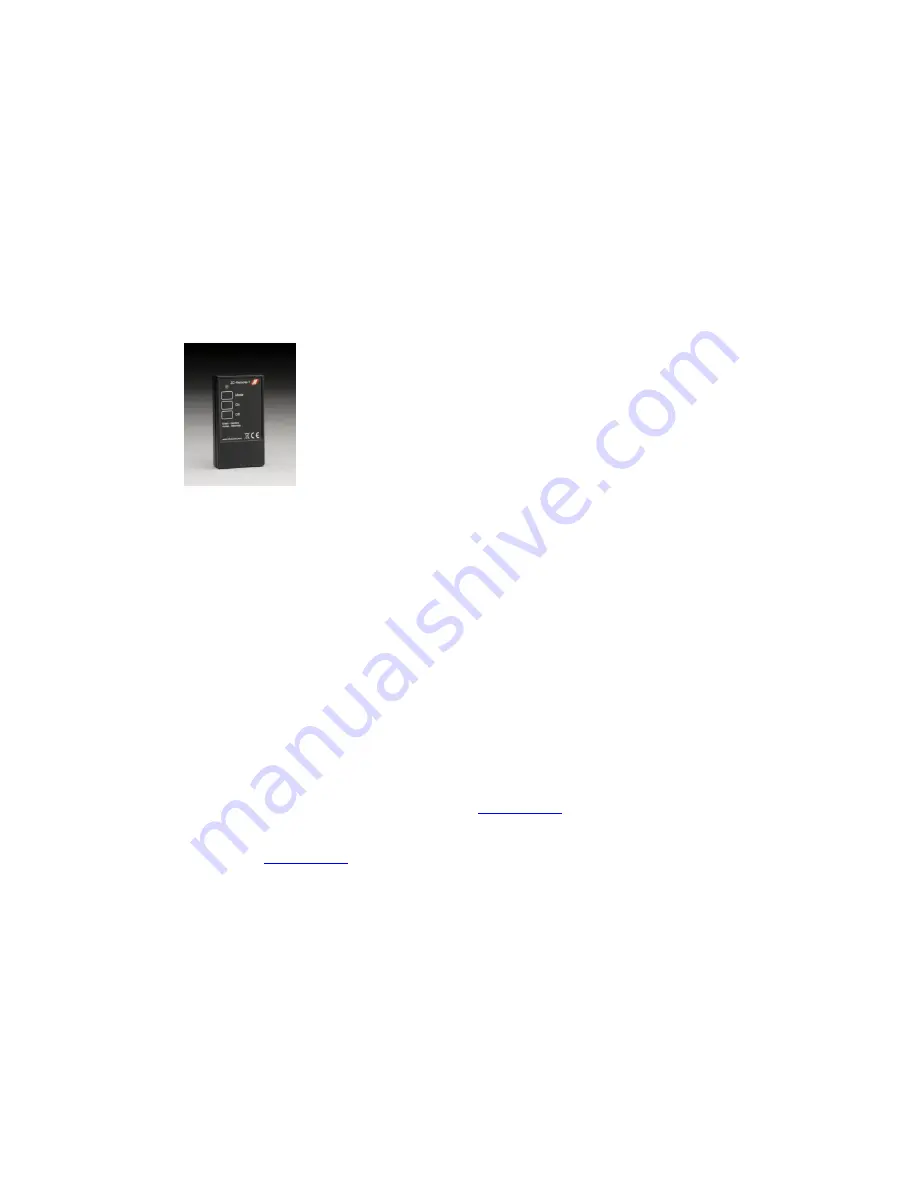
The ZedCam single location remote control unit can be used to control any of our camera
products.
Pressing the either the ON or OFF button for a short time (say less than one second) will
switch the camera on or off. The LED briefly flashes GREEN whilst the remote controller
transmits a code to the camera controller to switch it on or off.
The camera is shipped in STANDBY mode and is ready to use. To try out your new camera,
switch on a playback device (such as our ZC-PVR-01), ensure the channel is set to 4 and
press ON for a second or so. The LED will flash green and a picture should appear on the
PVR or your playback device. If the batteries have been disconnected previously for any
reason the ON button may have to be pressed 2 or 3 times to activate the camera.
In the basic version, the MODE key is not used and pressing it simply causes the LED to
flash green. Pressing the MODE key will interrupt any of the longer functions.
HIBERNATE MODE
Switch the camera off and access the links on the small controller board.
Enable hibernate mode by connecting Link 1 (Top Link)
A space link for this will be fund in positions 3 & 4.
To switch the camera controller into HIBERNATE, the OFF switch should be pressed and
held down for a longer period – say three seconds. The LED will flash YELLOW for a few
seconds and the camera will be switched off. It is now in HIBERNATE mode.
To switch from HIBERNATE to STANDBY, the ON button should be pressed for a longer
period – say three seconds. The LED will flash YELLOW, which will continue for at about
30 seconds, after which the camera will be switched on and you will be able to see a
picture on your playback device. The camera is now in STANDBY mode and can be
switched on/off with a single, short press of the buttons on the remote.
Should you experience any problems, please check the following before ringing us:
a)
Playback device on and set to channel 4? – this should be displaying a noisy picture
(black and white random lines)
b)
Are the batteries installed in the camera device?
c)
Are the various links on the camera controller set correctly? – see earlier in this
manual, but you should not need to change these
d)
Try again
e)
Still having problems – please ring us on 08450 175 193.
Always put a camera in to STANDBY/OFF when not in use in order to conserve battery
power. This can be set to occur automatically after a period using the links on the camera
controller. If HIBERNATE mode is enabled, you may wish to press the OFF button for a
few seconds to HIBERNATE the camera.
The camera is shipped with the automatic timeout set to 3 mins. This ensures that the
battery will not be discharged b accidental activation during transit. The camera is easily
switched back on after this time by simply pressing the ON button of the remote.
This “timeout” period can be changed to 30 secs, 3 mins, 30 mins or 3 hours by changing
the Links 5 & 6 configurations (Refer to previous page). Or deactivated completely by
removing Link 2.
If the camera is turned off, but still in the STANDBY mode you can expect the battery to
last for several months. However, in HIBERNATE mode and dry conditions the battery will
last for well over a year – always put the device into HIBERNATE (if enabled) when not in
use so that you get the maximum life from your battery.
Please note:
If you have more than one camera within range of your playback device they
will
all
be activated by the remote signal and this will cause interference t reception. If
you wish to use more than one camera in any particular situation please contact us at
www.ZedCam.com
and we will be able to advise you on the channel settings you can use
to prevent this.


