
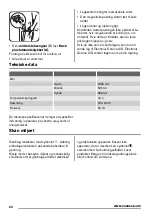

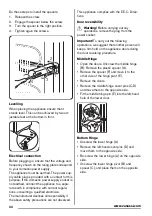


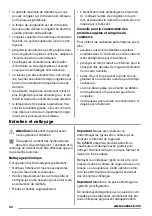
Problem
Possible cause
Solution
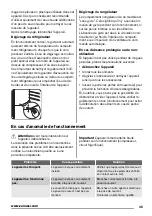
Products prevent that water flows
into the water collector.
Make sure that products do not touch
the rear plate.
Water flows on the ground.
The melting water outlet does not
flow in the evaporative tray above
the compressor.
Attach the melting water outlet to the
evaporative tray.
The temperature in the ap-
pliance is too low/high.
The temperature regulator is not set
correctly.
Set a higher/lower temperature.
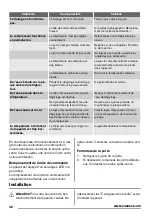
If your appliance is still not working properly af-
ter making the above checks, contact the After
Sales Centre. You can find the list at the end of
this manual.
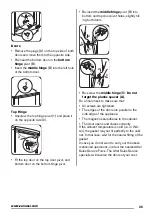
Replacing the control unit
The appliance is equipped with a longlife LED
interior light.
Only service is allowed to replace the control
unit. Contact your Service Center.
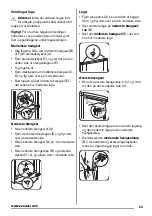
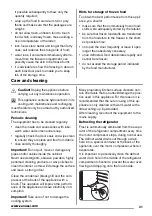
Closing the door
1.
Clean the door gaskets.
2.
If necessary, replace the defective door
gaskets. Contact the After Sales Service.
Installation
Caution!
Read the "Safety Information"
carefully for your safety and correct
operation of the appliance before installing the
appliance.
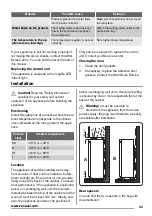
Positioning
Install this appliance at a location where the am-
bient temperature corresponds to the climate
class indicated on the rating plate of the appli-
ance:
Climate
class
Ambient temperature
SN
+10°C to + 32°C
N
+16°C to + 32°C
ST
+16°C to + 38°C
T
+16°C to + 43°C
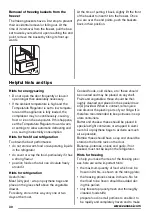
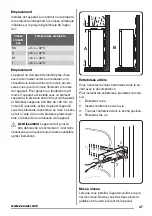
Location
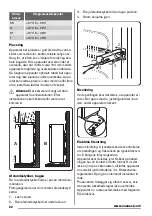
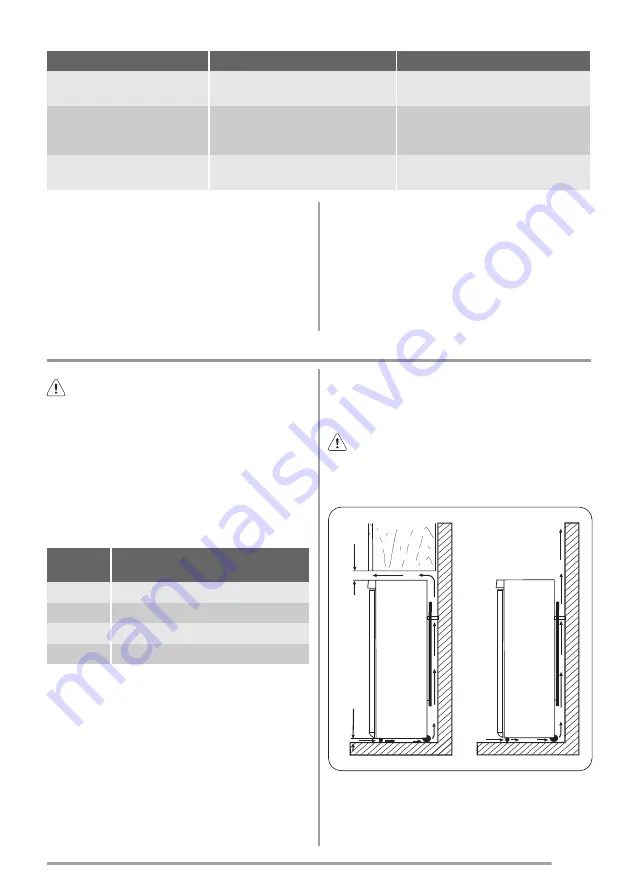
The appliance should be installed well away
from sources of heat such as radiators, boilers,
direct sunlight etc. Ensure that air can circulate
freely around the back of the cabinet. To ensure
best performance, if the appliance is positioned
below an overhanging wall unit, the minimum
distance between the top of the cabinet and the
wall unit must be at least 100 mm . Ideally, how-
ever, the appliance should not be positioned
below overhanging wall units. Accurate levelling
is ensured by one or more adjustable feet at the
base of the cabinet.
Warning!
It must be possible to
disconnect the appliance from the mains
power supply; the plug must therefore be easily
accessible after installation.
A
B
100 mm min
20 mm
Rear spacers
You can find the two spacers in the bag with
documentation.
33
www.zanussi.com
Содержание ZRB934FW2
Страница 65: ...65 www zanussi com ...
Страница 66: ...66 www zanussi com ...
Страница 67: ...67 www zanussi com ...
Страница 68: ...www zanussi com shop 280152006 A 282013 ...