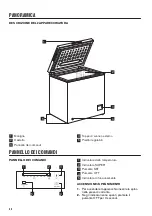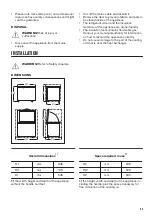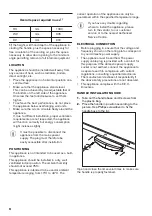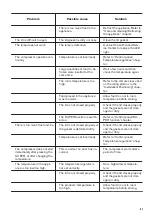
Overall space required in use
1)
H3
mm
1380
W2
mm
905
D2
mm
690
1) the height, width and depth of the appliance in-
cluding the handle, plus the space necessary for
free circulation of the cooling air, plus the space
necessary to allow door opening to the minimum
angle permitting removal of all internal equipment
LOCATION
The appliance should be installed well away from
any sources of heat, such as radiators, boilers,
direct sunlight, etc.
• Place the appliance in a horizontal position on a
solid surface.
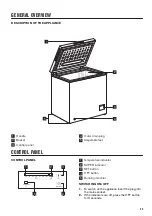
• Make sure that the appliance stands level.
This can be achieved by two adjustable feet at
the bottom on the left side of the appliance.
Unscrew the feet anticlockwise to set them
higher.
• To achieve the best performance, do not place
the appliance below overhanging wall units.
• Make sure the air can circulate freely around the
appliance.
If, due to different installation, proper ventilation
requirements are not respected, the appliance
will function correctly but energy consumption
might increase slightly.
It must be possible to disconnect the
appliance from the mains power
supply. The plug must therefore be
easily accessible after installation.
POSITIONING
This appliance is not intended to be used as a built-
in appliance.
This appliance should be installed in a dry, well
ventilated indoor position. The ambient humidity
should not exceed 75%.
This appliance is intended to be used at ambient
temperature ranging from 10°C to 43°C. The
correct operation of the appliance can only be
guaranteed within the specified temperature range.
If you have any doubts regarding
where to install the appliance, please
turn to the vendor, to our customer
service or to the nearest Authorised
Service Centre.
ELECTRICAL CONNECTION
• Before plugging in, ensure that the voltage and
frequency shown on the rating plate correspond
to your domestic power supply.
• The appliance must be earthed. The power
supply cable plug is provided with a contact for
this purpose. If the domestic power supply
socket is not earthed, connect the appliance to
a separate earth in compliance with current
regulations, consulting a qualified electrician.
• The manufacturer declines all responsibility if
the above safety precautions are not observed.
• This appliance complies with the E.E.C.
Directives.
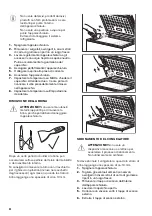
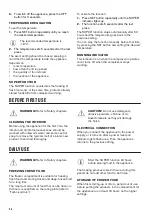
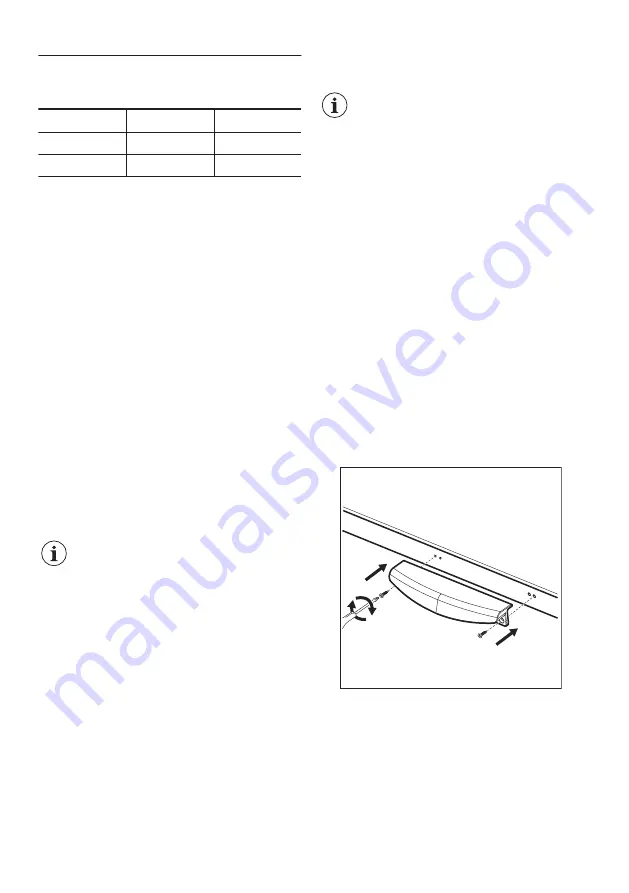
HANDLE INSTALLATION GUIDE
1. Take out the handle base and 2 screws from
the plastic bag.
2. Place the handle in position according to the
picture. Use Phillips screwdriver to fix the
handle base to the lid.
Open and close the lid several times to make sure
the handle is properly fastened.
54
Содержание ZCAN15EW1
Страница 65: ......
Страница 66: ......
Страница 67: ......
Страница 68: ...WWW ZANUSSI COM SHOP 804182719 D 132021 ...

