


ZPrinter
®
650 Hardware Manual
Setup And Print The Build
zcentral.zcorp.com
21
All Rights Reserved
10/21/08
The remainder of this chapter takes you through setting up your build in ZPrint and printing a part.
2.3 ZPrint/ZEdit Installation
If ZPrint has not been installed, you will first need to install it. Installation instructions are available in the
ZPrint™ Software Manual
. Be sure to install the software on the same computer that is connected to your
3D Printer. Also be sure you use the version of ZPrint that came with the ZPrinter 650.
If you encounter any problems during installation, please contact your local Service Provider or Reseller, or
visit the Support section of our Web site at
zcentral.zcorp.com
.
2.3.1 ZEdit
ZEdit
TM
is an add-on software that ships with ZPrint. ZEdit was developed by a team of software develop-
ers and application engineers as a tool to help those who use HD3DP™ (high-definition 3D printing) to
optimize their color applications. This software program works in conjunction with the ZPrint software. Use
ZEdit to apply color or labels to your part, as well as to diagnose and correct simple file problems. Color
may be applied to a part through the application of a texture map, engineering template, text, or by using
the paint features.
Customers should install ZEdit when ZPrint is installed. See the
ZPrint™ Software Manual
for installation
instructions. Refer to the
ZEdit™ Software Manual,
or the ZEdit Online Help, for specifics about using this
software.
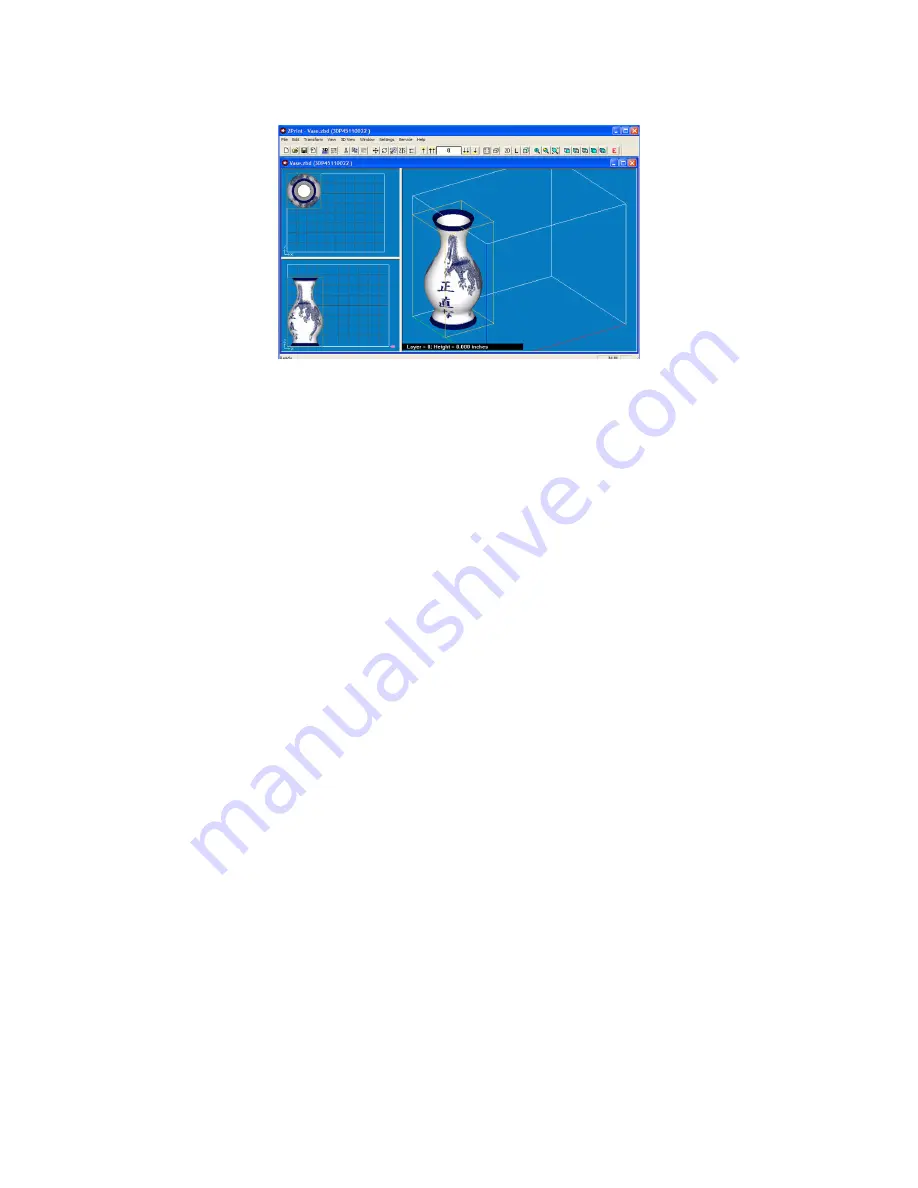
2.4 Open A Part In ZPrint
1. Launch the ZPrint Software. The Splash screen will close on its own after a few seconds, or you can
click the
OK
button to immediately close the screen.
2. In the
Open
dialog, select a file to print, or browse to a file on your computer. Click the
Open
button, or
double click on a file to open it in ZPrint.


