4
、
Boundary Scan
1
)
Boundary Scan setup
Step1
:
In Picture 3.10, click Direction button to turn the PTZ to preset direction, then click Setup button enter Picture 3.15, select
He left boundary, return to Picture 3.10;
Step2
:
Please click direction arrows to adjust PTZ direction, click Setup button enter Picture3.15, then select the right boundary ,
return to Picture 3.10;
Step3: Complete setup, that is the position of left and right boundary
2
)
Boundary Scan Calls
In Picture 3.10, click Page Shift button, then enter PTZ control menu as shown in Picture 3.12. Please input the number of scan in the value blank , then
click Scan button
,
PTZ begins to work on the scan line . Click Stop button to stop.
5
、
Horizontal Rotating
Click Horizontally Rotating button, PTZ begins to rotate horizontally (relative to the original position of the camera). Click the Stop Button to stop.
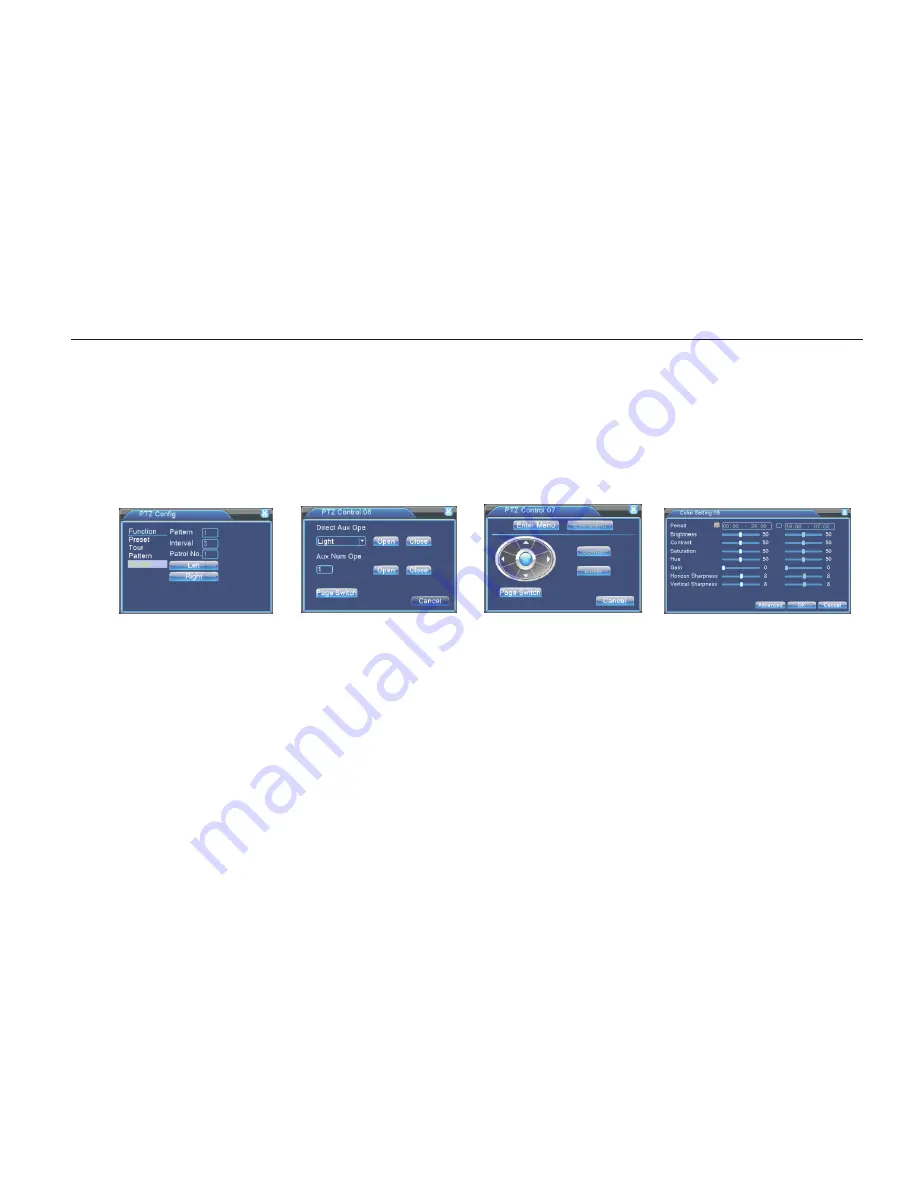
Picture 3.15 Boundary Scan Setup Picture 3.16 Auxiliary Function Control Picture 3.17 PTZ menu settings Picture 3.18 image color
6
、
Rotate
Click on horizontal Rotating button, PTZ turn around.
7
、
Reset
PTZ restart, all the data clears to 0.
8
、
Page Shift
In Picture 3.12, click Page Shift button into Picture3.16, setting auxiliary function. Auxiliary number
corresponding to
auxiliary Switch on the decoder.
【
Intuitive Auxiliary Operation
】
choose auxiliary equipment, select Open or Close button, switch control
;
【
Auxiliary Number
】
The operation of corresponding auxiliary switch according to PTZ agreement
;
【
Page Shift
】
In Picture 3.16
,
click Page Shift button enter the Picture 3.17 PTZ Main Menu , the menu itself can be control by the Menu control
buttons
Enter Menu
:
enter PTZ menu
;
Exit Menu
:
exit PTZ menu
;
Direction Button
:
the function buttons to choose PTZ menu
;
Confirm/Cancel
:
to
choose PTZ menu
3.5.6 Color setting
Set the selective image parameters (current channel for single window display and cursor place for multi-window display). You can use the desktop
shortcut menu and enter the interface. The image parameters include: tonality, brightness, contrast, saturation. You can set Different parameters at
different time sections.
Network
Hard
Disk
Videocorder
Fast
Operation
manual
14
Содержание D700 Series
Страница 1: ...D700 Series D800 Series 4 8 16 24 32 CH NETWORK DIGITAL VIDEO RECORDER...
Страница 41: ......


