7
Note:
This console has a dual backup system which allows you to backup different settings and
history records .
Backup item list
By battery backup
- Time & Date
- Max/Min records
- Alert setting values
- Bar chart records
- Past 24 hours weather
history data records
By built-in memory backup
- Router setting
- Weather server setting
- Time server link
- Latitude and longitude
- Time Zone offset
- Channel history
Setting the console's time zone
This weather station console will synchronize the clock with the UTC time server once you set
the time server and connected to the internet . In order to display the correct time and activate
the sunrise/sunset function, you need to set the correct time zone:
1 . Press and hold
[ CLOCK SET ]
key for 2 seconds to enter time zone setting in time setting
mode .
2 . Press
[ ]
or
[ ]
key to select the correct time zone .
3 . Press
[ CLOCK SET ]
key again to enter the next setting .
4 .
The setting sequence: Time zone → DST ON/OFF → Hour → Minute → Second → 12/24
hour format → Year → Month → Date → M-D/D-M format → TIME SYNC ON/OFF →
Language
5 . Press
[ CLOCK SET ]
key to save and exit the setting mode, or the unit will automatically
exit the setting mode 60 seconds later without pressing any button .
Pairing the wireless indoor and outdoor sensors with the console
The console will automatically search and connect to your wireless indoor and outdoor sensor .
You can also press
[ Wi-fi / SENSOR ]
key to search for your sensors manually . Once your
sensors pair up successful, the sensor signal strength indication and weather information will
appear on your console display .
Note:
The status LED will flash cyan light, once you press
[ Wi-fi / SENSOR ]
key to search the
sensors manually .
CREATE A WUNDERGROUND ACCOUNT AND SETUP WI-FI CONNECTION
A. Register your Wi-fi personal weather station (PWS)
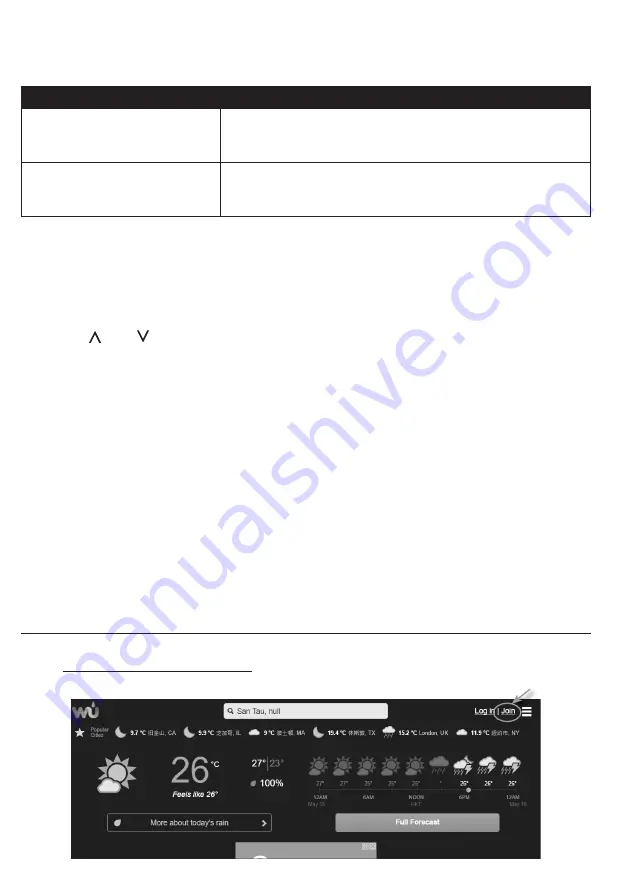
1 . In
https://www.wunderground.com
click on the "
Join
" button on the top right corner to open
the registration page . Follow the instructions to create your account .


