


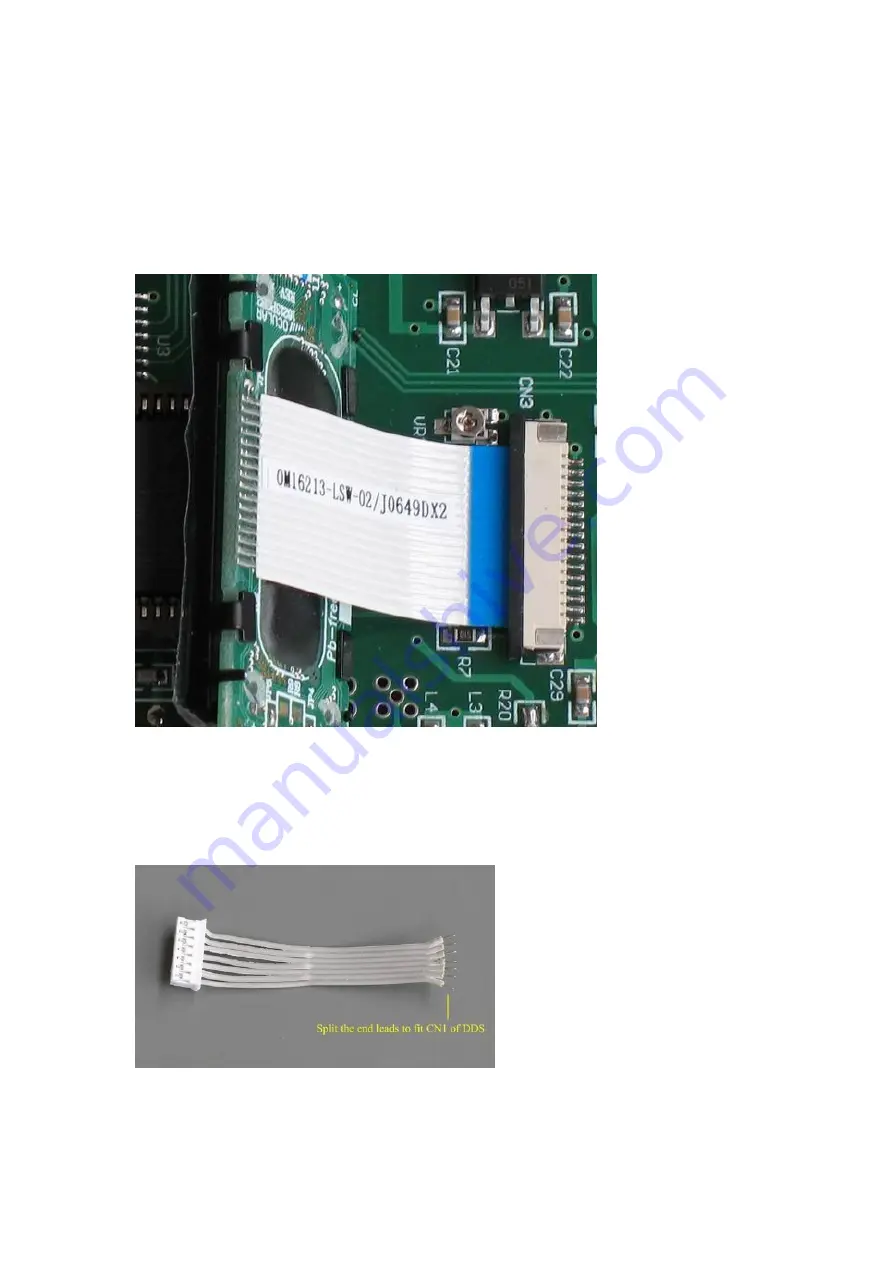
Now carefully insert the flat cable into the socket. When the cable is inserted into position,
press the lock bar down to lock the cable. Never bend the cable end which is soldered to
the LCD PCB. This will break the cable at the end, because the thin tracks have no
protecting plastic at the end. Always push the bent part (the "U" part) to insert.
Another method of inserting the LCD is to insert the LCD with a slanted angle.
Fasten two 6mm-brass stands-off (the two brass stand-offs without a tail) to the mounting
holes with 2 flat-head screws.
Solder the four function buttons onto the DDS board.
7) Solder the 7-wire cable to CN1.
First, split the end leads to fit CN1.
Содержание TJ2B
Страница 3: ...Cables for internal connections Components package...
Страница 4: ...Toroids Note FB 43 2401 may be supplied in the kit This core is larger than FT 43 37 Can Inductors...
Страница 5: ...Pre assembled Miniature Transformers Packed in a separate plastic bag Brass Stand Off Parts...
Страница 10: ...How to insert the LCD Cable Never bend the cable end soldered to the LCD...
Страница 12: ...Now solder the 7 wire cable...
Страница 24: ...T7 is soldered on the 3 lead pads with the tap in then middle pad No connection on the 2 pin lpads...
Страница 35: ...50 ohm cable and MIC cable are connected How the cable is soldered...
Страница 37: ...See how to arrange the 5 wire ribbon cable...
Страница 40: ...Don t forget to solder ANT leads Assemble the two brass stands off with a tai to the mounting holes...


