2
6. Installing the Brackets
Start from the upper-most enclosure and loosely position the brackets in place of the handles*, use the bolts to
help alignment - do not tighten until positioned correctly. Work from highest to the lowest in the array. The installed
brackets protrude on the TOP SIDE of the enclosures and mount onto the enclosure ‘above.’ Repeat all of these
steps for all enclosures in the array. When all brackets are in place and aligned, tighten the nuts and bolts properly.
*NOTE: PSA1s manufactured after February 2012 use handles that include threading and will allow the
PSA1RIGKIT to mount directly, no nuts required.
7. PSA1FRAMEKIT
Once the PSA1RIGKIT brackets on the enclosures are in place (and tightened), the PSA1FRAMEKIT (with the 10-point
mounting holes) can be mounted to the upper-most enclosure, using the portion of the bracket that protrudes. The
groove of the PSA1FRAMEKIT bumper should mate perfectly with the top PSA1RIGKIT. When the PSA1RIGKIT and
PSA1FRAMEKIT have been installed properly and are safe, the ratchet-strap around the array can be removed.
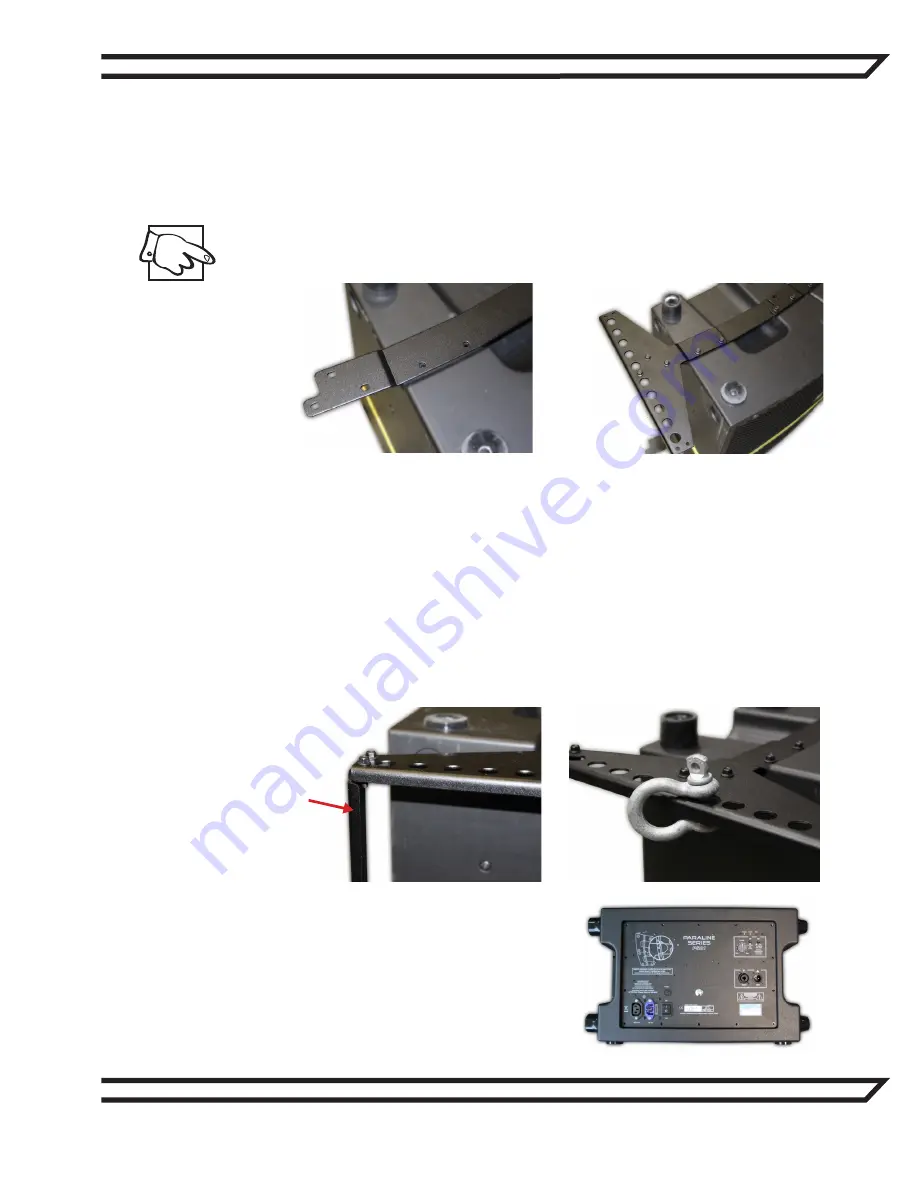
To complete the assembly attach the two supplied painted cross-members to the PSA1FRAMEKIT on
the upper-most enclosure. The cross-members attach to the front and rear of the 10-point mounting hole
PSA1FRAMEKIT side brackets. Make sure the “lip” of the cross-members are facing inwards, towards each
other as shown in the image below. Use two bolts and hex nuts per corner (as supplied).
When cross-members have been successfully attached to complete the bumper bar, a
minimum
of two ½-inch
shackles (Crosby part #1017494)
must
be used for each array. The shackles can be mounted on any of the 10
pickup points along the PSA1FRAMEKIT’s bumper. The pickup point chosen
must
correspond to one on the other
side (ex. If you choose the 4
th
pickup point on the left side, you will also use the 4
th
pickup point on the right side).
8. Reinstall Amplifier Module
When the whole array is assembled correctly the
PSA1 amplifier modules should be reinstalled.
Connect the amplifier/speaker connectors care-
fully and refit each module in the cavities using
the original screws.
Lip


